This general guide will cover the steps needed to remove an OEM radiator and replace with a Mishimoto aluminum radiator. The images shown for this guide show a Mishimoto Honda Civic Radiator being installed on a 1999 Honda Civic. Keep in mind that different makes and models will be unique, and adjustments will be necessary according to application.
Caution - Allow your engine to cool down completely before you install or remove your radiator.
Step 1: Locate the drain plug, and place a large bucket underneath. Open the drain plug to drain the coolant. Depending on the size of your vehicle, it may need to be raised to drain the coolant.

Step 2: Remove the radiator cap and set aside.
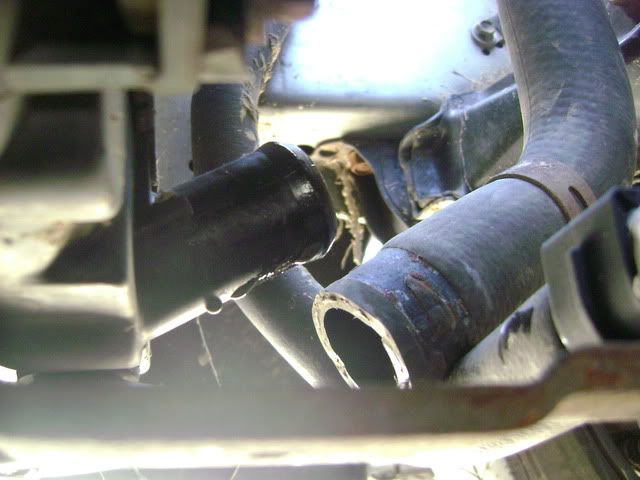
Step 3: Remove the upper radiator hose.
Step 4: Remove the lower radiator hose. Please Note - If you have an automatic transmission, you will need to remove the transmission oil cooler lines. Keep in mind that late model Fords tend to use quick connect transmission oil cooler fittings and these require special removal. Research your engine to find out the proper method of removal of the transmission oil cooler lines.
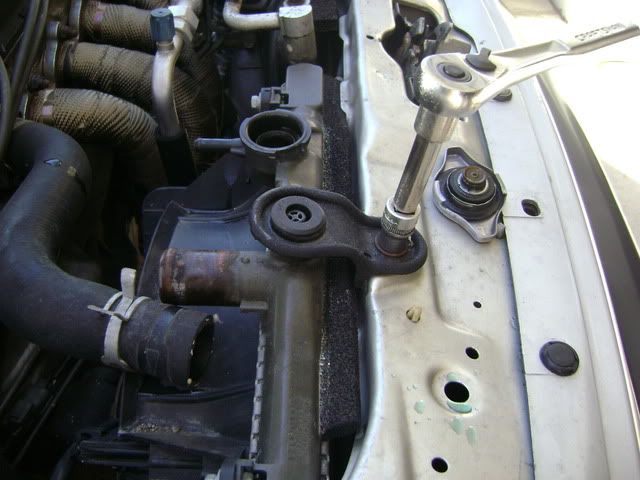
Step 5: Using a socket wrench, remove the radiator stay(s) from the upper radiator support.
Step 6: Unplug the fan(s), uninstall coolant overflow tank (if applicable). Carefully remove radiator from vehicle.
Step 7: Remove OEM fan shroud from radiator. This will vary by vehicle, take care to remove properly. Locate the bolt points on the fan shroud to remove from the stock radiator.
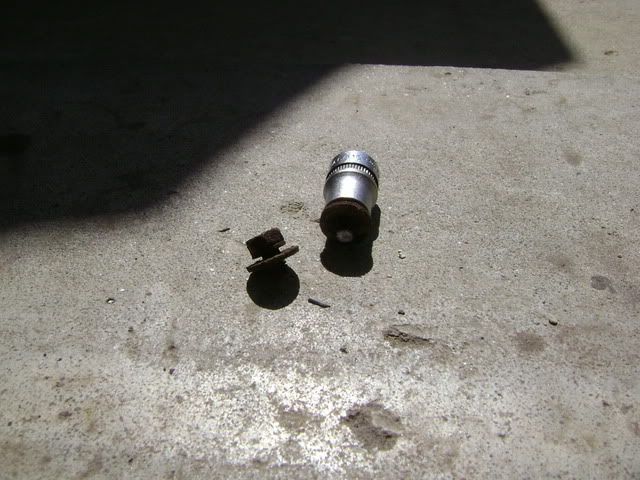
If your current radiator is fairly old, be careful when removing the bolts. They could be brittle and snap!
Step 8: Install OEM fan shroud onto Mishimoto Radiator.
Step 9: Carefully lower the Mishimoto radiator into the lower radiator support. Re-install the radiator stay(s).
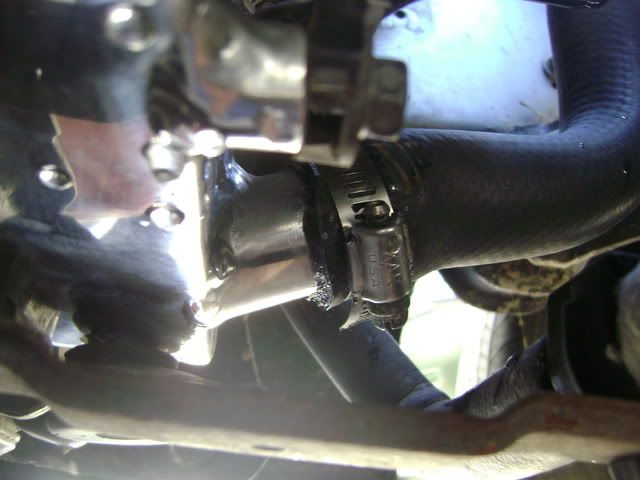
Step 10: Re-install lower radiator hose. If you have trouble installing the hoses, it is because the rubber on the OEM hose may be older and have lost some elasticity. You can get around this problem by either submerging the end of the hose in boiling water for approximately 10 minutes to allow the hose to expand slightly, or simply use a silicone lubricant.
Step 11: Re-install upper radiator hose. As with the lower radiator hoses, you may find they are very tight as you are attempting to install. Use the same method (expand the end of the hose in boiling water/ use a silicone lubricant) to get the hoses to fit. If you have trouble installing, it may become necessary to trim the hose because the hoses are made to fit the depth of the OEM radiator, which is generally smaller. If your Mishimoto radiator comes equipped with transmission line openings, re-install the transmission lines (this applies to automatic Mustang/G35 applications).
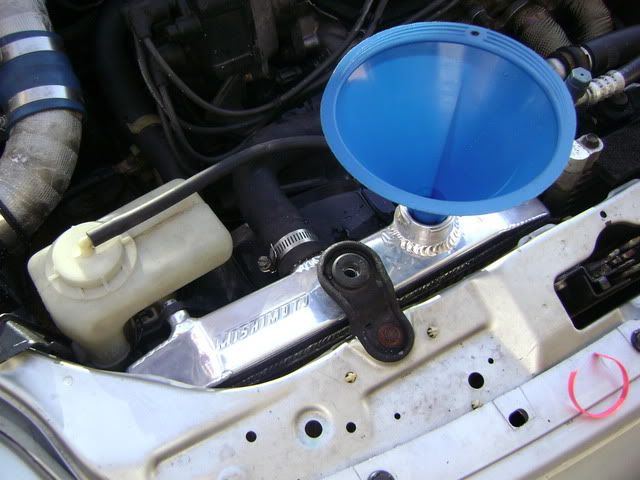
Step 12: Fill radiator with coolant. Consult owner’s manual for the proper mixture of antifreeze and water.
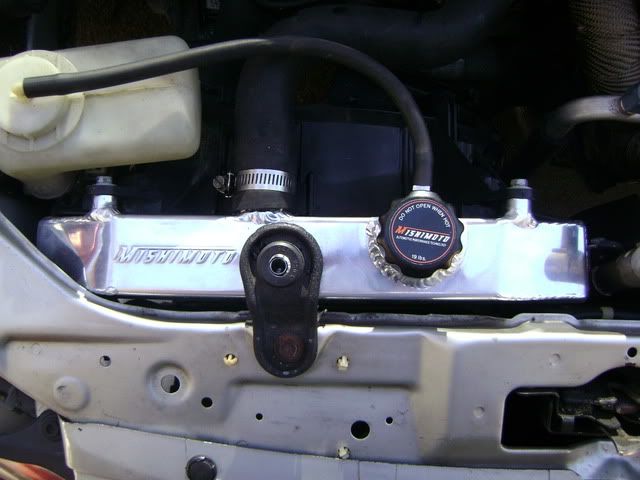
Step 13: While the radiator cap is still off, bleed air in system by starting your car’s engine and turn on the heat, continually topping off the radiator as bubbles work their way out. Be sure to squeeze the radiator hoses to help air exit the system. Use caution as you squeeze the hoses, as they will have become hot. Once you are satisfied that you have bled your system of air, replace the radiator cap.
More pictures:
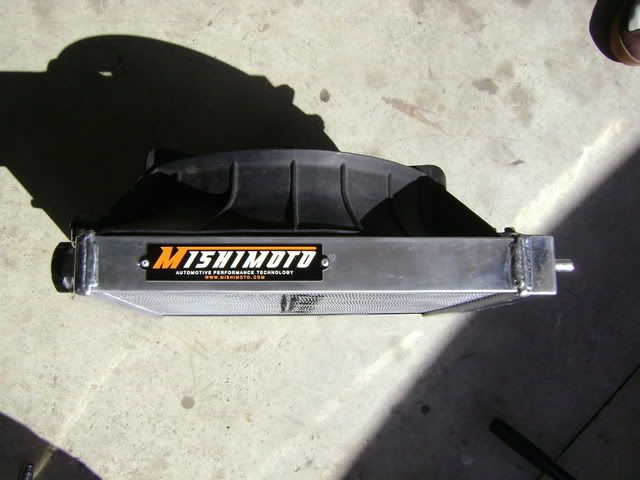
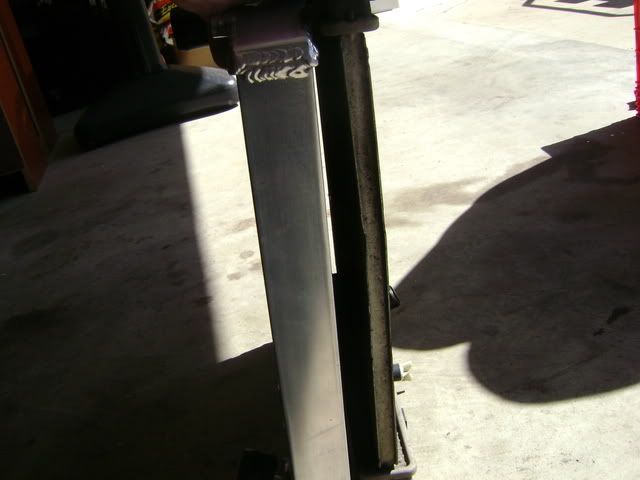
OEM radiator next to the Mishimoto radiator:
Mishimoto Logo:
Caution - Allow your engine to cool down completely before you install or remove your radiator.
Step 1: Locate the drain plug, and place a large bucket underneath. Open the drain plug to drain the coolant. Depending on the size of your vehicle, it may need to be raised to drain the coolant.

Step 2: Remove the radiator cap and set aside.
Step 3: Remove the upper radiator hose.

Step 4: Remove the lower radiator hose. Please Note - If you have an automatic transmission, you will need to remove the transmission oil cooler lines. Keep in mind that late model Fords tend to use quick connect transmission oil cooler fittings and these require special removal. Research your engine to find out the proper method of removal of the transmission oil cooler lines.
Step 5: Using a socket wrench, remove the radiator stay(s) from the upper radiator support.
Step 6: Unplug the fan(s), uninstall coolant overflow tank (if applicable). Carefully remove radiator from vehicle.
Step 7: Remove OEM fan shroud from radiator. This will vary by vehicle, take care to remove properly. Locate the bolt points on the fan shroud to remove from the stock radiator.
If your current radiator is fairly old, be careful when removing the bolts. They could be brittle and snap!
Step 8: Install OEM fan shroud onto Mishimoto Radiator.
Step 9: Carefully lower the Mishimoto radiator into the lower radiator support. Re-install the radiator stay(s).
Step 10: Re-install lower radiator hose. If you have trouble installing the hoses, it is because the rubber on the OEM hose may be older and have lost some elasticity. You can get around this problem by either submerging the end of the hose in boiling water for approximately 10 minutes to allow the hose to expand slightly, or simply use a silicone lubricant.
Step 11: Re-install upper radiator hose. As with the lower radiator hoses, you may find they are very tight as you are attempting to install. Use the same method (expand the end of the hose in boiling water/ use a silicone lubricant) to get the hoses to fit. If you have trouble installing, it may become necessary to trim the hose because the hoses are made to fit the depth of the OEM radiator, which is generally smaller. If your Mishimoto radiator comes equipped with transmission line openings, re-install the transmission lines (this applies to automatic Mustang/G35 applications).
Step 12: Fill radiator with coolant. Consult owner’s manual for the proper mixture of antifreeze and water.
Step 13: While the radiator cap is still off, bleed air in system by starting your car’s engine and turn on the heat, continually topping off the radiator as bubbles work their way out. Be sure to squeeze the radiator hoses to help air exit the system. Use caution as you squeeze the hoses, as they will have become hot. Once you are satisfied that you have bled your system of air, replace the radiator cap.
More pictures:
OEM radiator next to the Mishimoto radiator:
Mishimoto Logo: