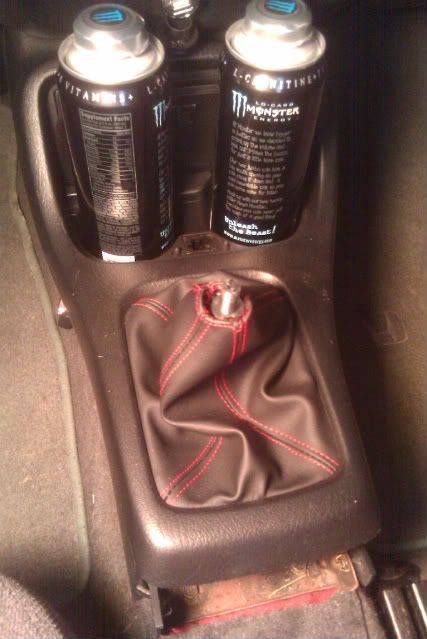
After posting pictures of my interior, people have been asking how to do this, so here it is:
Depending on the year of your car, it may vary, but it's pretty simple. (Instructions based off 6th Gen)
This method will not allow use of factory e-brake handle, must have aftermarket e-brake handle.
Shift Boot
1. Remove Shift knob
2. Remove the center console, rear section and front.
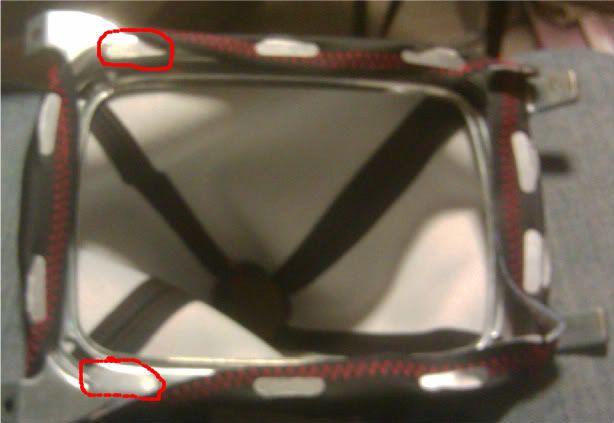
3. 2 screws are holding shift boot in place, remove those and the bracket and boot pulls right out
4. remove shift boot from bracket, !!! BE CAREFUL !!! although it's a light metal it will easily cut you if your grip slips as I cut one of my fingers to the bone!!!
5. Grab the new shift boot, wrap around bracket and make slits to match
6. replace bracket and shift boot back in console
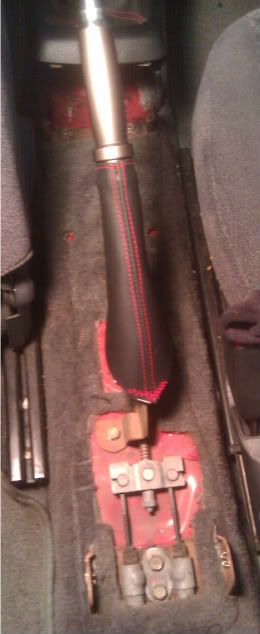
E-Brake Handle & Boot
7. E-BRAKE! This is fun! - Remove the handle any way you feel comfortable - I cut my e-brake handle off with a dremel & cutting wheel
8. remove rubber boot.
9. Install new boot and slide down the e-brake as far as you can to make room for your new AFTERMARKET handle
10. install new e-brake handle as far onto the lever as possible to make sure the button will engage fully
11. Pull E-Brake boot over base of handle (Most aftermarket handles have a lip to fit the boot over - I had to use a flat head and work it around for a tight fit
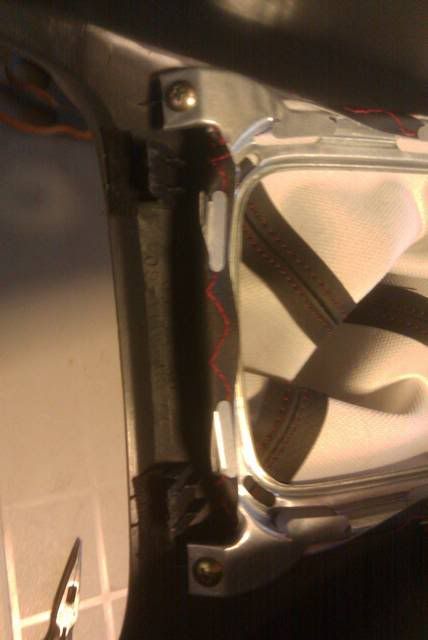
Center Console Armrest Cover
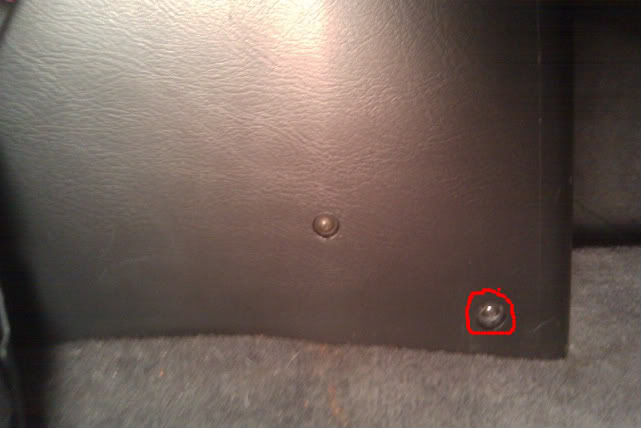
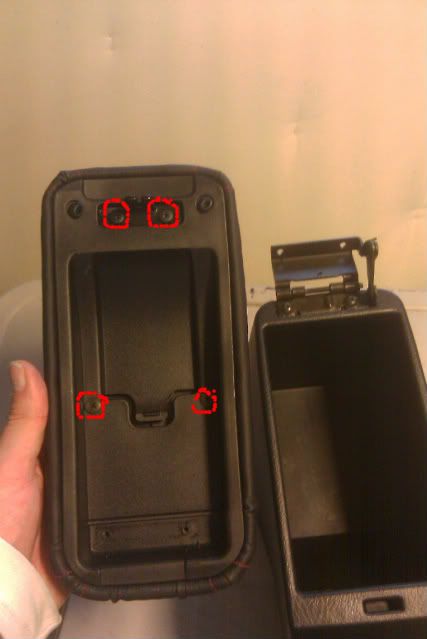
12. There are 2 philips screws holding the cover in place - remove them and the lid comes right off
13. There are 3-4 more screws on the under side of the cover holding the plastic in place - remove screws and the plastic inside will pull from the lid
14. Either you can remove the OEM fabric or leave it on, I left mine on. Wrap the lip with the new cover - pulling the excess material into the under side of the lid - Try to remove all wrinkles near the edges
15. replace plastic inside to the lid by loosely installing the removed screws to allow for some adjustments. The plastic piece will pull the remaining excess material once you tighten the screws complete.
16. Use a flat head or butter knife carefully to flatten any wrinkles and wedge under the lid
17. re-install lid to console and put back into car
18. Install front section of Console and replace shift knob.
You're done! - Enjoy the new interior pieces... If you need pictures, I can post some later tonight.
Depending on the year of your car, it may vary, but it's pretty simple. (Instructions based off 6th Gen)
This method will not allow use of factory e-brake handle, must have aftermarket e-brake handle.
Shift Boot
1. Remove Shift knob
2. Remove the center console, rear section and front.
3. 2 screws are holding shift boot in place, remove those and the bracket and boot pulls right out
4. remove shift boot from bracket, !!! BE CAREFUL !!! although it's a light metal it will easily cut you if your grip slips as I cut one of my fingers to the bone!!!
5. Grab the new shift boot, wrap around bracket and make slits to match
6. replace bracket and shift boot back in console
E-Brake Handle & Boot
7. E-BRAKE! This is fun! - Remove the handle any way you feel comfortable - I cut my e-brake handle off with a dremel & cutting wheel
8. remove rubber boot.
9. Install new boot and slide down the e-brake as far as you can to make room for your new AFTERMARKET handle
10. install new e-brake handle as far onto the lever as possible to make sure the button will engage fully
11. Pull E-Brake boot over base of handle (Most aftermarket handles have a lip to fit the boot over - I had to use a flat head and work it around for a tight fit
Center Console Armrest Cover
12. There are 2 philips screws holding the cover in place - remove them and the lid comes right off
13. There are 3-4 more screws on the under side of the cover holding the plastic in place - remove screws and the plastic inside will pull from the lid
14. Either you can remove the OEM fabric or leave it on, I left mine on. Wrap the lip with the new cover - pulling the excess material into the under side of the lid - Try to remove all wrinkles near the edges
15. replace plastic inside to the lid by loosely installing the removed screws to allow for some adjustments. The plastic piece will pull the remaining excess material once you tighten the screws complete.
16. Use a flat head or butter knife carefully to flatten any wrinkles and wedge under the lid
17. re-install lid to console and put back into car
18. Install front section of Console and replace shift knob.
You're done! - Enjoy the new interior pieces... If you need pictures, I can post some later tonight.