Intertwined's 89 CRX / 91 Sedan

Intertwined

It's onski brah
Registered VIP
5+ Year Member
P.S.

If anyone would like to donate a muffler that would be nice.

I overlooked it when i was underneath checking things out and it rusted out at the hanger near the rear shock. Muffler went bye bye today so now im nice and noisy......the not so good sounding noisy :(
 

HeX

Authoritah, respected.
Staff member
Registered VIP
5+ Year Member
10+ Year Member
Consider sourcing out a solid muffler out of a junkyard from a sportier car with a similar shape of muffler. I installed a used RSX-S muffler years ago and have no complaints.


XpL0d3r

I had a Civic once.
Staff member
Registered VIP
Registered OG
5+ Year Member
10+ Year Member
15+ Year Member
I have an RSX-S muffler I will sell you. Nothing wrong with it, I just bought an aftermarket system. $10 +shipping and it's yours, let me know!
 

Intertwined

It's onski brah
Registered VIP
5+ Year Member
I have an RSX-S muffler I will sell you. Nothing wrong with it, I just bought an aftermarket system. $10 +shipping and it's yours, let me know!
If i had the cash to cover it at the moment i would be all over that. Hence the donate sarcasm lol.

Honestly i probably wont do anything to it until i have the money for the full catback system, which sadly will be much louder than it is now haha.


Intertwined

It's onski brah
Registered VIP
5+ Year Member
So i decided to quit procrastinating on the door chime. Yes, this chime actually bothers me that much. beep,beep,beep,beeeep……over and over and over ><


I dont know if its like this on all “EF’s” or just some CRX’s, i don't remember it doing this in my 91 hatch, but it sucks. Open the doors and BAM ear shredding beeeeeeeeeeeeeeeeeeppppssssssss.


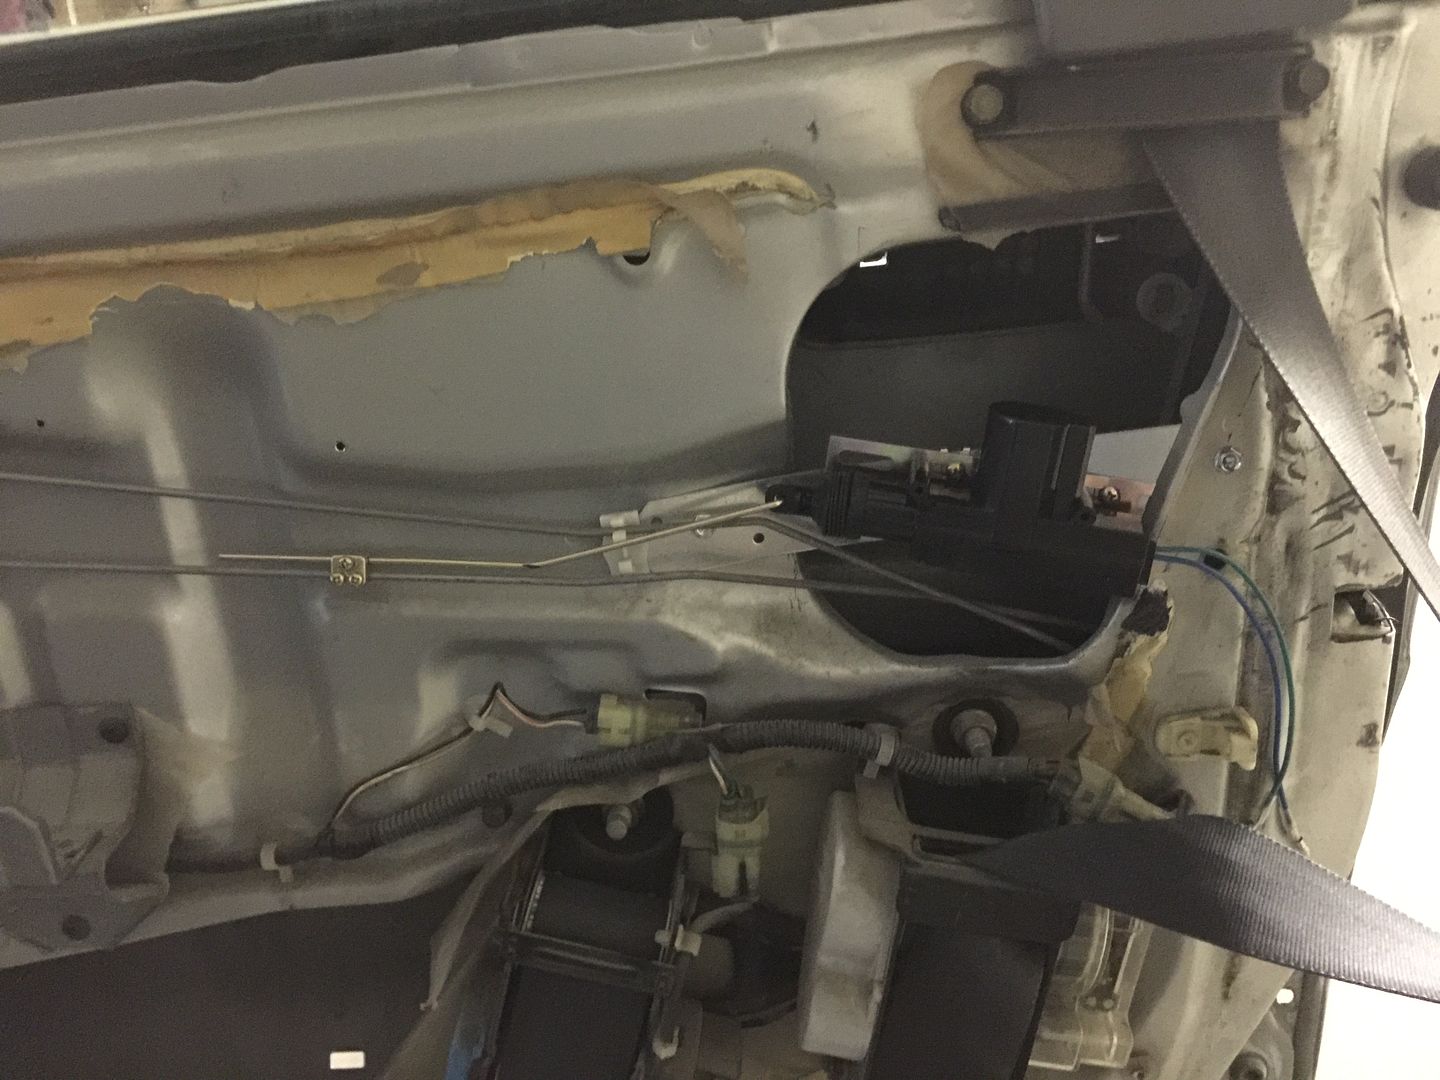
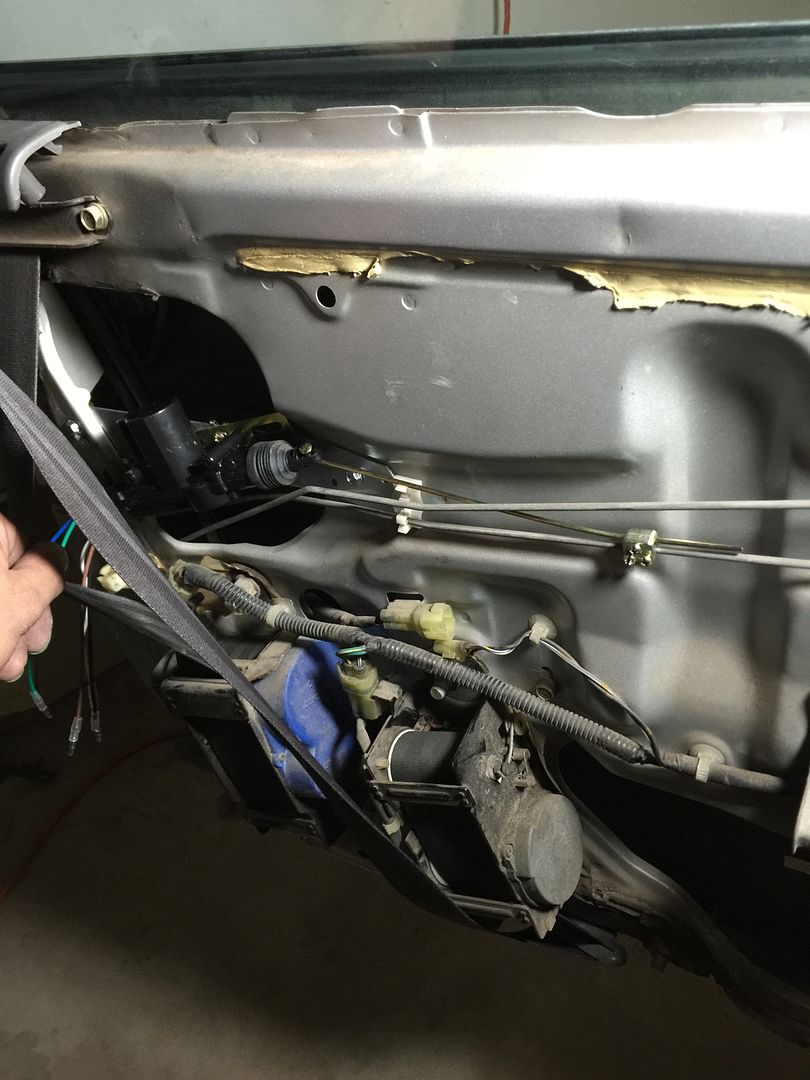
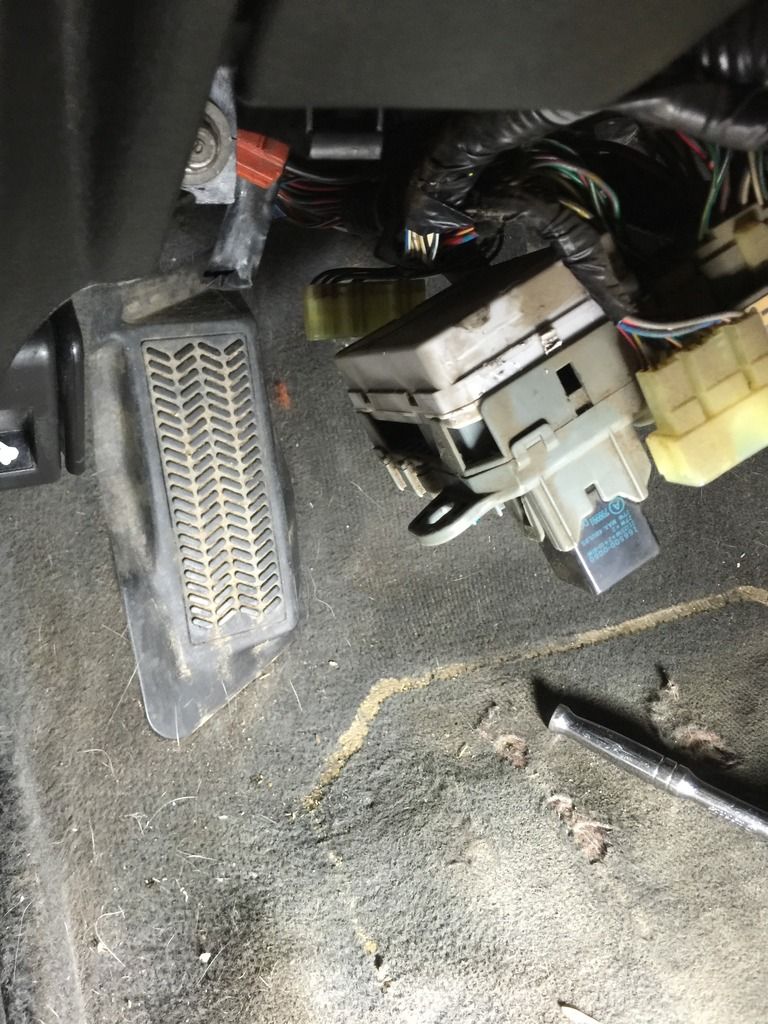
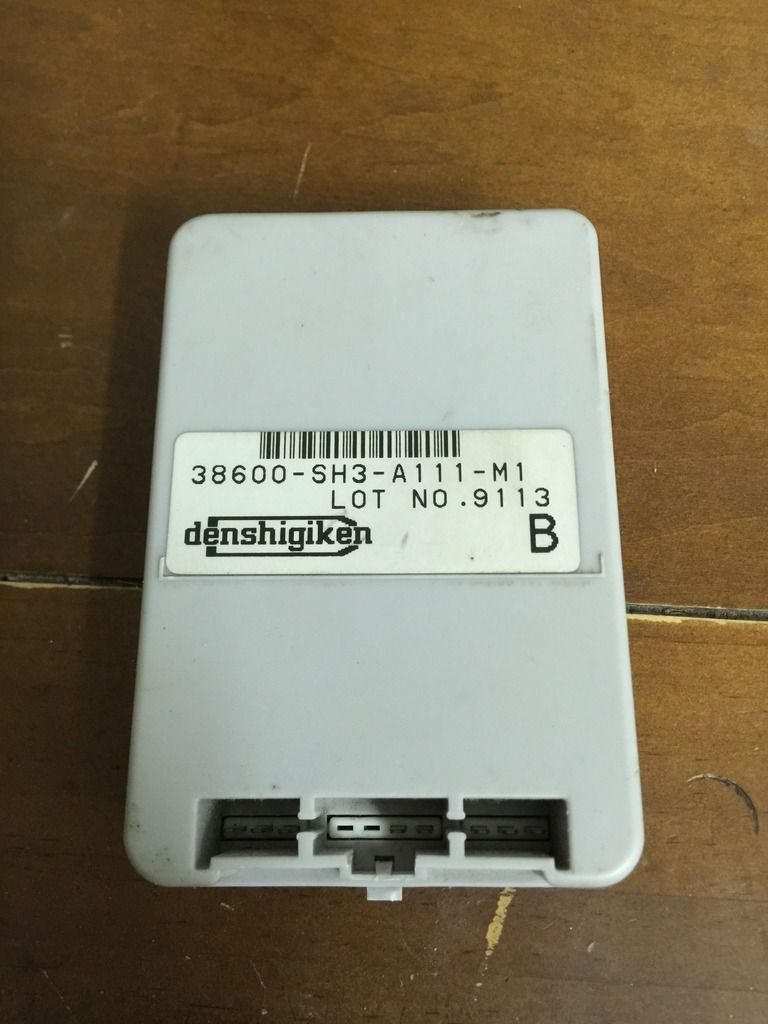
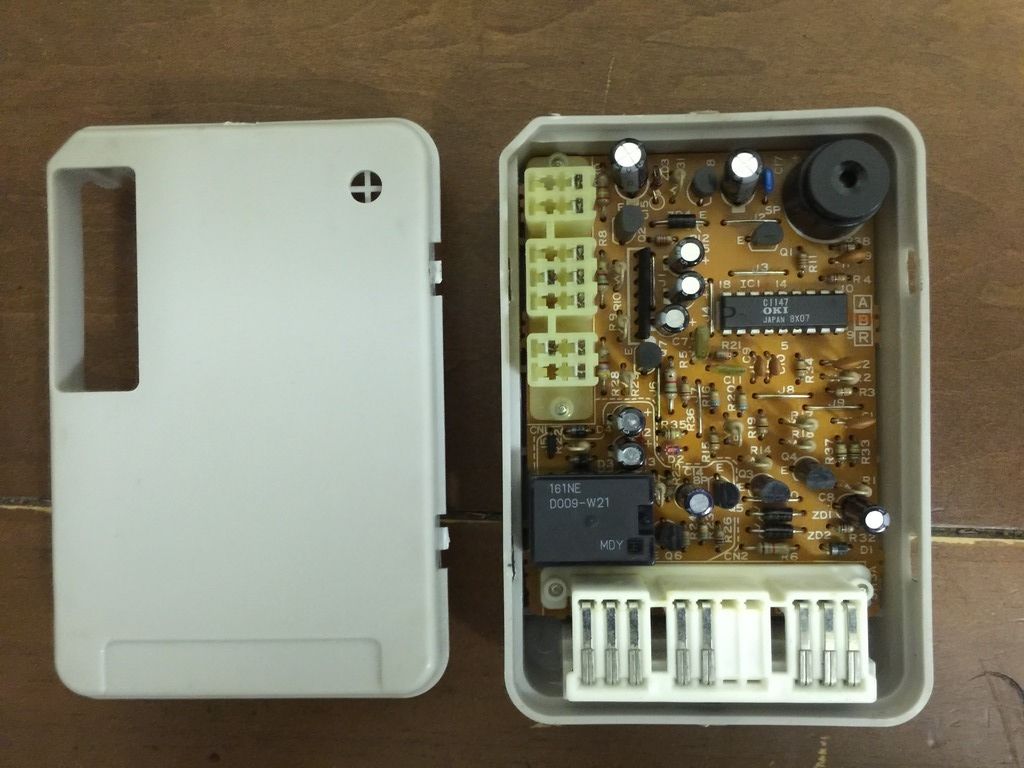
So gain access to your driver side dash fuse box and unplug the 3 white plugs from the front, then take off the 2 10mm nuts and let the fuse box hang. On the backside you will see this larger white/gray box. Unplug the connector from the bottom, then press down on the top tab and remove from top to bottom (theres a blind connector on the back topside) and take it to your work location.


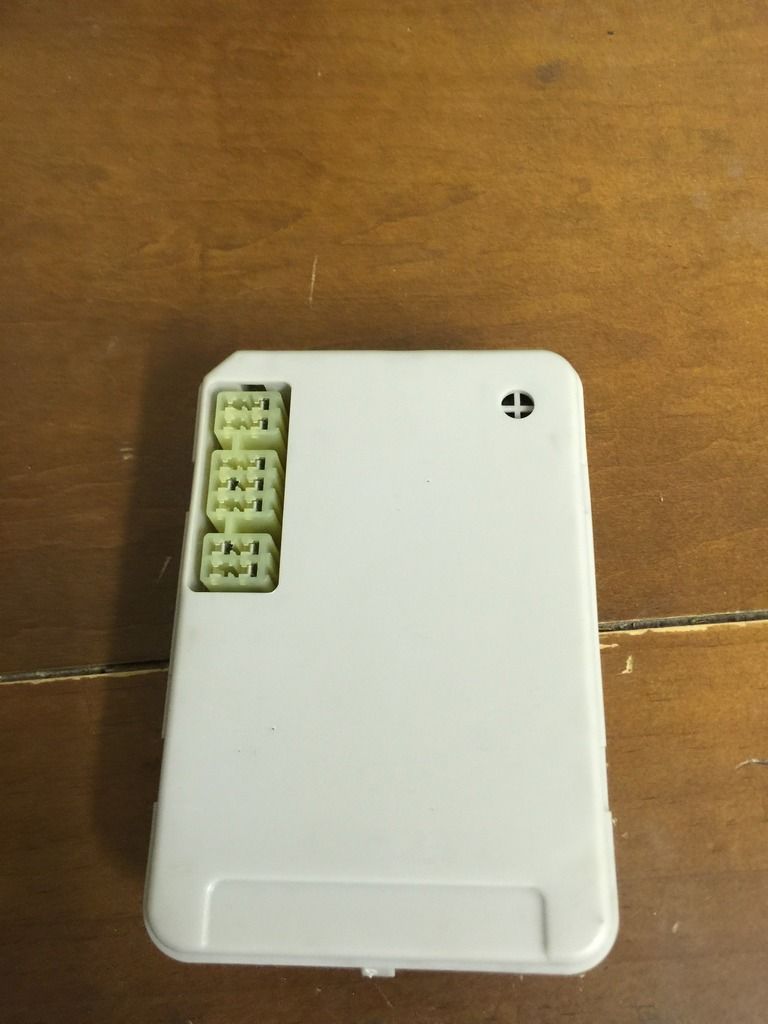
Plug in your soldering iron and let it heat up, grab your solder removal tool as well. While thats heating up your going to press down on the 2 push tabs on either side to pry it open, then switch over and do the other 2 and separate the case.

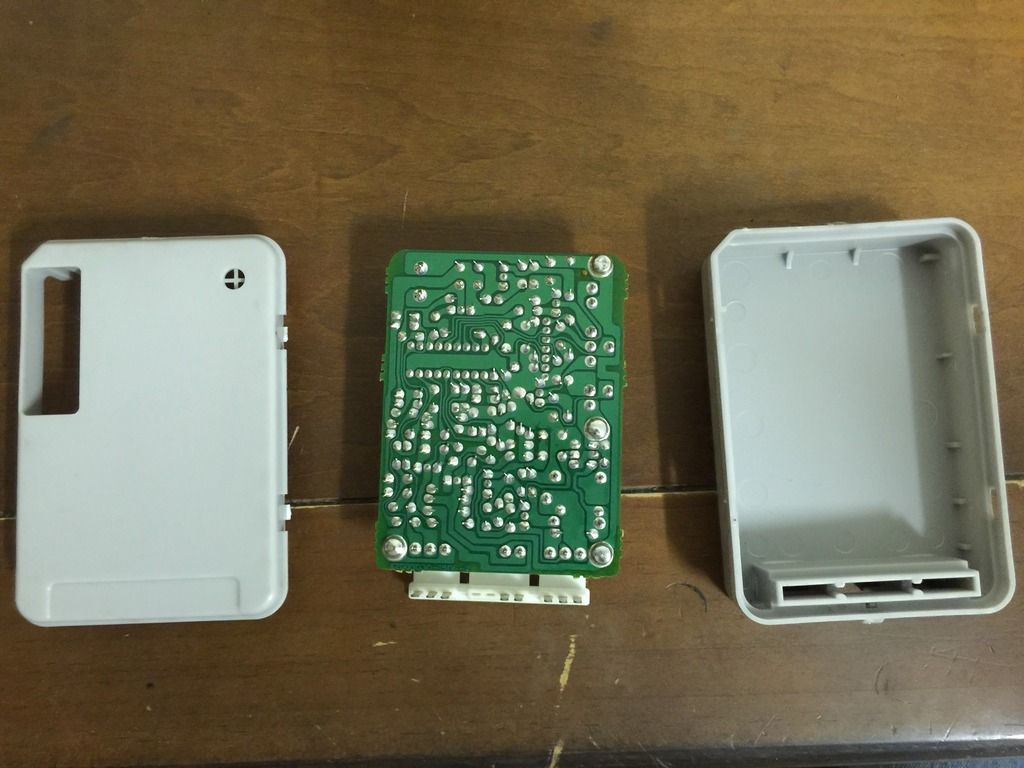
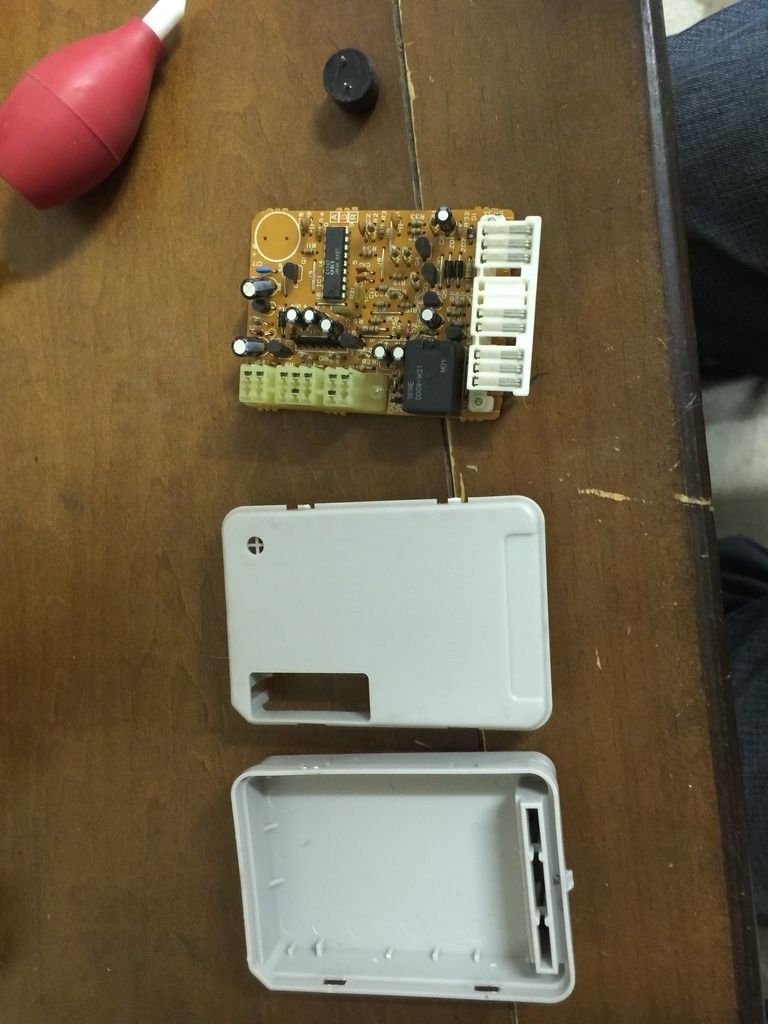
The culprit of my irritation is in the upper right hand corner, or upper left hand corner once flipped over. Grab the white connecter section and lift the circuit board out of the case. Once out flip it over and remove the solder from the backside of the speaker, it helps to have someone else gently tug on the speaker while you de-solder it. (you can skip this extra work all together and just break the speaker off if you want. I chose to do it like this in case i ever want to put it back)


Once done just put everything back together in reverse order. Sit back and enjoy everything working as it should when you open the door……….but with absolute silence!!!!!!! ITS WONDERFUL!!!!!!!
 

Intertwined

It's onski brah
Registered VIP
5+ Year Member
Gotta love when family comes through when you’re broke and bored. Was given some car loot today. Nothing special, but will keep me occupied a bit.


The loot:


Old Spectre filter VS New K&N filter:


Installed the K&N as well as the un-pictured new battery terminals:


Now to get to work on more sanding and priming!
 

Intertwined

It's onski brah
Registered VIP
5+ Year Member
I feel pretty accomplished for the day, so Im going to go ahead and post up progress.


Started out by getting the tail lights and rear bumper cover off so I could see what kind of damage was underneath. Fortunately the chassis is free and clear of any rust behind the bumper, buttttttttt the actual bumper itself is toast.


Then I went ahead and got everything taped off before sanding and some patchwork.


The next i don't know how many hours consisted of sanding, placing Bondo Glass & sanding some more. There were a couple dents above the gas tank I took care of. Followed by a larger dent on the passenger door, I also went ahead and put aluminum waterproof tape along the inside of the passenger door and filled that in for a temp patch were it was rotted out. And seeing as my antenna is now relocated I went ahead and shaved the stock antenna location. I attempted to fill in the rear wiper hole but it was no cooperating with me so ill just keep the plug. Also I went ahead and mended the broken passenger fender.


Got her all smoothed out, all the runs in the white paint gone…..for the most part, i noticed some on the front bumper after putting primer down. Then away I went with my spray cans. The last picture is where I ended for the night. Ran out of primer before being able to do the hood.


Next up will be getting the hood in primer. After that I need to fabricate some brackets to hold the rear bumper cover in place. Ill also get some pictures after its dry, it shouldnt look so bad lol.

Now I need to get a bunch of Silver paint and some Black body trim paint!!!!!
 

Osiris19

oilBurner
Registered VIP
Registered OG
5+ Year Member
10+ Year Member
This is awesome man. Loving the work your putting in to restore this little gem. Keep it up!

Sent from my SM-N910V using Tapatalk
 

Intertwined

It's onski brah
Registered VIP
5+ Year Member
TYVM Osiris.

Here are some pics i took this morning after removing the tape/paper. Itll hold up until i can get some Silver paint.
 

Intertwined

It's onski brah
Registered VIP
5+ Year Member
Last project for the week. Im not putting the rear bumper support back on so I needed to make some brackets to hold the bumper in place. The 2 screws on each side alone did not cut it. It hung a lot as seen here when i went to go pick up some hardware.


So all I did was get 3 L brackets that have slotted holes in them. I had to cut about 1/2” off the center one and cut out the solid section so it could act like a slide for the bolt. Marked the location for each brace, drilled appropriate holes in both bumper and chassis and bolted in place.


Tested to make sure the bumper was eyeball level and installed it.


After getting it all buttoned up I realized the gap between the taillights and the bumper is a little more than id like. I will have to take it all apart and slide the brackets all up about 1/4” and it'll be great. Thats the downside to how I made the brackets, taillights have to come out in order to take the bumper off. Going to find a way to fix that issue. Aside from that its held in place and isn't going anywhere easily :D
 

MACE

New Member
:whiner::banhim::brickshead:Looking good man!!
i miss my crx
one of the best cars of all time
cut the springs i want to see that thing slammed
 

Intertwined

It's onski brah
Registered VIP
5+ Year Member
:whiner::banhim::brickshead:Looking good man!!
i miss my crx
one of the best cars of all time
cut the springs i want to see that thing slammed
TY

Im digging it, even with its underpowered engine its fun to drive.

And NO, i will not be cutting the springs ><
 

Intertwined

It's onski brah
Registered VIP
5+ Year Member
Current Progress:


Will be redoing the window trim in black soon to cover any over spray from previous owners as well as any that i didn't cover well enough. Once the paint has had time to harden I will wet sand it then get some clear on and it'll be good until real body work/paint can be done.
 

Intertwined

It's onski brah
Registered VIP
5+ Year Member
Nothing fancy, but I now have power locks. Picked up a Biltek manual to power lock kit for even cheaper than the $33.00 they sell for (got it for $10). I did have to spend about $4.00 in hardware to make my own brackets & some self tapping screws. The brackets provided in the kit were to short for the location that I chose.


Just a couple pics of the motor location. I picked this spot for being the only spot that was out of the way of the door panel once installed.


And a short video of it working. Such a small/nice feature to have again, and more than worth the money even at $33.00
 

Krukowskid

New Member
Nice work! Imo it will looks better with black lower part of bumpers, handles etc like in original (EDM at least, maybe USDM too)


Intertwined

It's onski brah
Registered VIP
5+ Year Member
Nice work! Imo it will looks better with black lower part of bumpers, handles etc like in original (EDM at least, maybe USDM too)

TYVM. Not going with the black trim and handles. Car will be one solid color. The silver rattle can job was just to tide me over and not have it look as crappy as it did. Seeing as a previous owner decided to go from original silver to a super crap panda paint job.
 

Intertwined

It's onski brah
Registered VIP
5+ Year Member
Projects like this make me miss my '89 CRX-Si. it was so quick & nimble.

Im glad you didn't listen to him.
Its nice having a project again for the first time in a few years. Just wish I could do more things to it right away.
 

MACE

New Member
Must have got happy with the emogie button sorry about that
whats next for the crx


Top