Gus-CloverEk4
New Member
Hi guys, just signed up to the forum after owning my Ek for 7 months and getting it back on the road here in sunny Scotland.
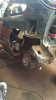
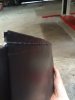
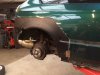
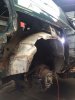
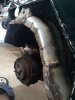
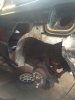
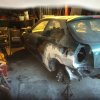
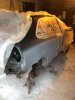
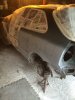
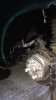
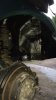
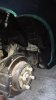
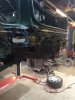
Bought my Ek thinking it was a good clean example, untill my MOT was due. And what i found was a botched and tarted up set of rear arches with a serious amount of body filler and fibre glass, so the welder had to come out to save my childhoods favourite car.
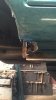
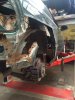
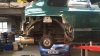
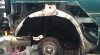
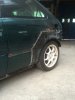
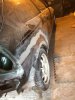
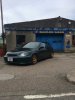
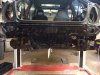
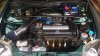
The way the vti looked when i bought it...

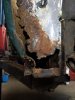
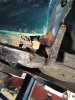
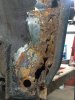
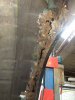
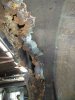
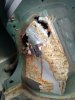
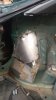
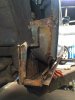
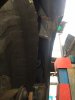
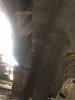
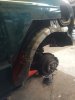
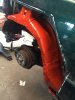
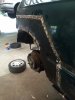
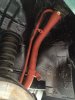
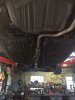
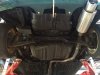
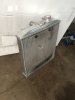
Then MOT time came and This is what i had found,


Bought my Ek thinking it was a good clean example, untill my MOT was due. And what i found was a botched and tarted up set of rear arches with a serious amount of body filler and fibre glass, so the welder had to come out to save my childhoods favourite car.
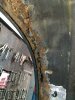
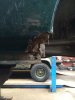
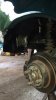
The way the vti looked when i bought it...

Then MOT time came and This is what i had found,