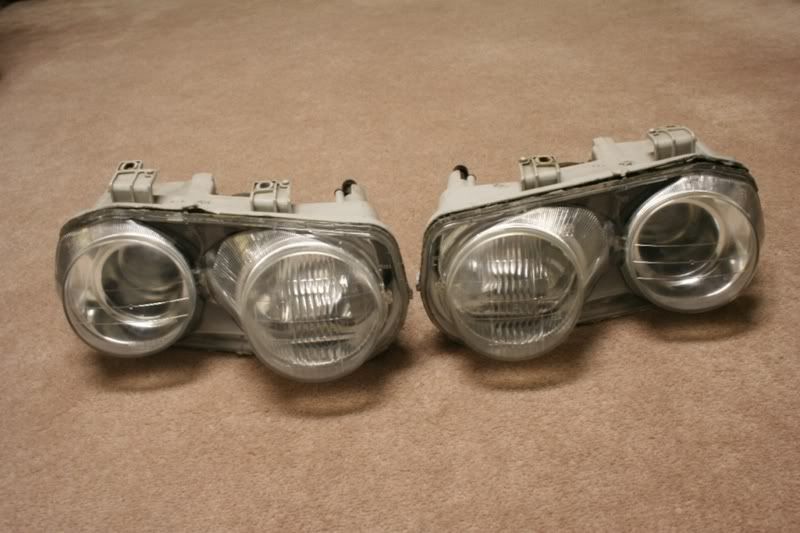
While I realize this is a Civic forum, thought some people can benefit from this...
Parts:
- TSX Projectors w/ clear lens
- 50watt slim ballasts & ignitors
- 5000k bulbs
- stock headlights
Miscellaneous:
- tape
- drill/drill press
- socket wrench/sockets
- clear silicone
- 800, 1000, 2000 grit sandpaper
- soapy water
- headlight lens cleaner and polish
- dremel
- screwdriver(s)
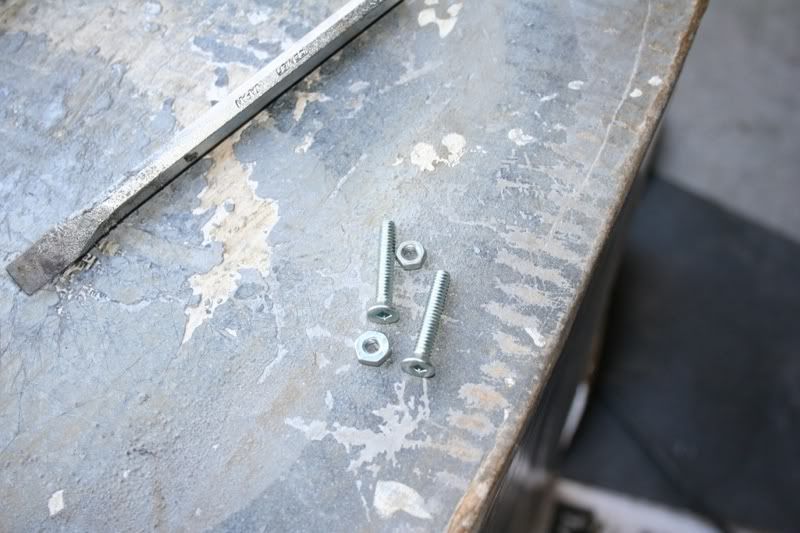
- bolts and nuts
- PVC pipe
- chrome paint
- patience, patience, PATIENCE
Steps:
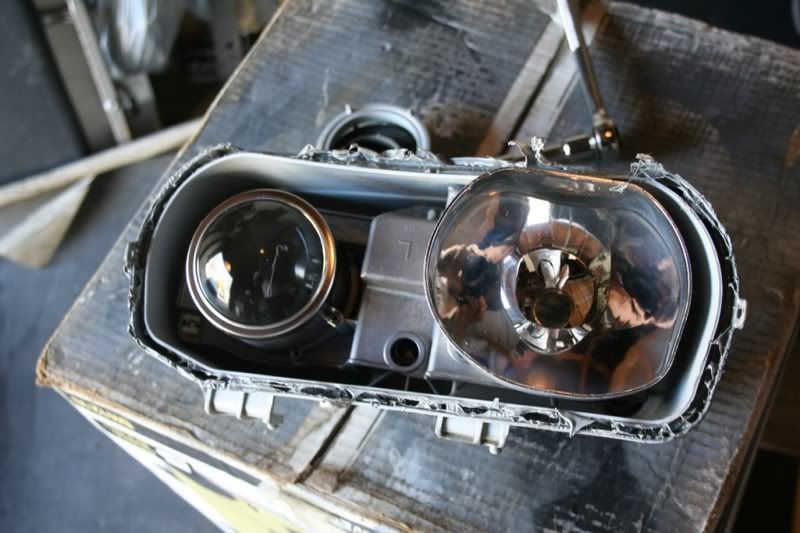
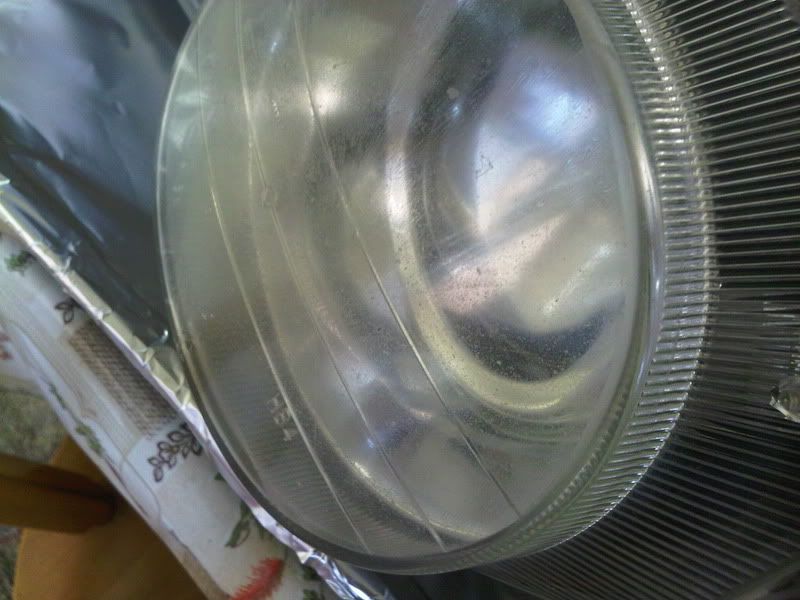
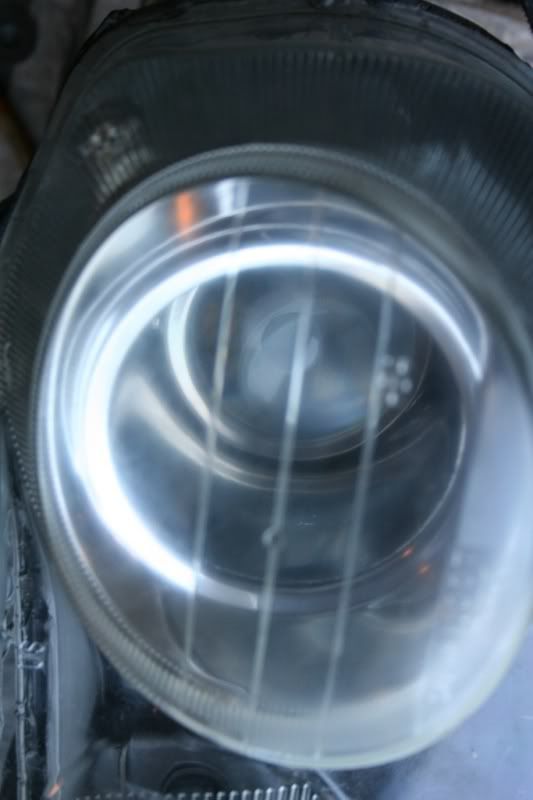
1) Insert your headlight into the oven at 400 degrees for no more than 5 min. Take it out and pull apart the cover

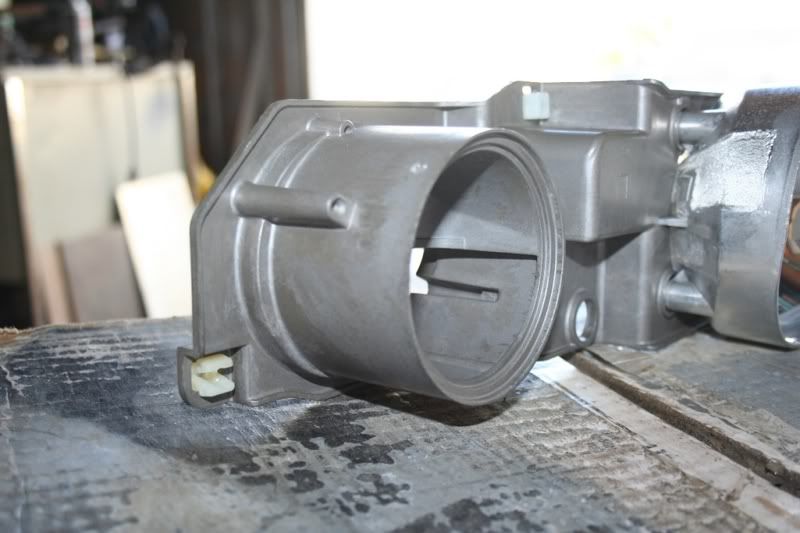
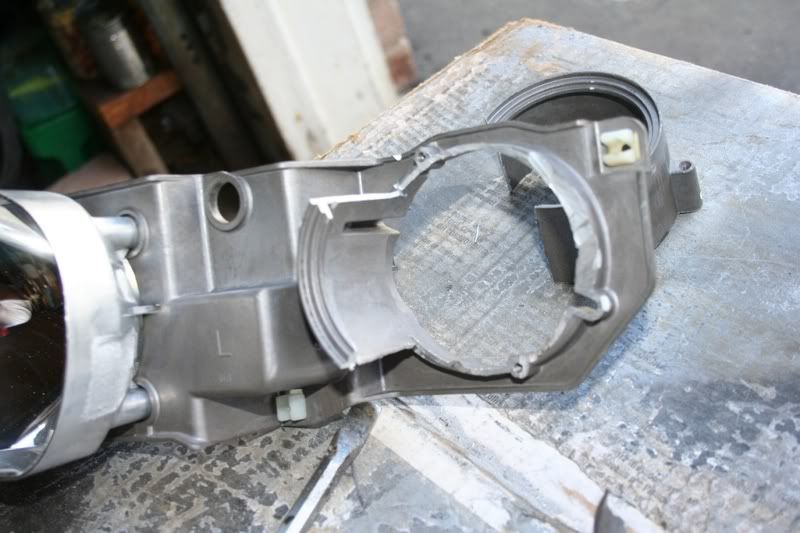
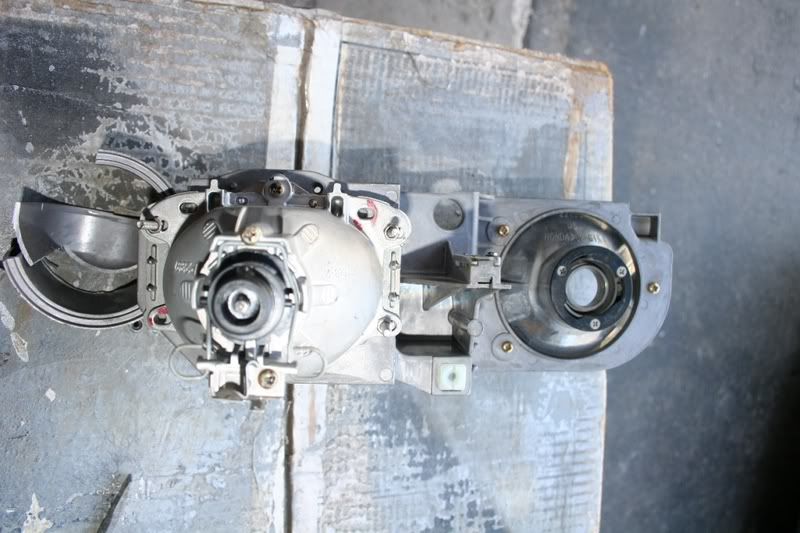
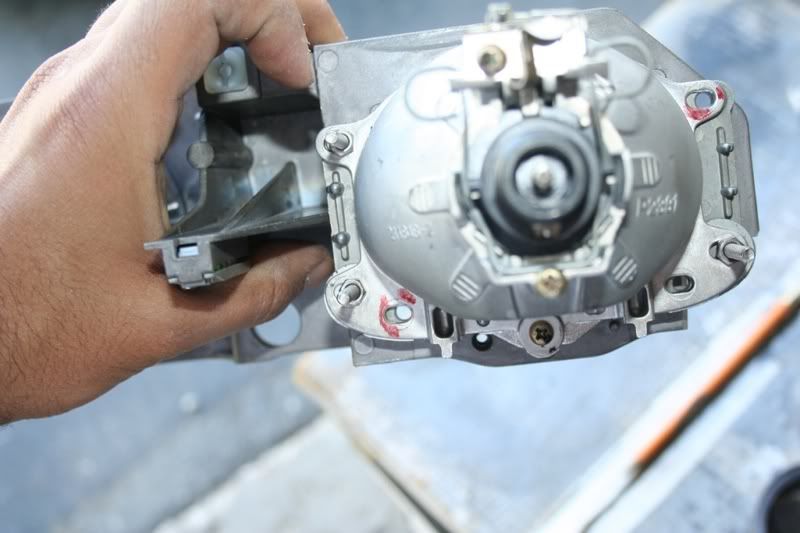
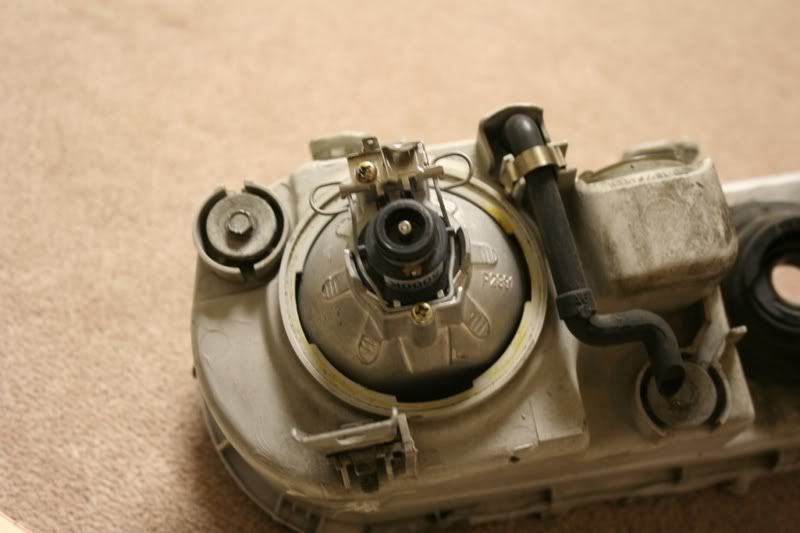
2) We need to remove the reflector/stock projectors from the headlight housing. Do this by unscrewing the two adjustment bolts
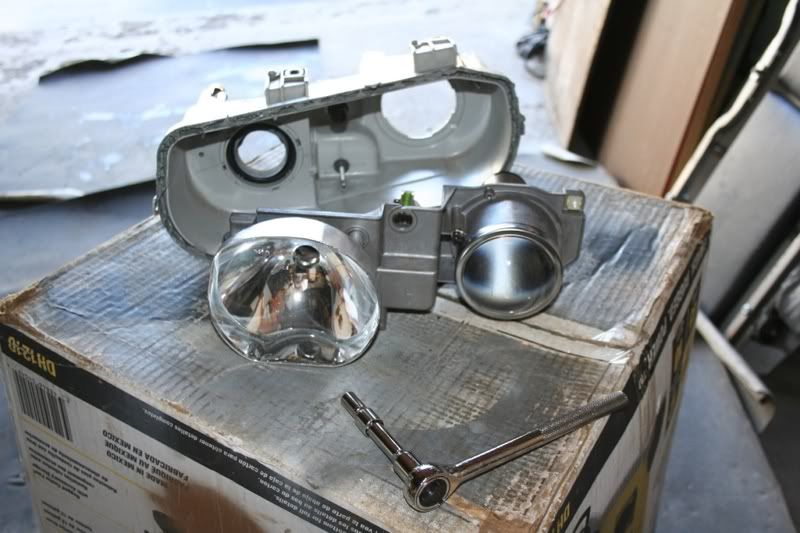
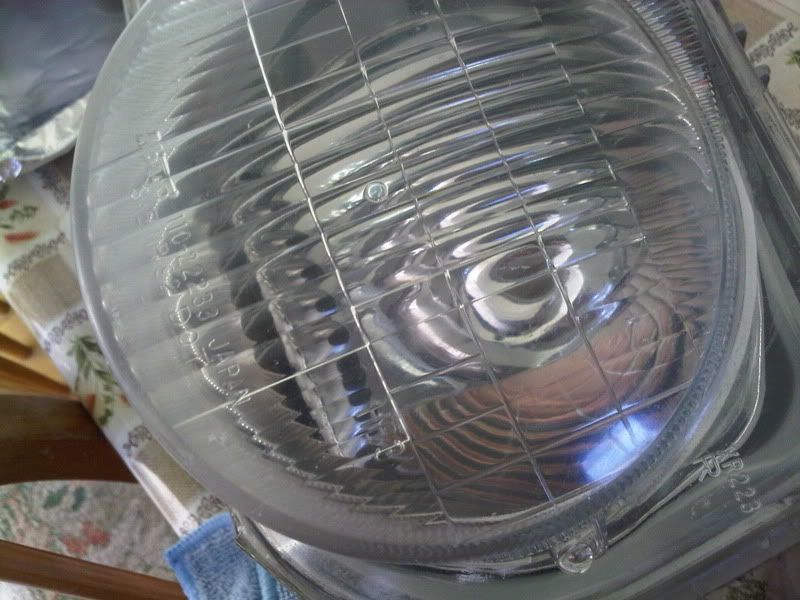
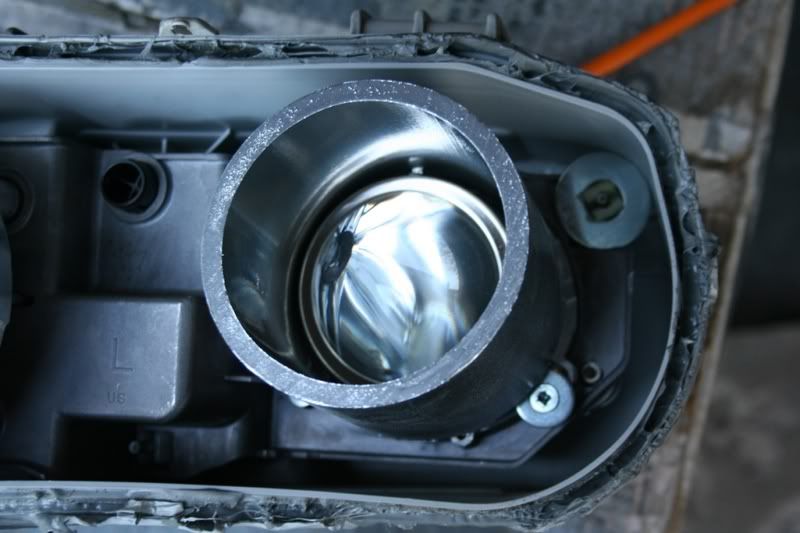
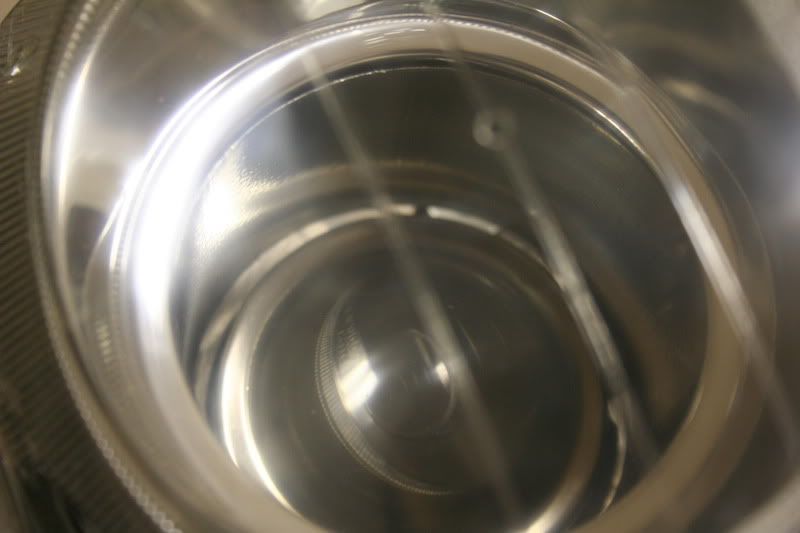
3) Unscrew the projector by removing all the screws. There are 4 in total, two on the back and two on the front which hold in the lens
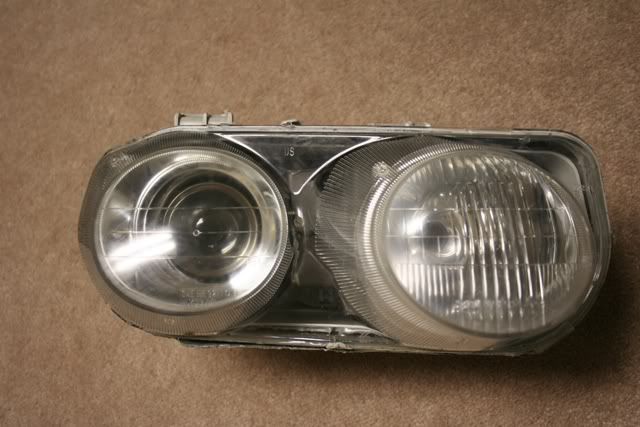
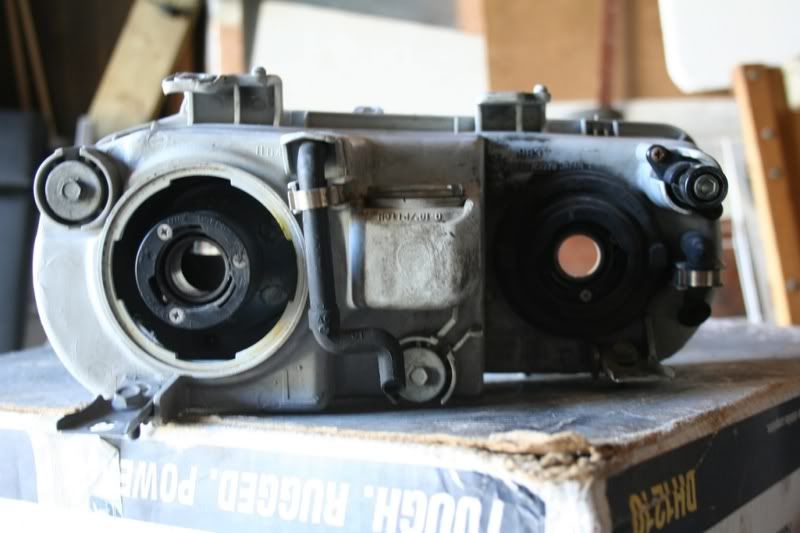
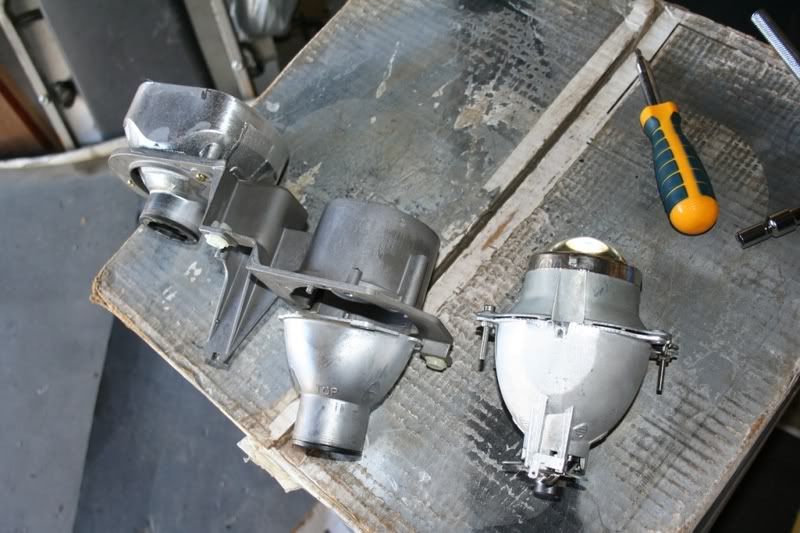
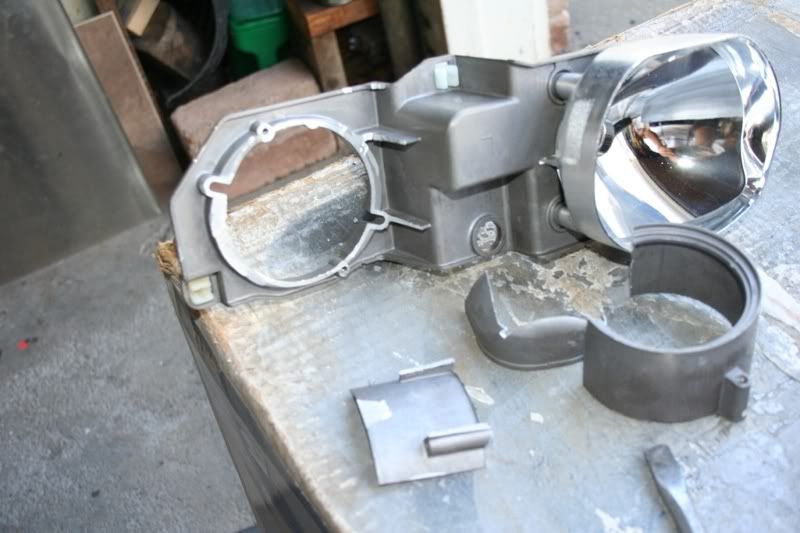
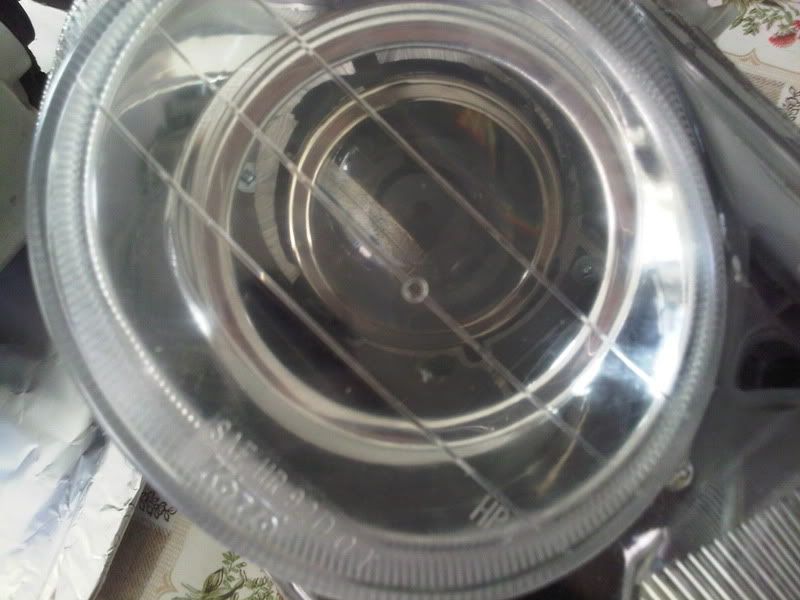
4) This is what you should be left with.
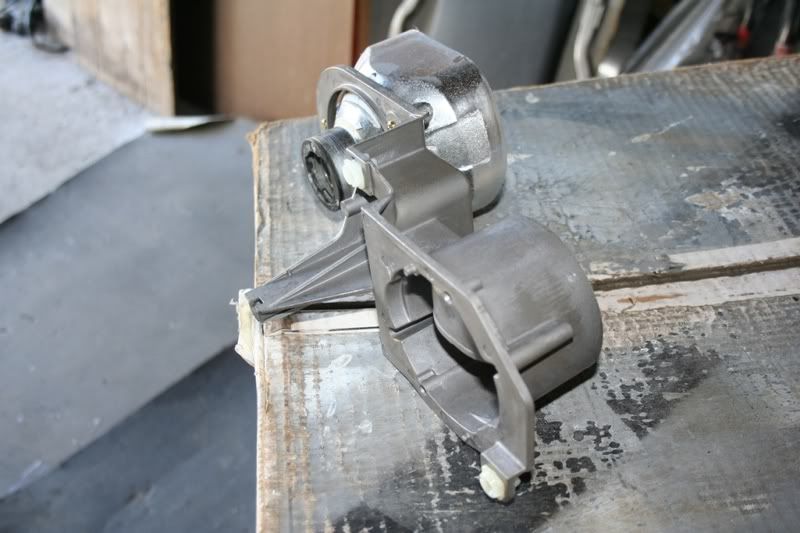
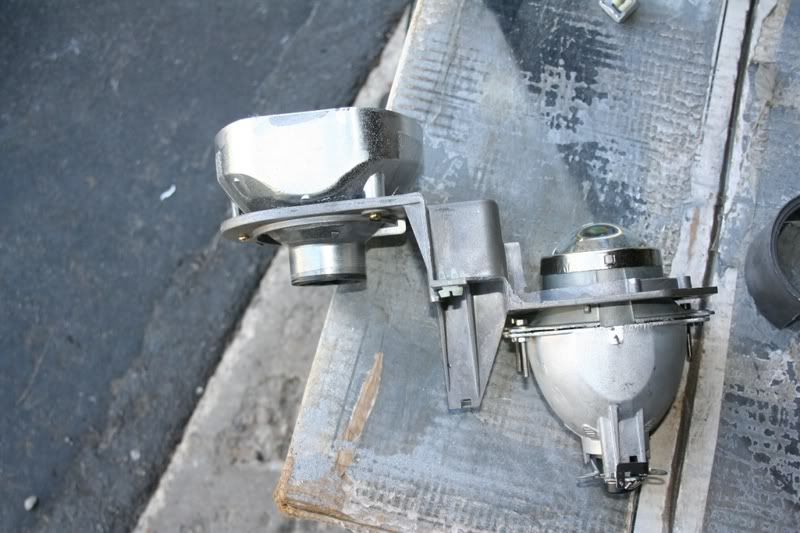
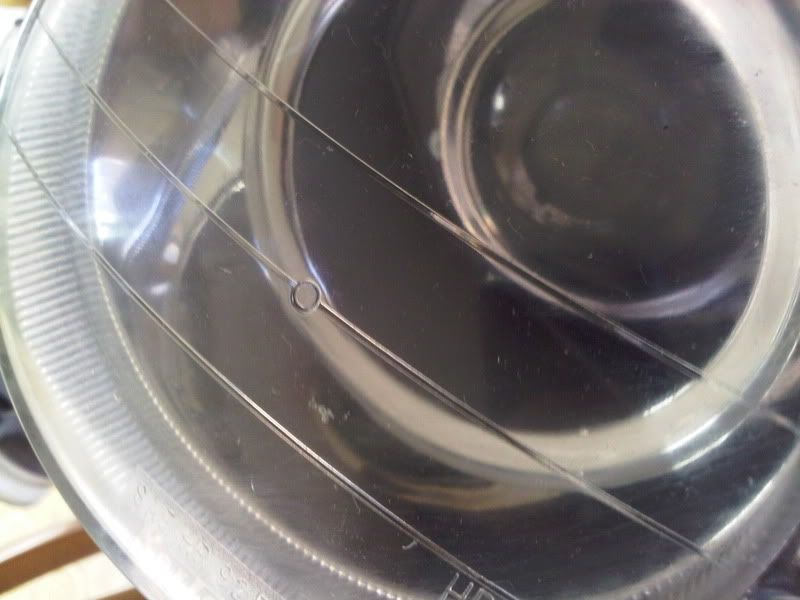
Comparison of stock projector vs TSX. pretty similar size:
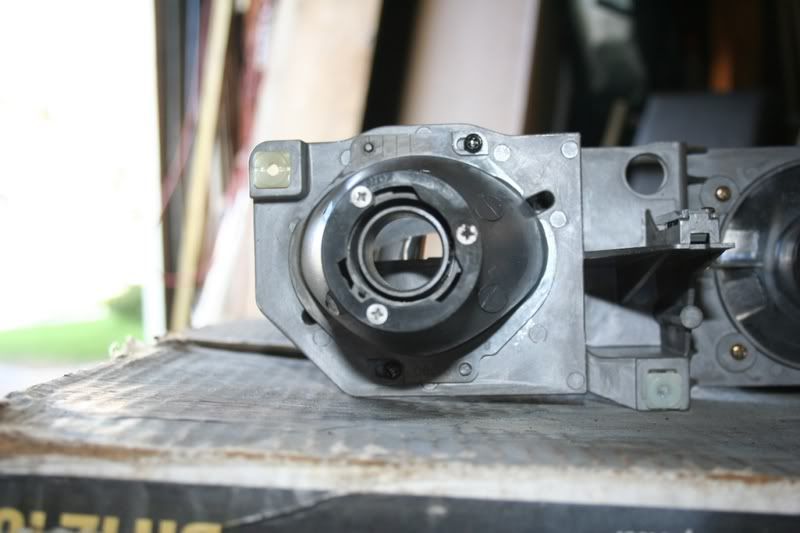
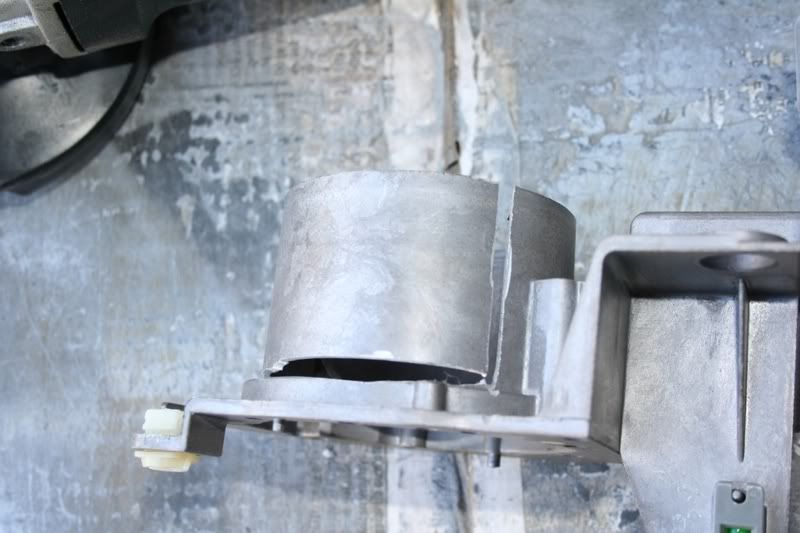
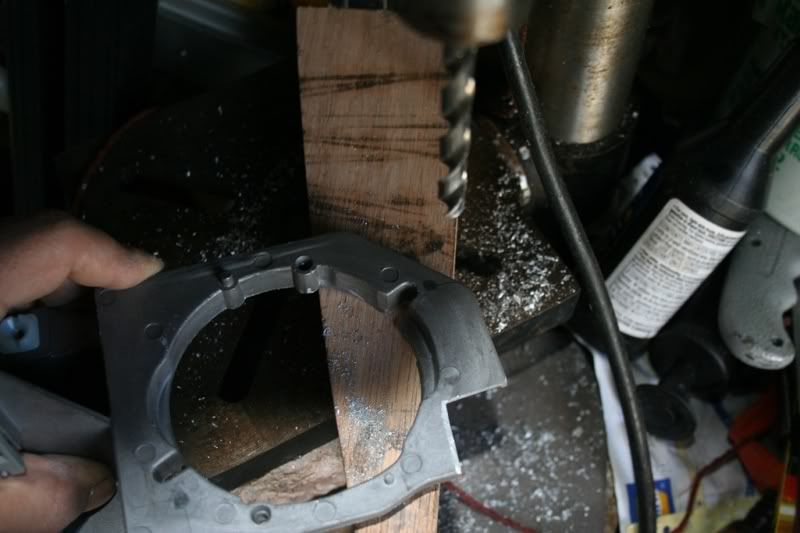
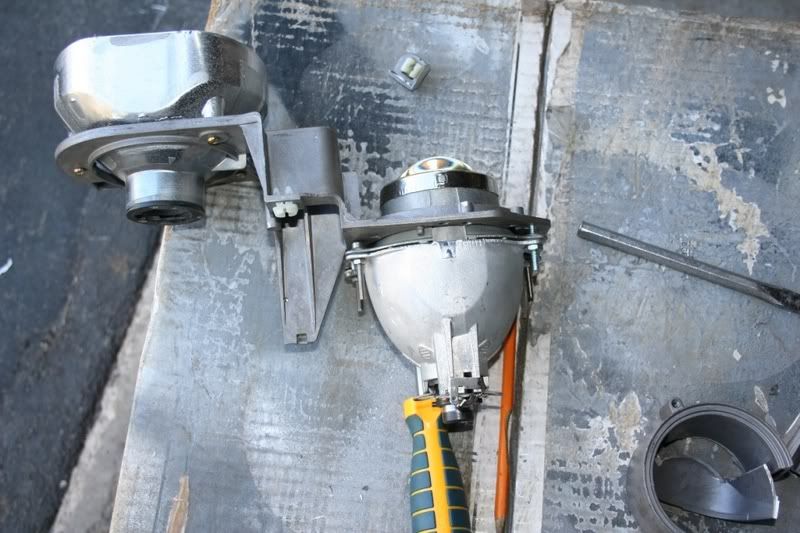
5) Now the fun part. we want to cut whatever is left of the stock projector, but keep the frame as is. This will take some time so be patient. I used a dremel for this.
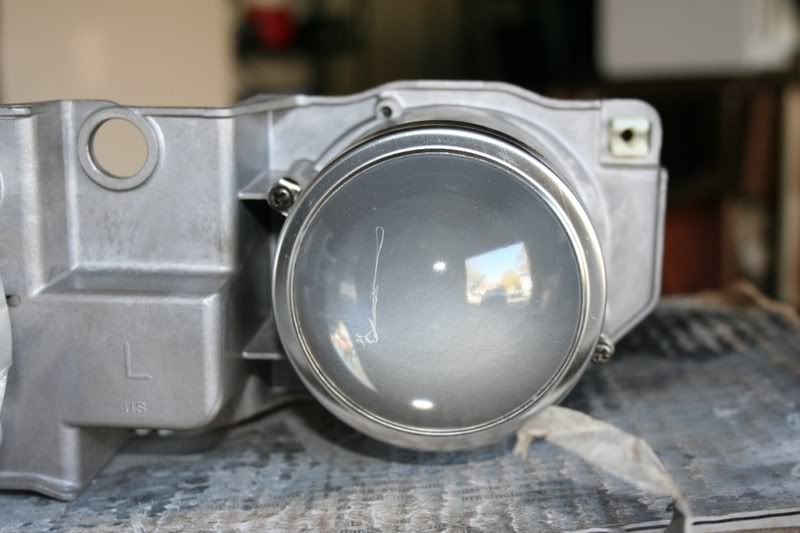
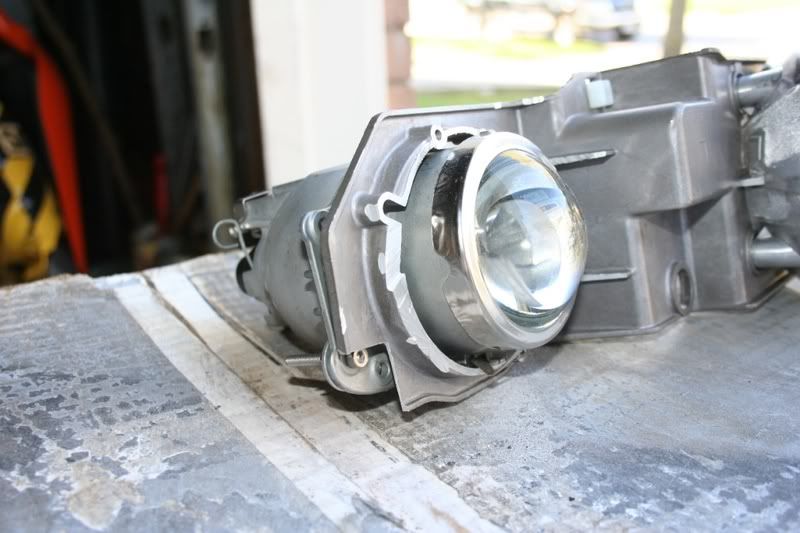
6) Now we can test fit our projector
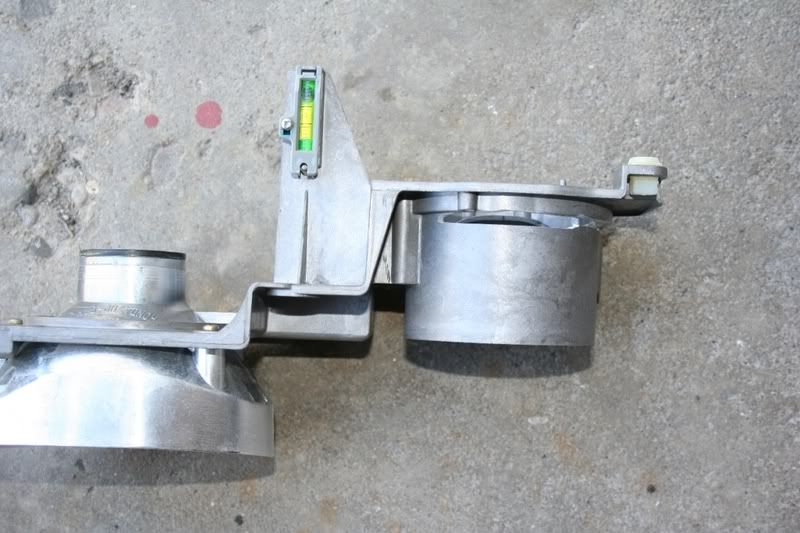
7) Line it up horizontally with the frame and mark where you will be bolting it in. You may need to use a level. MAKE SURE YOUR PROJECTORS ARE NOT UP SIDE DOWN!!!!!!
8) Drill the holes for your bolts
9) Mount the projectors to the frame. MAKE SURE YOUR PROJECTORS ARE NOT UP SIDE DOWN!!!!!!
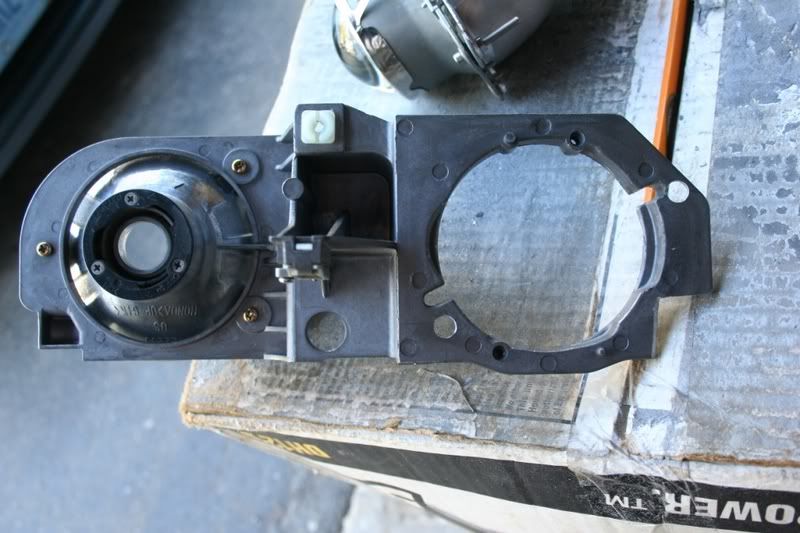
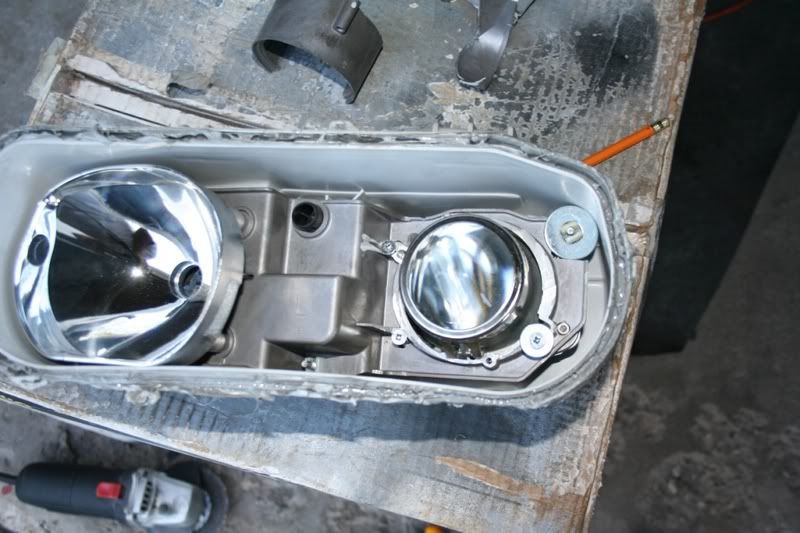
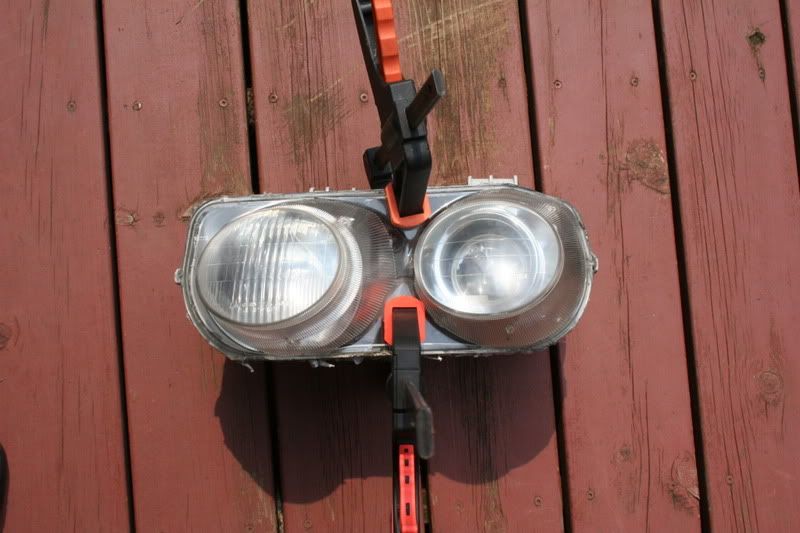
10) Insert back into headlight housing
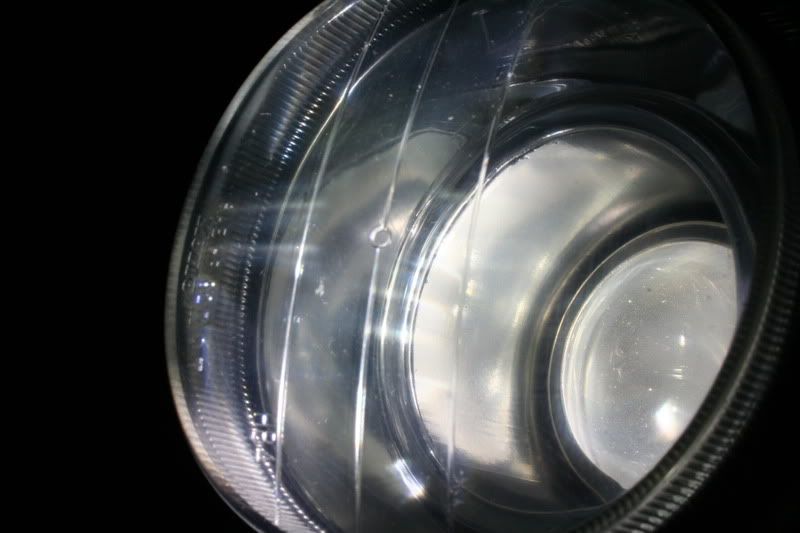
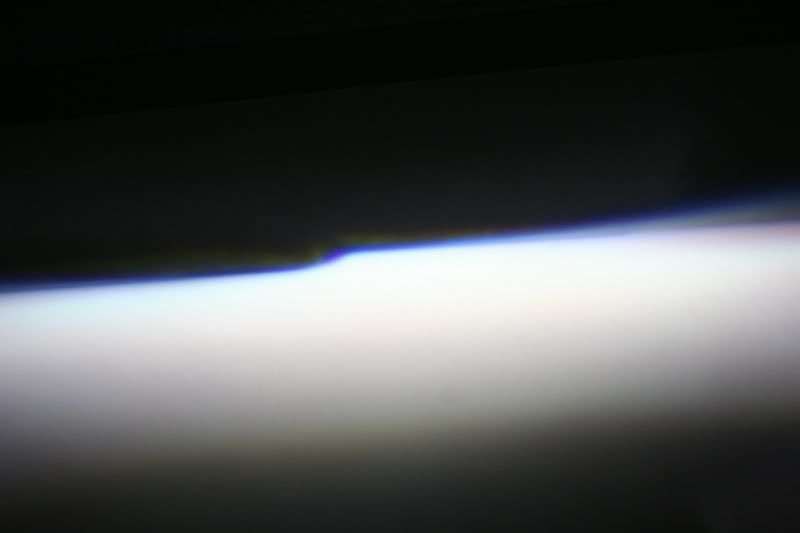
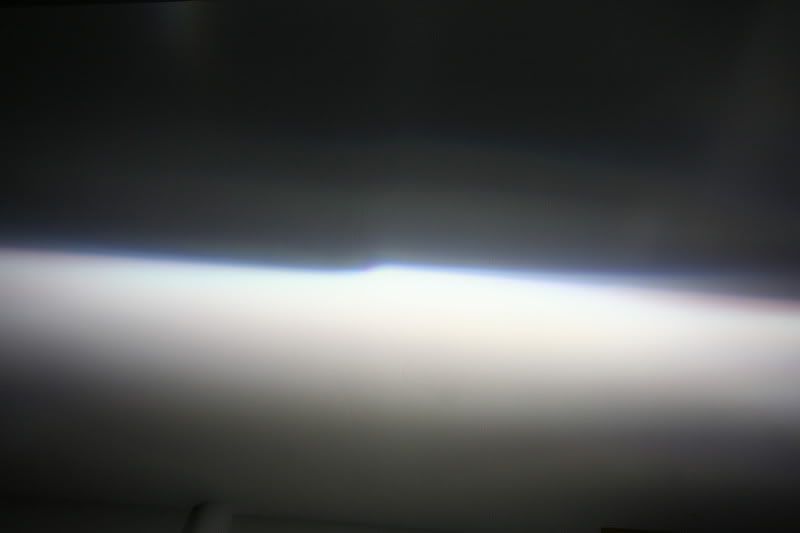
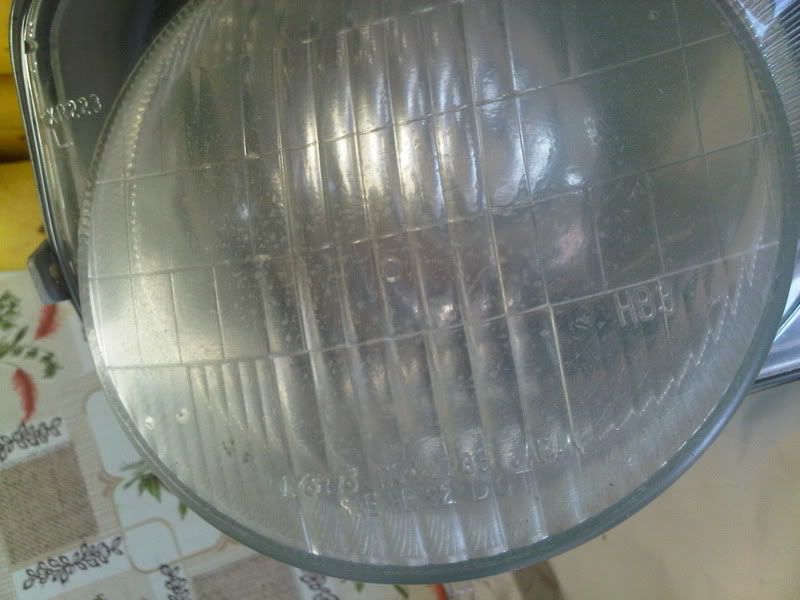
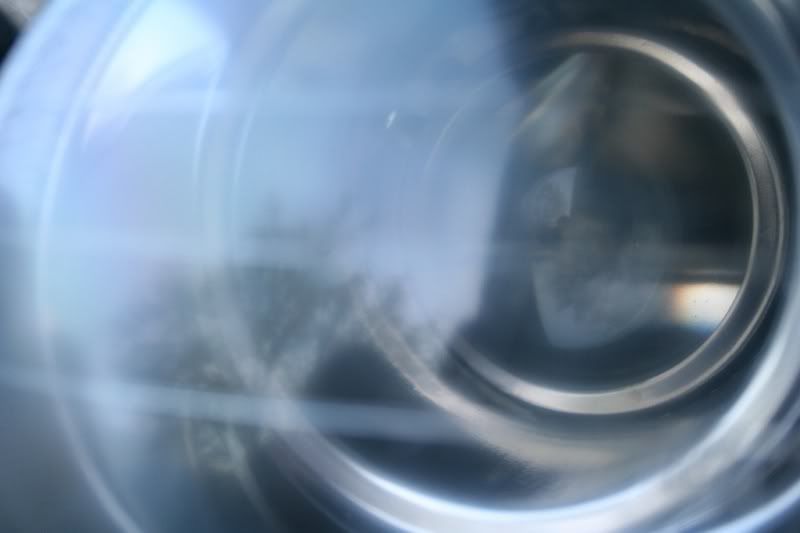
11) Now we're just gonna leave the housing as is and move on to the headlight covers. We want them CRYSTAL CLEAR!!! Begin by sanding with 800 grit, 1000, grit and then 2000 grit sandpaper. After the surface is smooth BEGIN wet sanding (using soapy water) with the 2000 grit sandpaper and apply some headlight cleaner. After that, polish them off and then ur DONE! This is a time consuming process so take your time and don't rush. Each cover took me about 20-30min.
Before:
After:
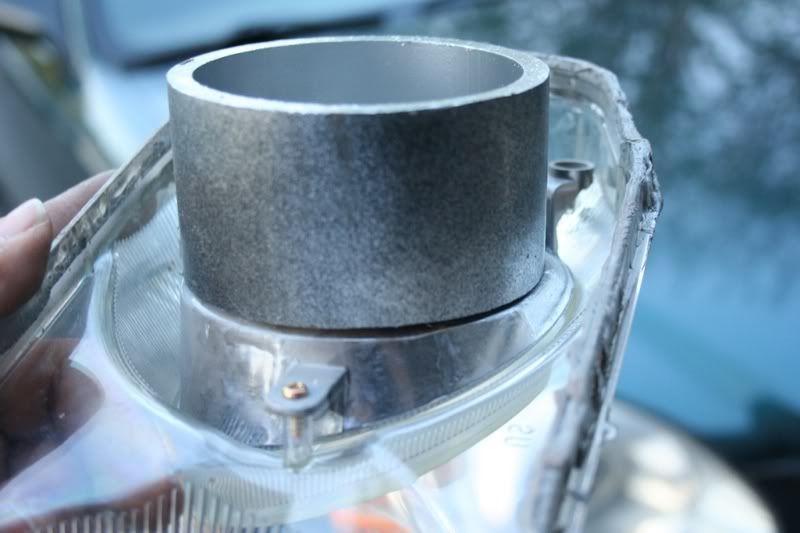
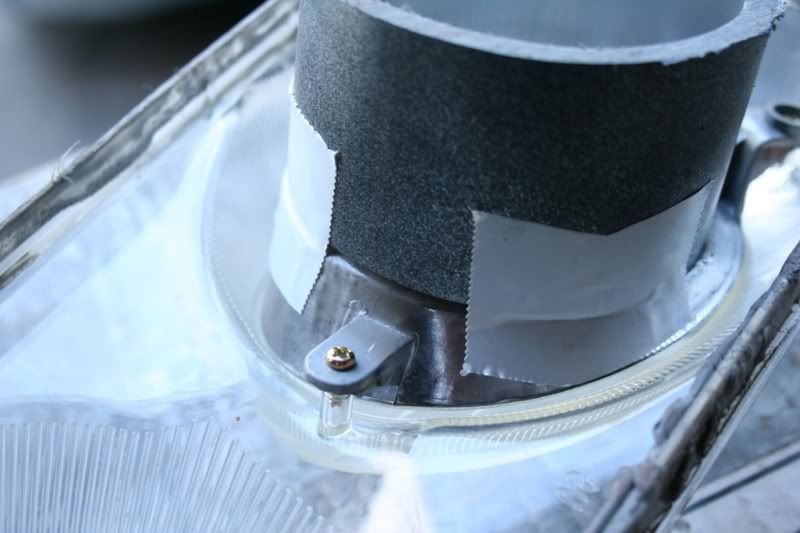
12) put your headlight covers on just to see what they'll look like. Depending on how you mounted your projectors you might notice a pretty sizable gap. So I headed over to Home depot and got a PVC pipe to match the diameter of the projectors and painted them chrome to match the reflector. Then I taped and glued them to the headlight covers to make the gap look nicer.
Before:
After:
13) Seal the headlights. I used clear silicone and heated the headlights at 400 degrees for about 3 min to make them seal nicely.
14) I also put some clear silicone around the back of the projectors where they stuck out of the headlight housing to keep out the water
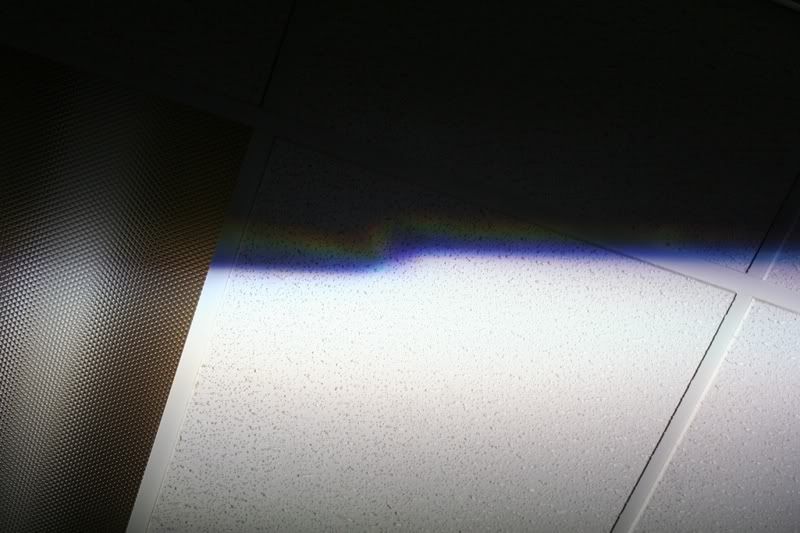
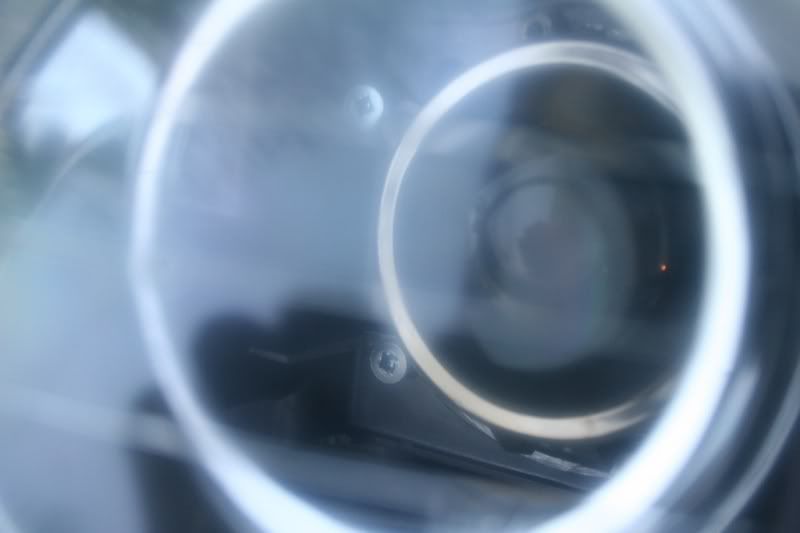
15) DONE AND DONE! (sorry for the last blurry pic... manual focus FTL)
Parts:
- TSX Projectors w/ clear lens
- 50watt slim ballasts & ignitors
- 5000k bulbs
- stock headlights
Miscellaneous:
- tape
- drill/drill press
- socket wrench/sockets
- clear silicone
- 800, 1000, 2000 grit sandpaper
- soapy water
- headlight lens cleaner and polish
- dremel
- screwdriver(s)
- bolts and nuts
- PVC pipe
- chrome paint
- patience, patience, PATIENCE
Steps:
1) Insert your headlight into the oven at 400 degrees for no more than 5 min. Take it out and pull apart the cover
2) We need to remove the reflector/stock projectors from the headlight housing. Do this by unscrewing the two adjustment bolts
3) Unscrew the projector by removing all the screws. There are 4 in total, two on the back and two on the front which hold in the lens
4) This is what you should be left with.
Comparison of stock projector vs TSX. pretty similar size:
5) Now the fun part. we want to cut whatever is left of the stock projector, but keep the frame as is. This will take some time so be patient. I used a dremel for this.

6) Now we can test fit our projector
7) Line it up horizontally with the frame and mark where you will be bolting it in. You may need to use a level. MAKE SURE YOUR PROJECTORS ARE NOT UP SIDE DOWN!!!!!!
8) Drill the holes for your bolts
9) Mount the projectors to the frame. MAKE SURE YOUR PROJECTORS ARE NOT UP SIDE DOWN!!!!!!
10) Insert back into headlight housing
11) Now we're just gonna leave the housing as is and move on to the headlight covers. We want them CRYSTAL CLEAR!!! Begin by sanding with 800 grit, 1000, grit and then 2000 grit sandpaper. After the surface is smooth BEGIN wet sanding (using soapy water) with the 2000 grit sandpaper and apply some headlight cleaner. After that, polish them off and then ur DONE! This is a time consuming process so take your time and don't rush. Each cover took me about 20-30min.
Before:
After:
12) put your headlight covers on just to see what they'll look like. Depending on how you mounted your projectors you might notice a pretty sizable gap. So I headed over to Home depot and got a PVC pipe to match the diameter of the projectors and painted them chrome to match the reflector. Then I taped and glued them to the headlight covers to make the gap look nicer.
Before:
After:
13) Seal the headlights. I used clear silicone and heated the headlights at 400 degrees for about 3 min to make them seal nicely.
14) I also put some clear silicone around the back of the projectors where they stuck out of the headlight housing to keep out the water

15) DONE AND DONE! (sorry for the last blurry pic... manual focus FTL)