
DIY: OEM Fog Light Switch on DEPO (Aftermarket) Fog Light Harness
This How-To is based solely on my experience, however, I take no responsibility for your actions when attempting this install.
This How-To is based solely on my experience, however, I take no responsibility for your actions when attempting this install.
This DIY will allow you to use an OEM Honda Switch on your DEPO (Aftermarket) Fog Light Wiring Harness. This applies to the DEPO Brand Harness, but I'm sure the other Branded Aftermarket Fog Lights have similar wiring. It is also being done on a 96-00 Civic, but should be very similar for all other Honda/Acura Vehicles.
Materials Needed:
- OEM Fog Light Switch
- OEM Pigtail Harness that plugs into OEM Switch
You can get the Pigtail Harness for the OEM Switch at the Junkyard, since there are a number of plugs that will fit into the OEM Switch. My suggestion, just take a trip to the Junkyard with the OEM Switch and have at it until you find the correct one that will fit. To save you guys some trouble, the Plug off the Power Lock Harness in a 94-97 Accord will fit, this is located behind the Door Panel.
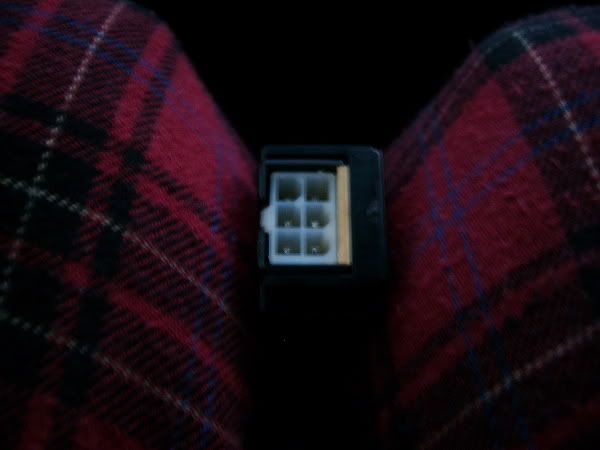
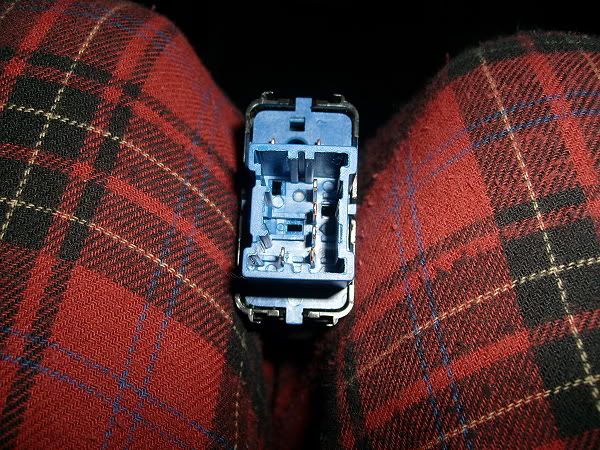
Anyways, here's a comparison of the back of each Switch, as you can see they are not the same so the Plug off the DEPO (Aftermarket) Switch will not fit into the OEM one.
Back of DEPO (Aftermarket) Switch:
Back of OEM Switch:
Well now that you've all seen the obvious, lets move onto the actual steps that need to be performed ...
Here is a Diagram I made so you visual people can see what I am referring to in the Steps ...
Steps:
1. Disconnected the Battery.
2. Cut the Solid Black wire off the DEPO Plug and splice it into the wires located in PIN #1 & PIN #5 on the OEM Plug. These are Ground wires.
3. Cut the Solid Orange wire off the DEPO Plug and splice it into the wire located in PIN #4 on the OEM Plug. This is the Constant 12V+ wire.
4. Cut the Solid Red wire off the DEPO Plug (made up of the Black/Yellow wire and Red/White wire) and splice it into the wire located in PIN #2 on the OEM Plug. This is the Relay's 12V+ Source wire.
5. Secure your connections, soldering when cutting and splicing is always recommended, but not necessary. Wrap each connection with Electrical Tape.
6. Your done!
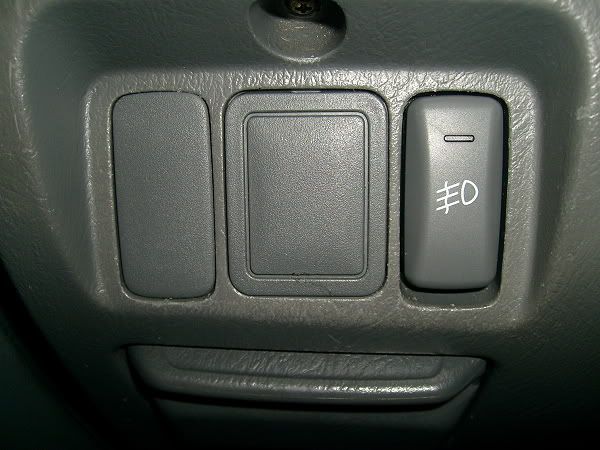
If all was done right, your Fog Lights should turn on using the OEM Switch perfectly fine. So now you've gone from this ...
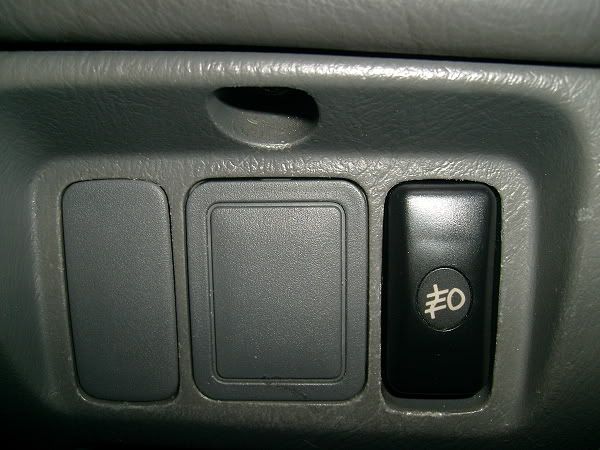
To this

Hope this DIY helps you guys out that are like me and hated looking at the DEPO Switch when driving lol. If you got any questions let me know I'll try to help you guys out. Anyways, enjoy the DIY!
- Danny
PS. Can a Mod move this to How-To's since I cant post in there?