Thanks, guys!!! Thank you for reading.
I go to the Central Florida Racing Complex (CFRC) in south Orlando: http://cfracingcomplex.com/
I've been going ever since they opened up last year. Nice place and not too strict; as long as you're acting safe and smart the staff is really cool.
**UPDATE**
So I'm actually glad I did not make it to the track the other night.[/b[
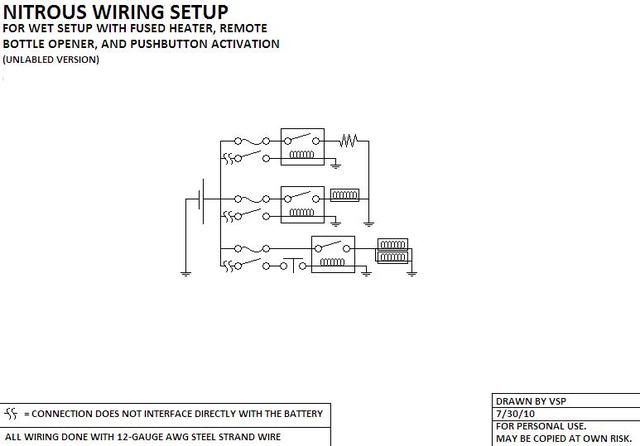
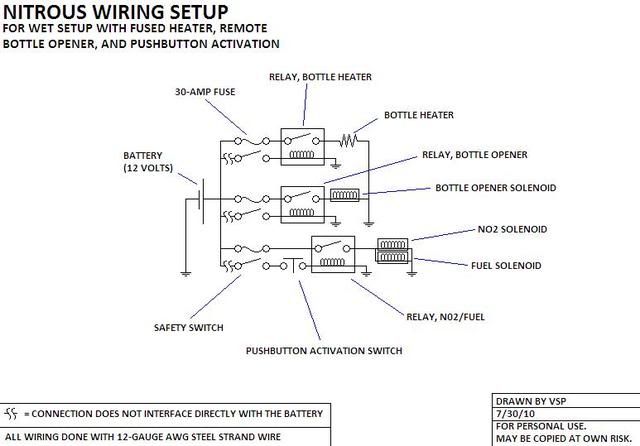
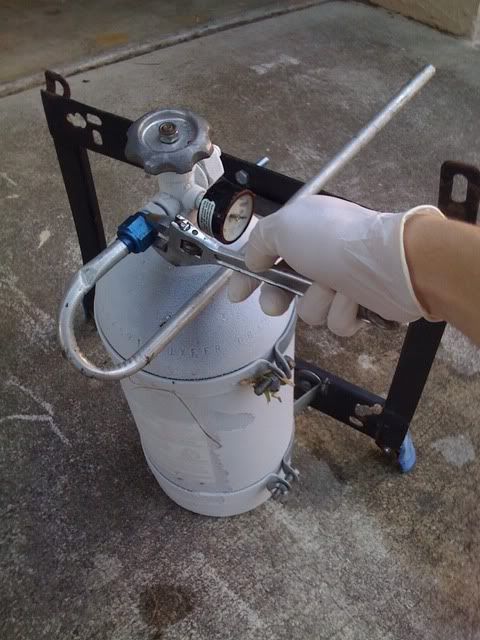
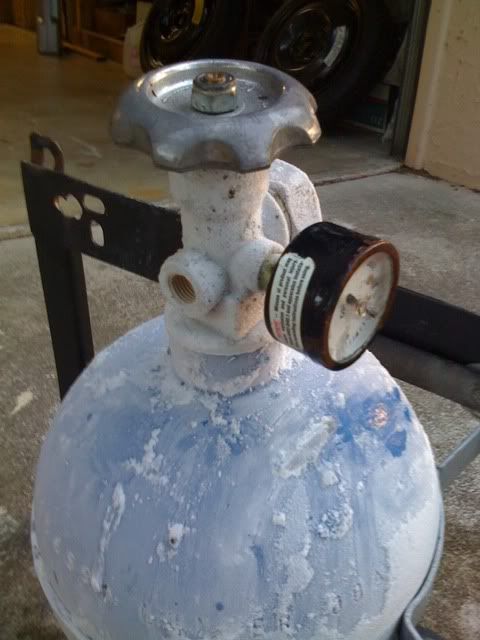
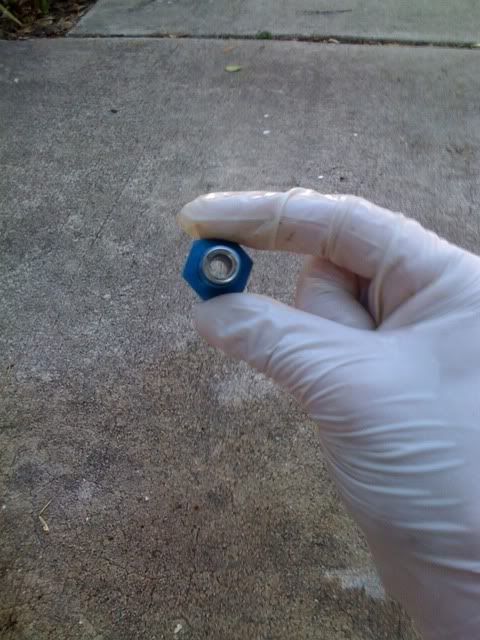
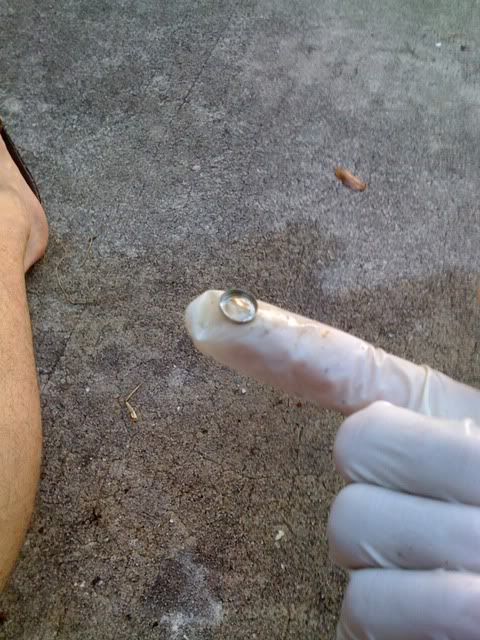
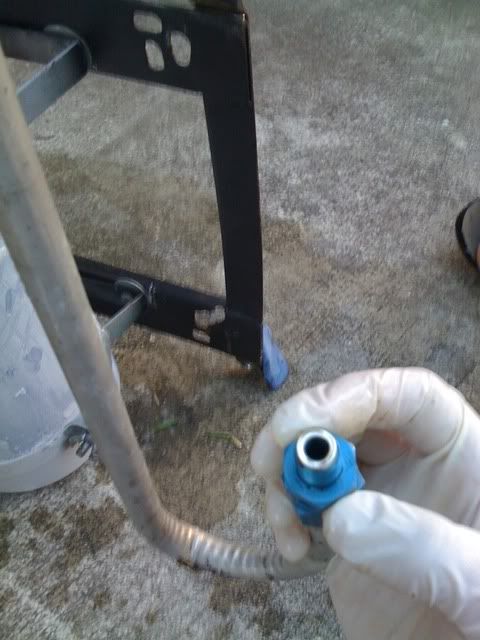
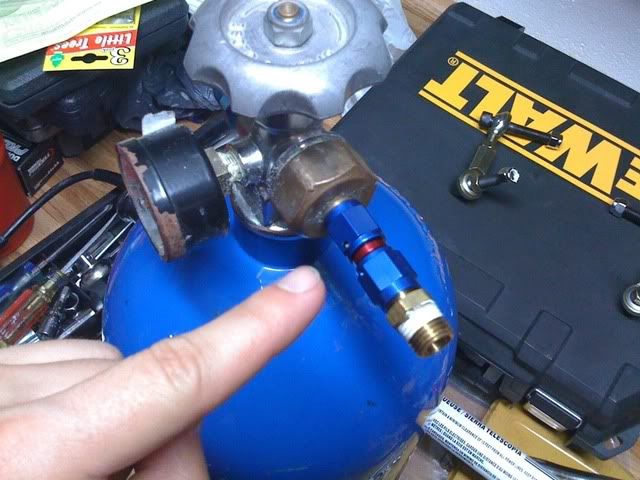
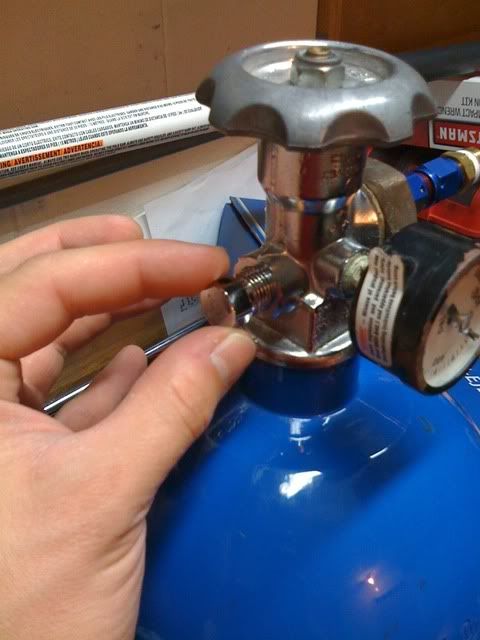
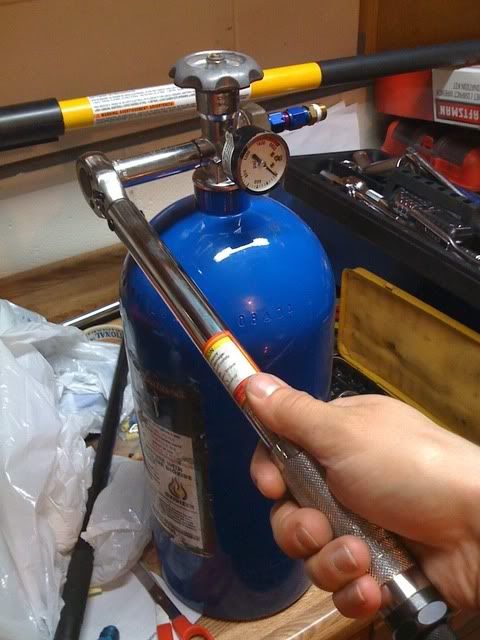
My remote bottle opener wouldn't open yesterday, and after testing it with my multimeter, I discovered there was no voltage being applied to it. Not sure why yet; I'll have to track the wires down and see what has come loose.
I'm glad this didn't happen to me at the track: could you imagine, one second I'm tearing down the track [well, as fast as an mostly-stock EJ8 can go] and a split second later my nitrous supply is cut off? Fuel flood city.
On the plus side, now I have the perfect excuse to go over the wiring I put in last year. There were a few things I wanted to tweak, anyway.
Also, a quick note about my EVAP charcoal canister.
For months now I have been throwing a MIL #90 light on my dash. In case you didn't know, that means that there's something malfunctioning with the fuel or vacuum system. I suspected it had something to do with my EVAP canister because I had removed and re-installed it last summer while I was racing.
So yesterday I finally got around to reading the entire troubleshooting procedure in the Helms manual. It appears the shut valve on the canister wasn't opening; testing it with my multimeter showed that there was no continuity between the wires in the plug and the terminals. I re-seated the plug pins and verified continuity. I've reset the ECU and am waiting to see if that fixes the problem.
If it does, than I'll know it was simply a bad wiring connection. In that case I'll get some new pins and a brand new connector, and re-assemble the connector myself.
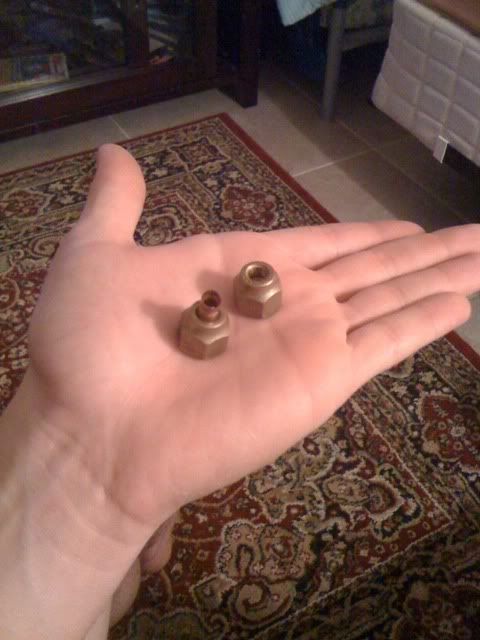
Next up: I need to go ahead and order the Energy Suspension bushings for my front/rear sway bars. Stock EX up front, and 14mm GSR transplant in the rear. I also need to order some custom rear swaybar endlink connection bushings for the rear bar. Energy Suspension doesn't make a kit for the GSR sway bar, but they do offer a number of generic sizes and metal through-tubes available. Next time I'm home I'll grab my caliper, measure the clearances, and see if there's a quick fit solution among the generic parts:

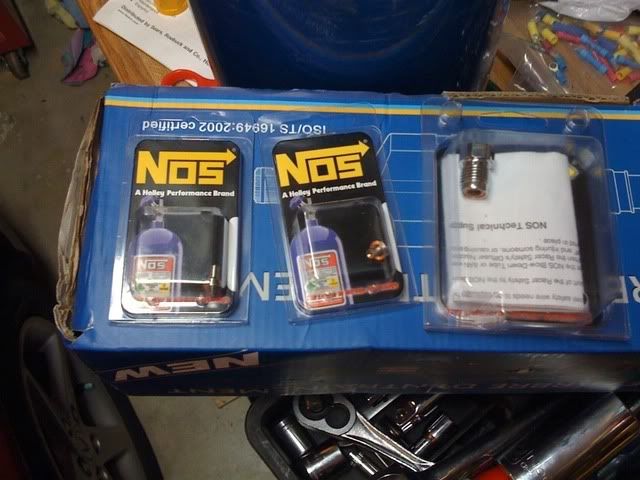
Then I've got to order it all. I recently discovered a cool little speed shop called Murray's in the south Orlando area. The guy there is cool, because when he filled up my nitrous bottle he handed me a company logo bumper sticker afterward and said, "now don't forget, here's the real power adder." To which I replied, "an extra 20 WHP, right? Must be true...that's what all the forums say!" They will definitely get my business next time. So, to order:
That's all for now. And as always, thanks for reading! Nothing like watching me smack my car around like a $50 hooker, or your mom on a bad day. Or wait--a good day. I need another hit. Or maybe she does.
I go to the Central Florida Racing Complex (CFRC) in south Orlando: http://cfracingcomplex.com/
I've been going ever since they opened up last year. Nice place and not too strict; as long as you're acting safe and smart the staff is really cool.
**UPDATE**
So I'm actually glad I did not make it to the track the other night.[/b[
My remote bottle opener wouldn't open yesterday, and after testing it with my multimeter, I discovered there was no voltage being applied to it. Not sure why yet; I'll have to track the wires down and see what has come loose.
I'm glad this didn't happen to me at the track: could you imagine, one second I'm tearing down the track [well, as fast as an mostly-stock EJ8 can go] and a split second later my nitrous supply is cut off? Fuel flood city.
On the plus side, now I have the perfect excuse to go over the wiring I put in last year. There were a few things I wanted to tweak, anyway.
Also, a quick note about my EVAP charcoal canister.
For months now I have been throwing a MIL #90 light on my dash. In case you didn't know, that means that there's something malfunctioning with the fuel or vacuum system. I suspected it had something to do with my EVAP canister because I had removed and re-installed it last summer while I was racing.
So yesterday I finally got around to reading the entire troubleshooting procedure in the Helms manual. It appears the shut valve on the canister wasn't opening; testing it with my multimeter showed that there was no continuity between the wires in the plug and the terminals. I re-seated the plug pins and verified continuity. I've reset the ECU and am waiting to see if that fixes the problem.
If it does, than I'll know it was simply a bad wiring connection. In that case I'll get some new pins and a brand new connector, and re-assemble the connector myself.
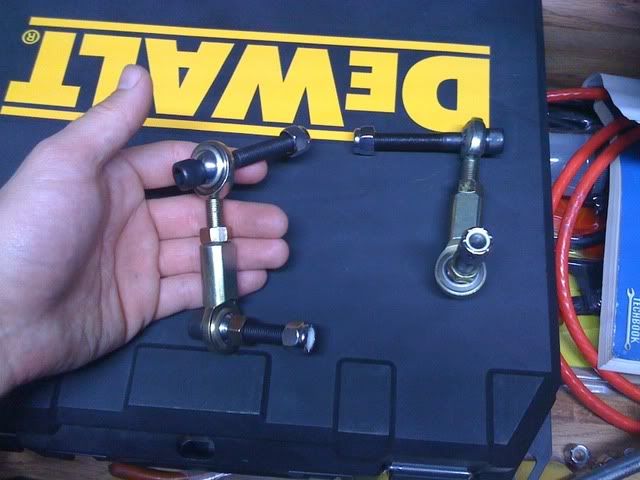
Next up: I need to go ahead and order the Energy Suspension bushings for my front/rear sway bars. Stock EX up front, and 14mm GSR transplant in the rear. I also need to order some custom rear swaybar endlink connection bushings for the rear bar. Energy Suspension doesn't make a kit for the GSR sway bar, but they do offer a number of generic sizes and metal through-tubes available. Next time I'm home I'll grab my caliper, measure the clearances, and see if there's a quick fit solution among the generic parts:
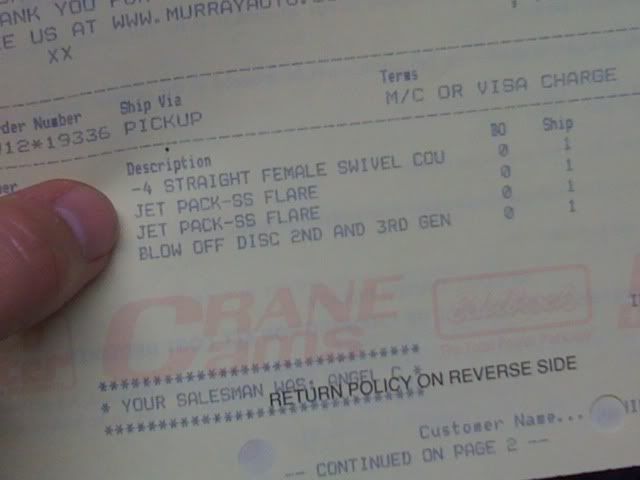
Then I've got to order it all. I recently discovered a cool little speed shop called Murray's in the south Orlando area. The guy there is cool, because when he filled up my nitrous bottle he handed me a company logo bumper sticker afterward and said, "now don't forget, here's the real power adder." To which I replied, "an extra 20 WHP, right? Must be true...that's what all the forums say!" They will definitely get my business next time. So, to order:
- ES EX front suspension bushings and endlinks
- ES GSR rear suspension endlinks
- ES custom-sized rear suspension endlink bushings
- ES motor mounts (yeah, it's time to put them back on again)
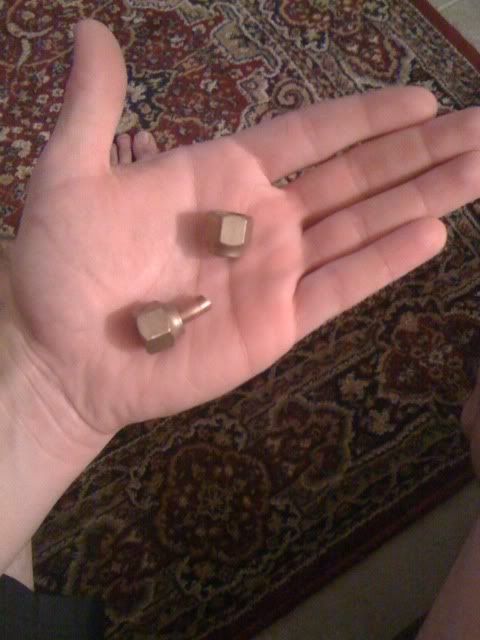
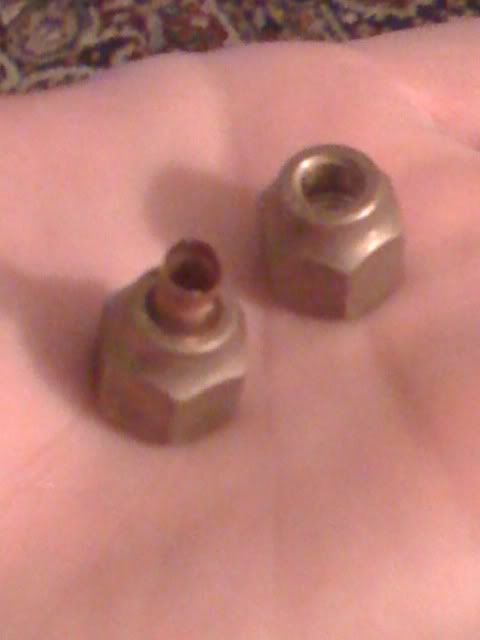
- NOS .022mm fuel jet
- NOS .036mm nitrous jet (goal = 60hp 60-shot)
That's all for now. And as always, thanks for reading! Nothing like watching me smack my car around like a $50 hooker, or your mom on a bad day. Or wait--a good day. I need another hit. Or maybe she does.