Thought I might post some pictures as I go along. I fiberglassed tweeter pods in my old accord to see if I could actually do it and they came out awesome. So I decided to take on a bigger challenge with my new car and fiberglass everything! (kickpanel pods, center console, rear speaker enclosures and trunk) This is by no means a tutorial but rather a visual process of how much work is really involved in building all this stuff. I'll try to make regular updates, but work will probably interfere with that lol. Expected completion date is somewhere toward the end of winter/mid spring.
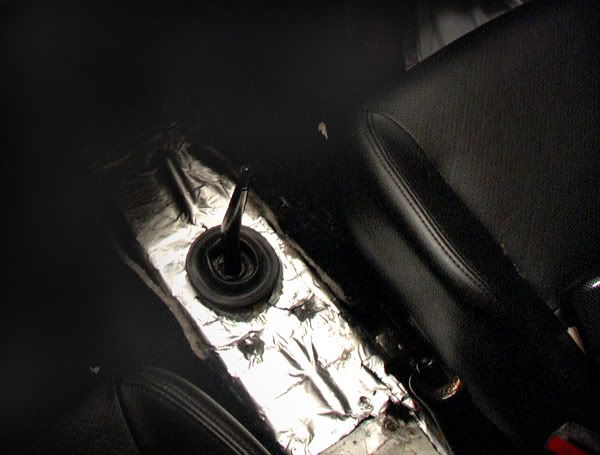
First thing at hand was to start working on the center console. Some of you might be asking why re-work a perfectly good console in the first place? Well the truth is I botched a previous job and this is my attempt to fix it. A couple of months ago I acquired some leather RSX-S Seats for my car, the problem was that they were black and my interior was blue. So I gutted everything and re-painted EVERYTHING black. After much searching to find a real black carpet for my car I came across a company on the net claiming a perfect fit... After a full day of swearing and sweating I finally got my carpet in, only to have it buckle and crimp up along the door sills! So I pulled out the handy xacto knife and started cutting away until I realized that I had cut too much. There was no longer enough carpet to go under the center console or under the door sills overlapping edge.
Solution = Extend the overlapping door sill edge and center console edges.
Day 1:
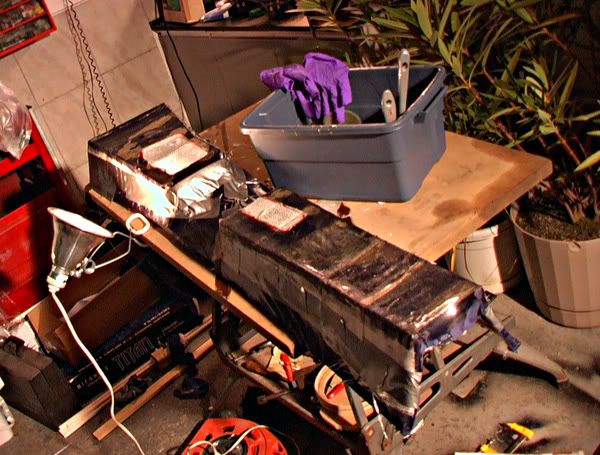
The space to be filled:

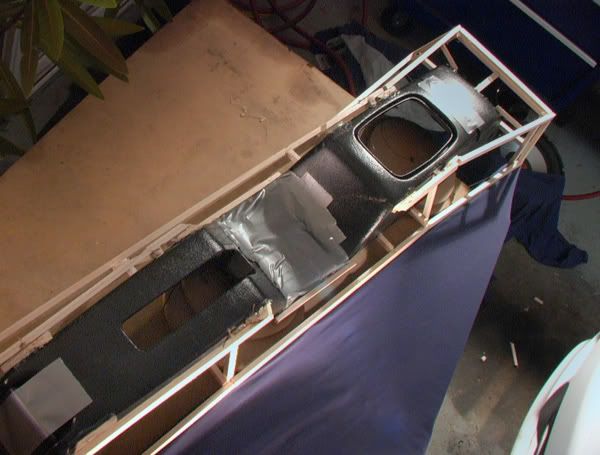
I attached pieces of balsa with hot glue to the existing console to get my frame:
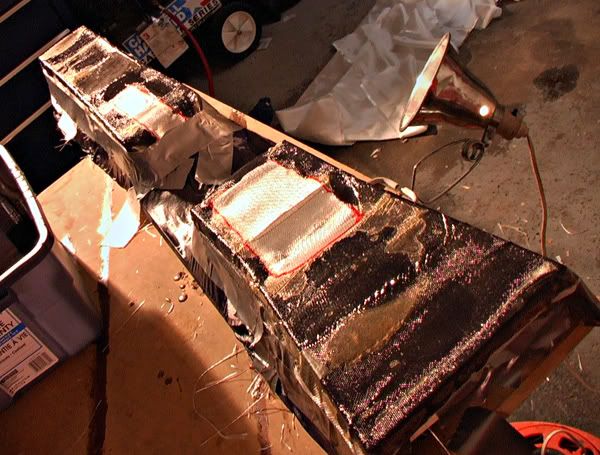
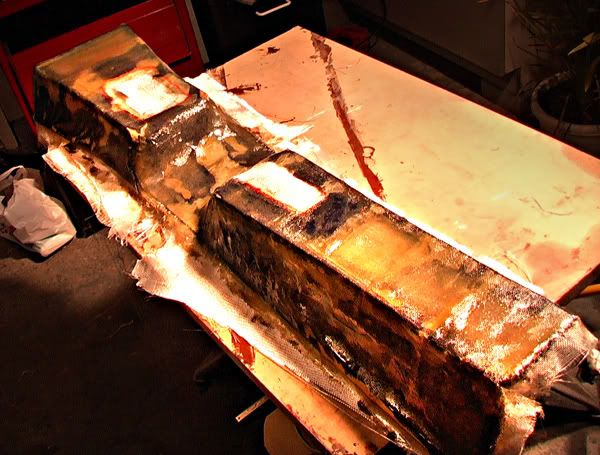
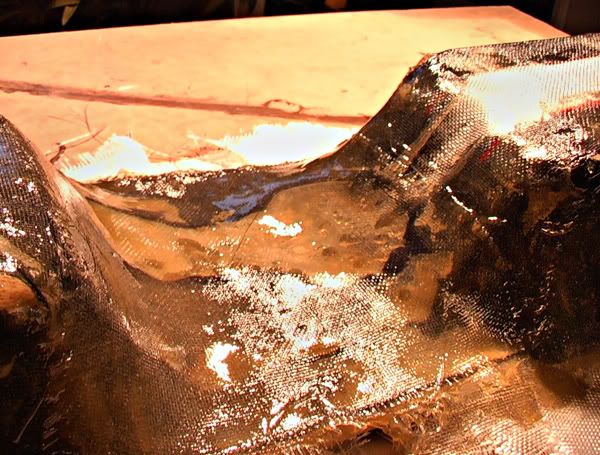
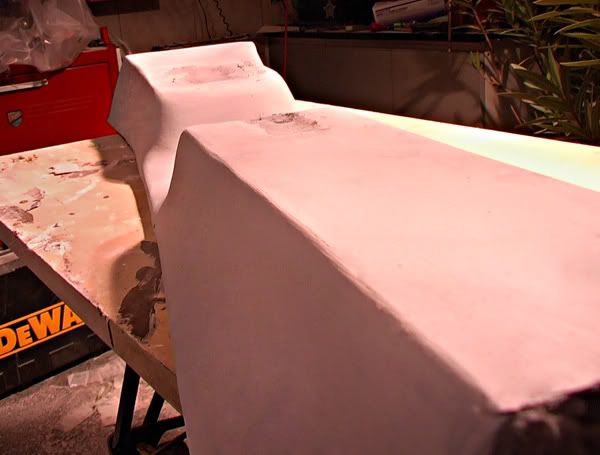
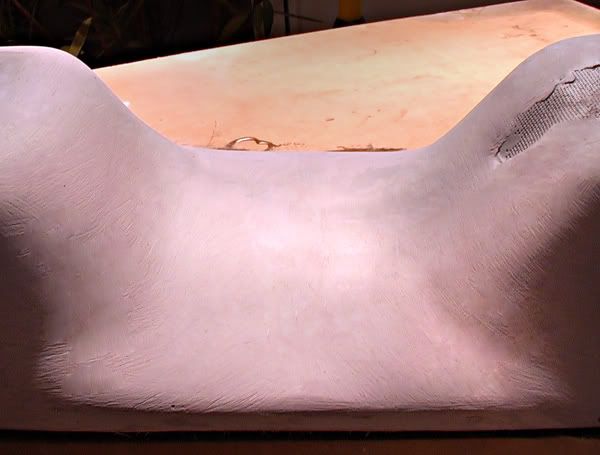
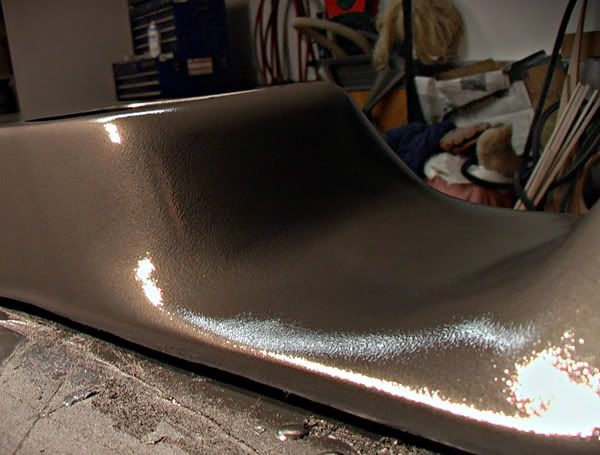
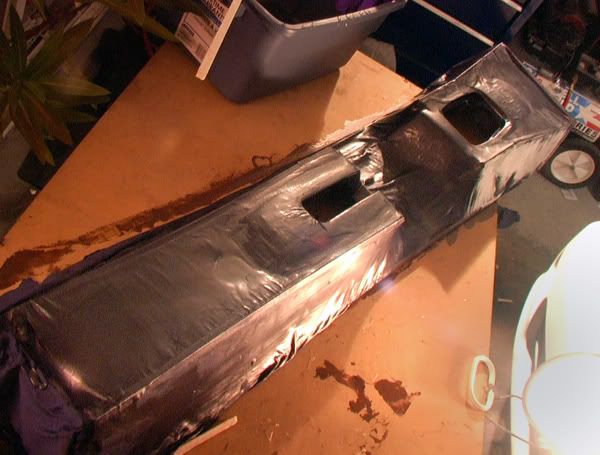
I then stretched spandex tightly over my frame. (Apparently not tight enough... I will have a lot of building up to do to get it flat again) and applied generous amounts of resin all over it. (The spandex sagged from the weight of the resin because it was not pulled tightly enough... I have learned from this mistake):
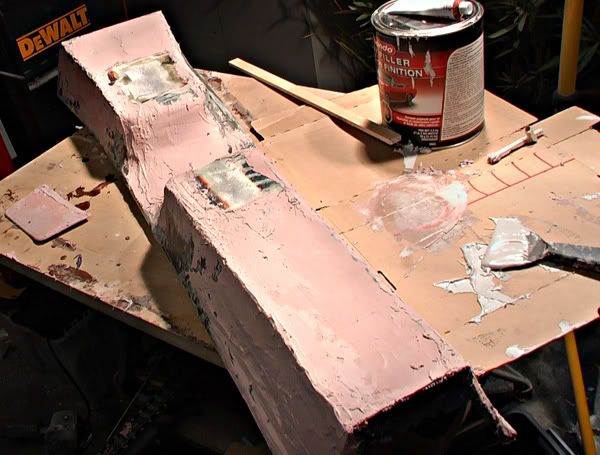
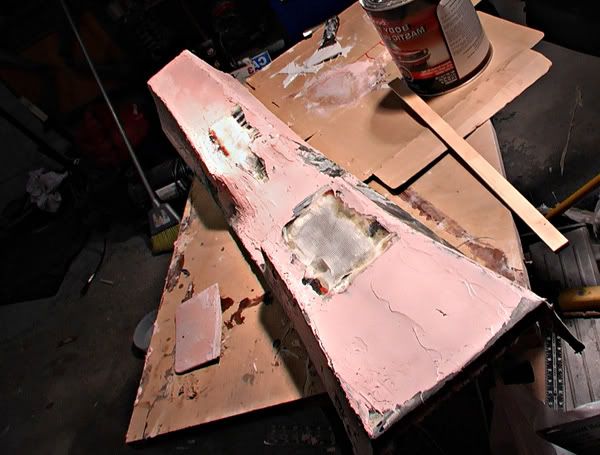
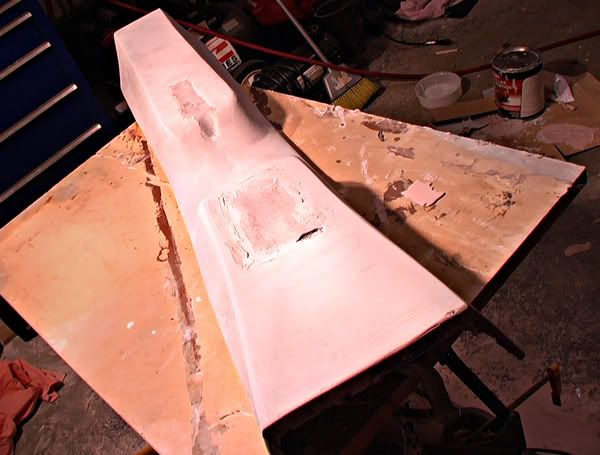
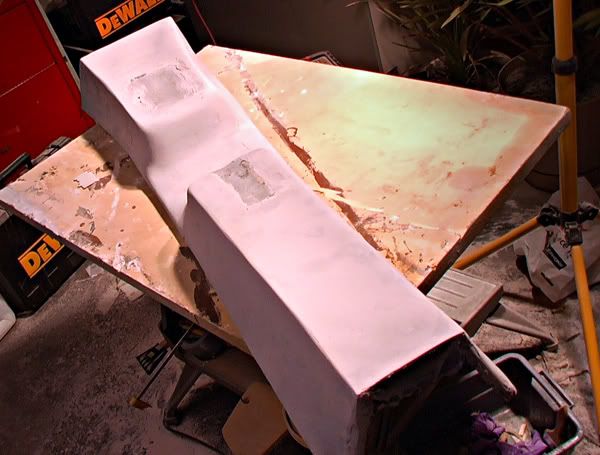
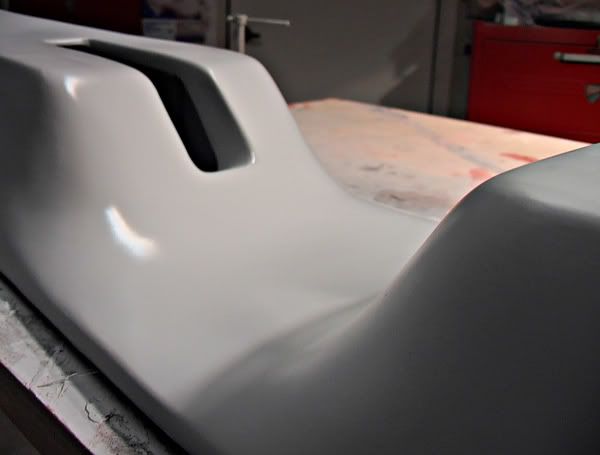
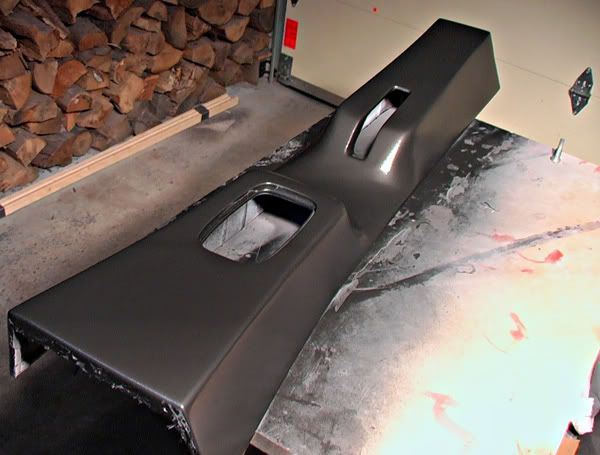
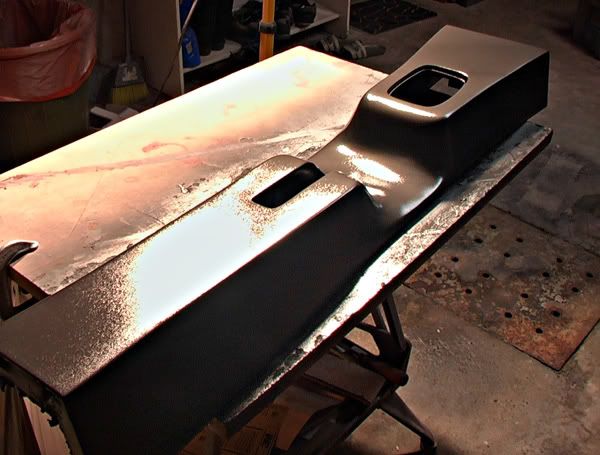
Not bad for a days work...
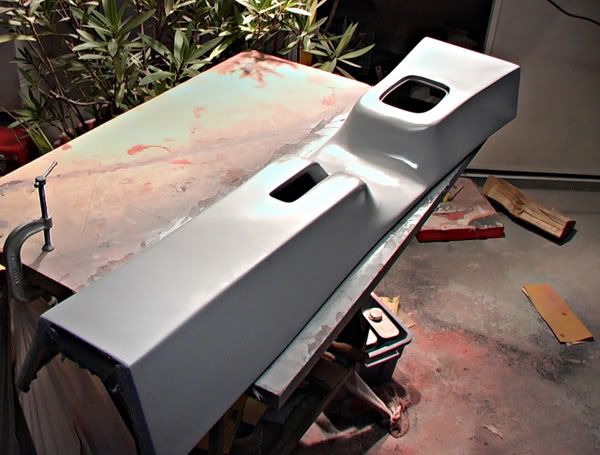
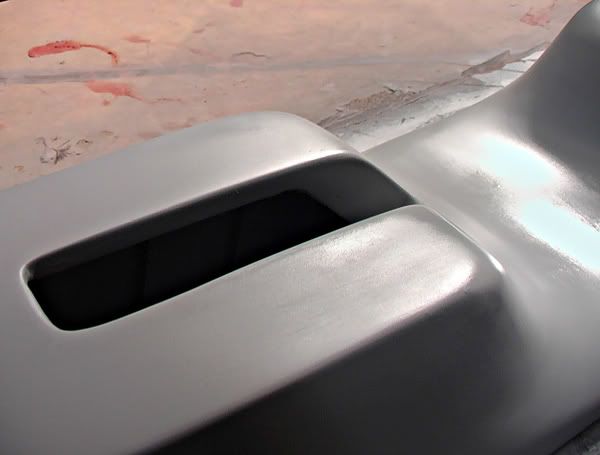
Next up: Fiberglass buildup, Bondo, Sanding, sanding and more sanding! Stay tuned to learn from my mistakes hehe.
First thing at hand was to start working on the center console. Some of you might be asking why re-work a perfectly good console in the first place? Well the truth is I botched a previous job and this is my attempt to fix it. A couple of months ago I acquired some leather RSX-S Seats for my car, the problem was that they were black and my interior was blue. So I gutted everything and re-painted EVERYTHING black. After much searching to find a real black carpet for my car I came across a company on the net claiming a perfect fit... After a full day of swearing and sweating I finally got my carpet in, only to have it buckle and crimp up along the door sills! So I pulled out the handy xacto knife and started cutting away until I realized that I had cut too much. There was no longer enough carpet to go under the center console or under the door sills overlapping edge.
Solution = Extend the overlapping door sill edge and center console edges.
Day 1:
The space to be filled:
I attached pieces of balsa with hot glue to the existing console to get my frame:
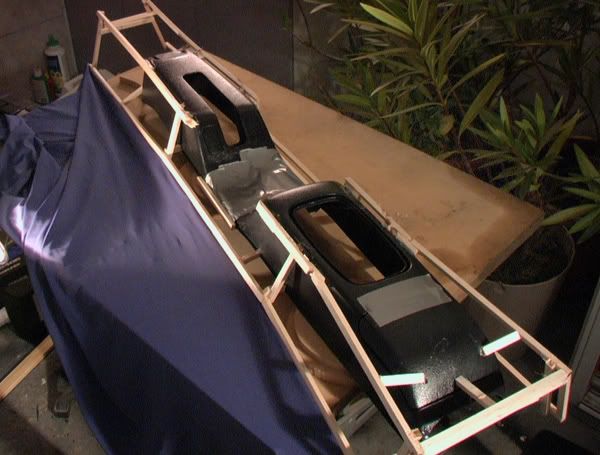
I then stretched spandex tightly over my frame. (Apparently not tight enough... I will have a lot of building up to do to get it flat again) and applied generous amounts of resin all over it. (The spandex sagged from the weight of the resin because it was not pulled tightly enough... I have learned from this mistake):
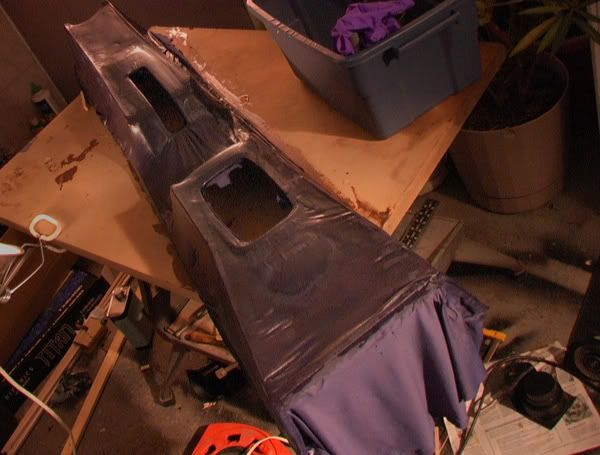
Not bad for a days work...
Next up: Fiberglass buildup, Bondo, Sanding, sanding and more sanding! Stay tuned to learn from my mistakes hehe.