
Its been a long while since Ive actually posted anything here, but I thought I would give my 2 cents on the "Poor Man's Paint Job." I picked up this 4dr since I recently gained a daughter and the need for one is now present. While I could have spend just a little more time wet sanding and adding more coats, I decided to stop when I did due to some time constraints.

When I got the car it had been through a world of hurt over the years, mainly the paint. There is a long history that I dont feel like going into, but just know that I know the original owner of this car and we had a lot of fun with it over the years.
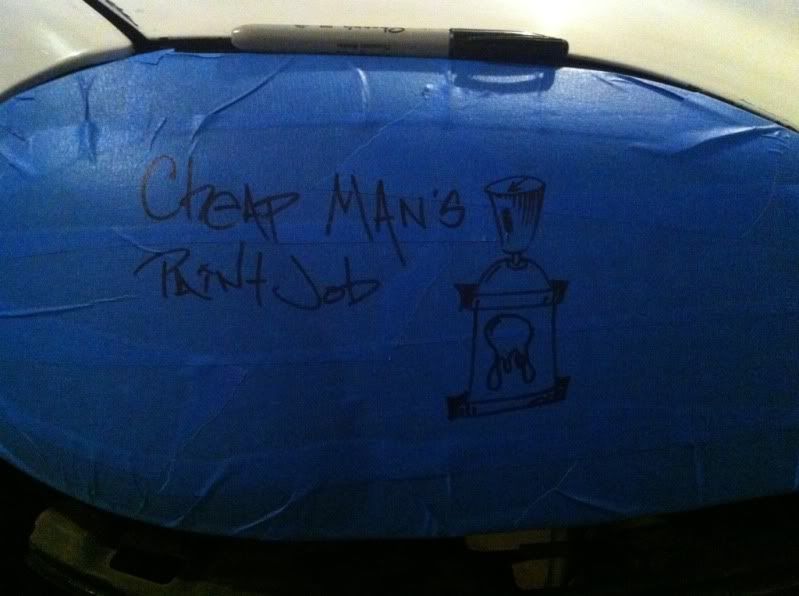
So I decided to do some research into the "$50 Paint Job" we have all seen plastered on the web in recent years. After looking into it I decided to give it a go. Now there is something to be said about the costs...it no longer can be done for 50 bucks IMO. I spend a total of $100 and had some left over stuff that I plan on returning to recycle into some buffing compound and/or wax to finish off the total project.
What I used was 100 grit sandpaper, 320 grit sanding blocks (more info below), Oil Based High Gloss Rustoleum, Mineral Spirits, High Density Foam Rollers, Tape, Newspaper and A LOT OF ELBOW GREASE! My total hours invested is approx. 25-30hrs. I lost count a long time ago. But I worked on the car every day for 2-8hrs depending what needed done that day for about a week.
I would like to mention that Ive never attempted anything like this before. There are some battle wounds on the passenger side where a big truck ran down the side of the car while it was parked and I didnt care enough to do any of the body work since its just my beater car anyways. So some of that will show up in the pictures.
Now onto to crap ton of pictures I took...
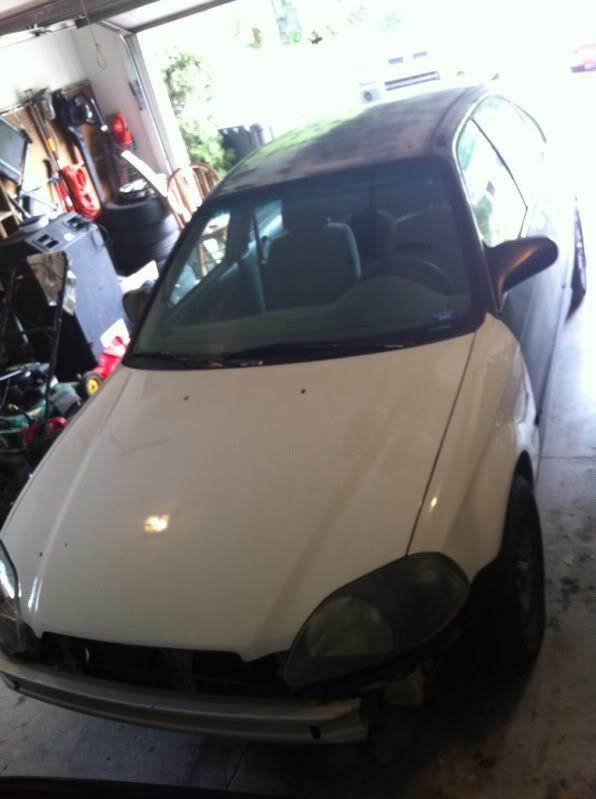
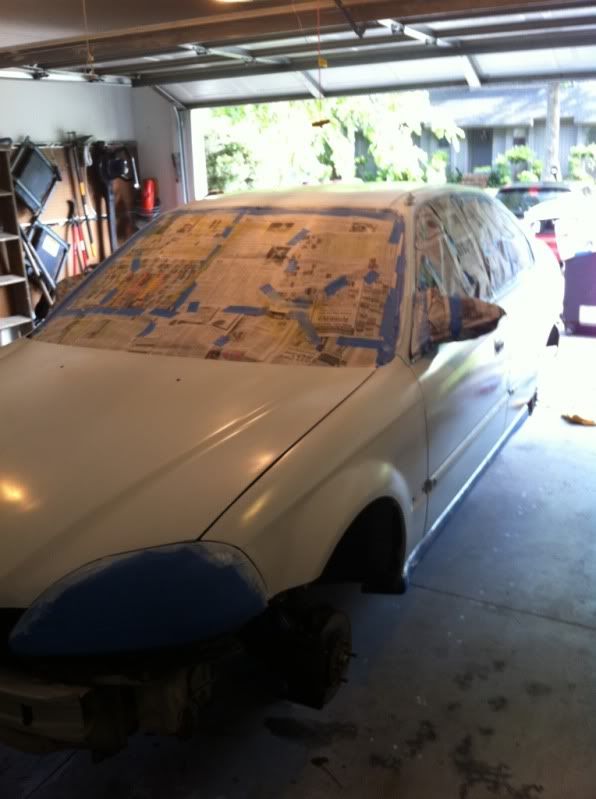
Before:
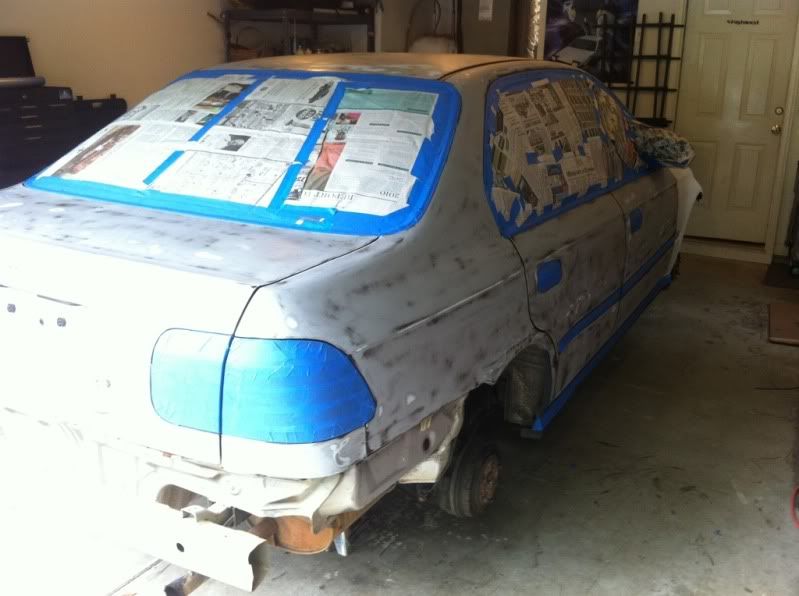
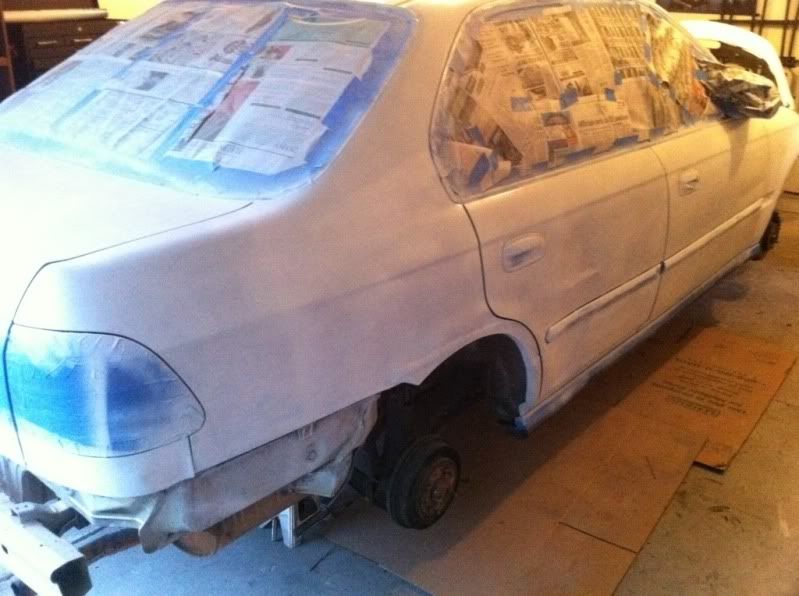
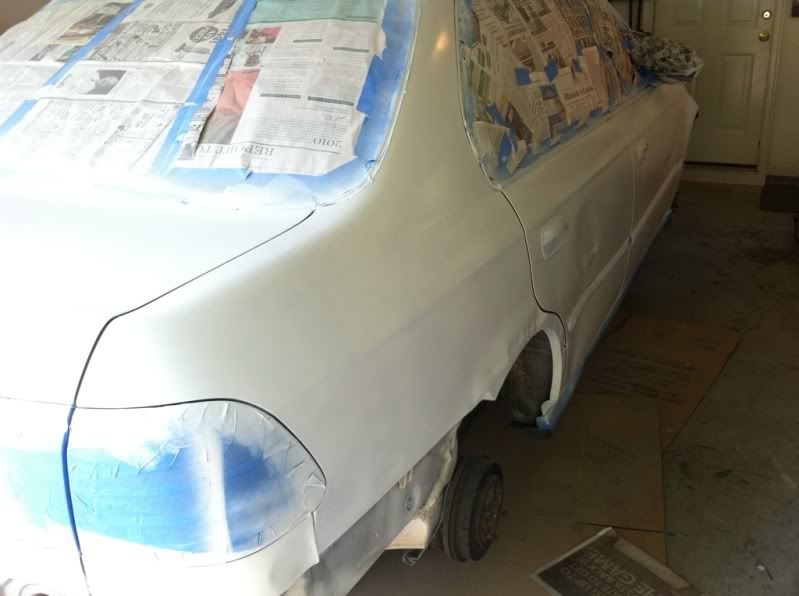
Sanded down
1st Coat
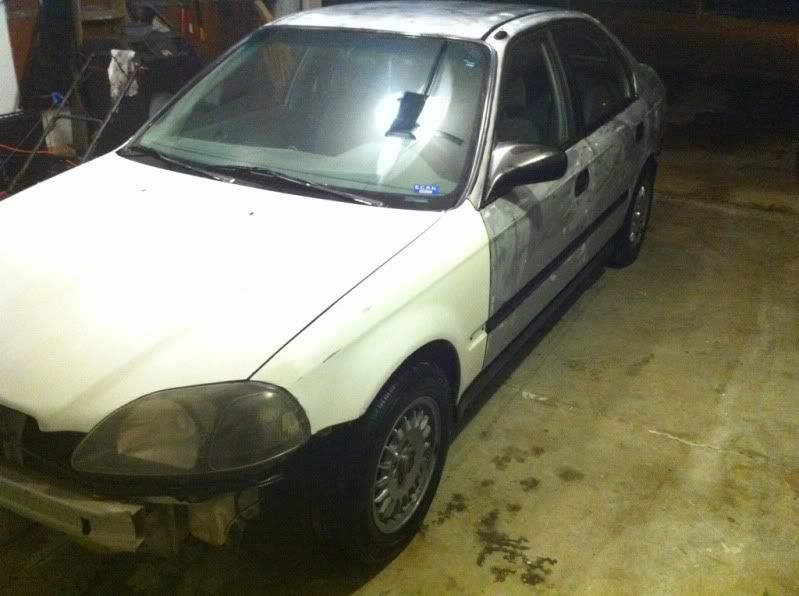
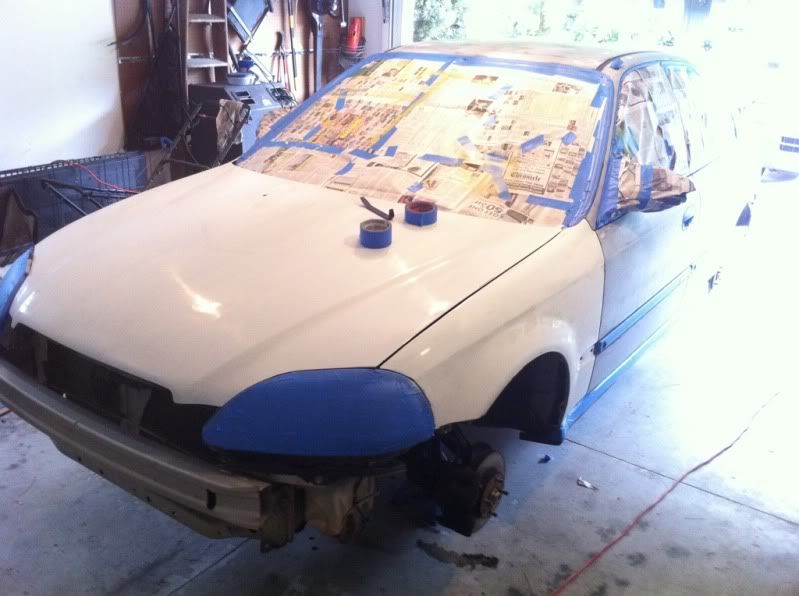
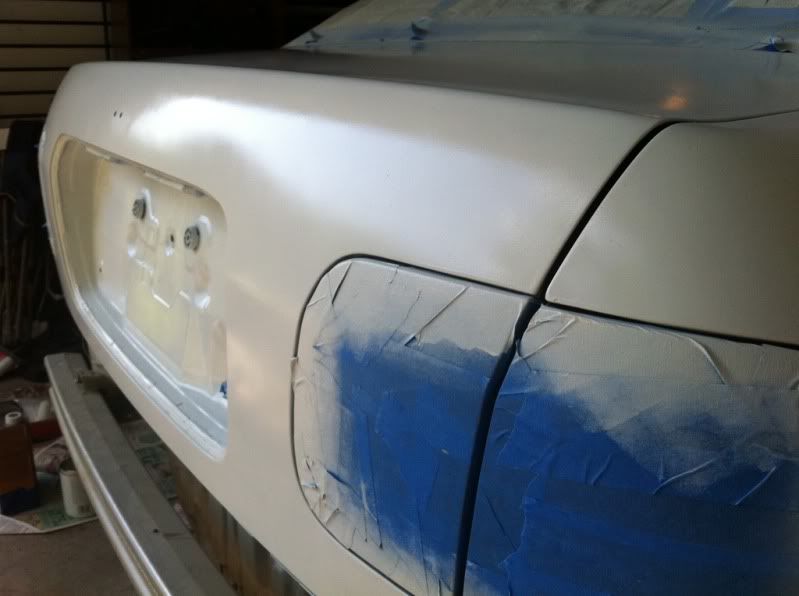
Now with this I did not paint the front end at all. I wanted to try and make it seem like it blends in with the rest of the car. So the entire front end is 1 coat behind the rest of the car. Also the rest of the car was primered with Rustoleum white primer.
(Primer pics)
(1st coat)
3rd Coat
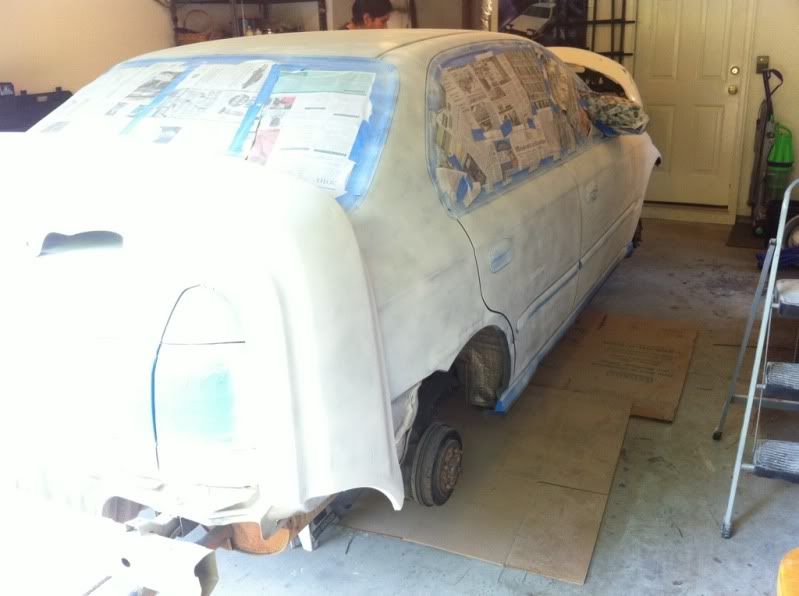
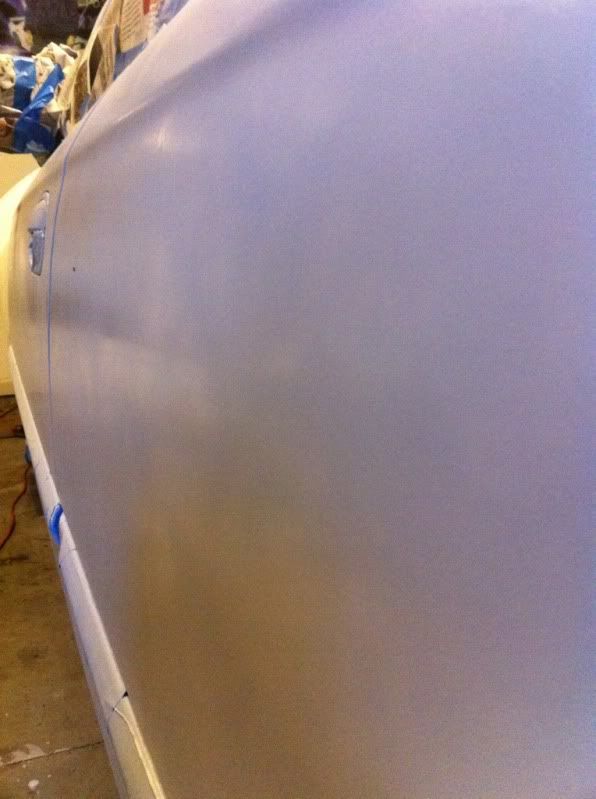
Here I took some time to wet sand the entire car. I used some "very fine" sanding blocks or paper stuck to sponges. The highest grit I could find at the time was 320 but when I compared it to the paperback 1000 there was very little difference. I suppose the sponged backed paper (or the company that makes it) uses a different grading system, either way it worked just fine for my purposes.
Just Wet Sanded
West Sanded and 4th Coat
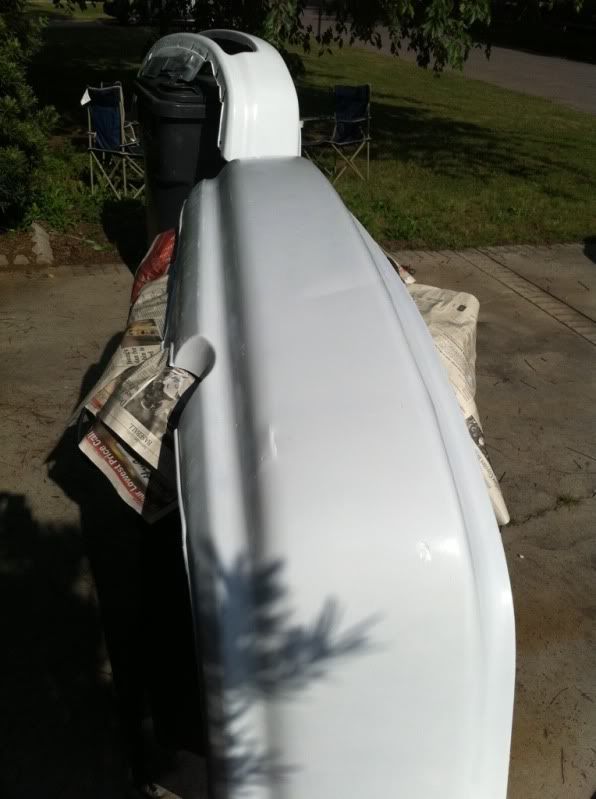
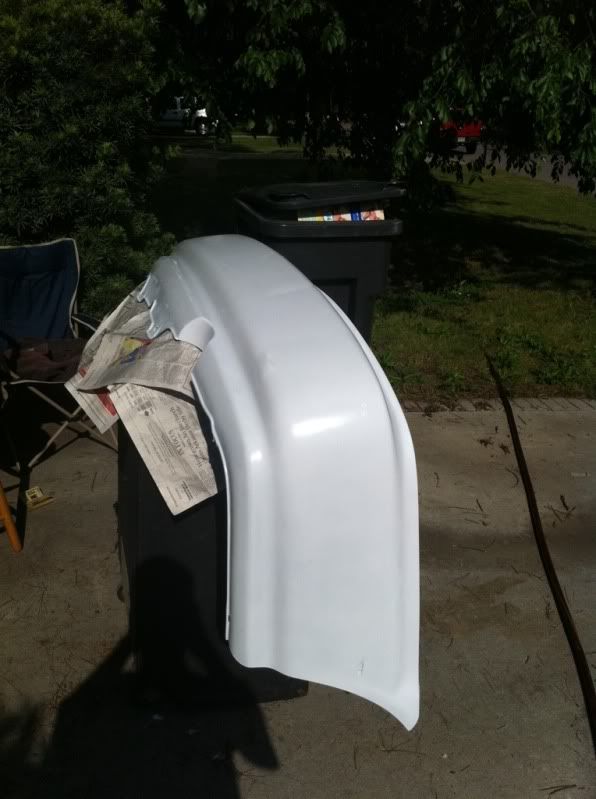
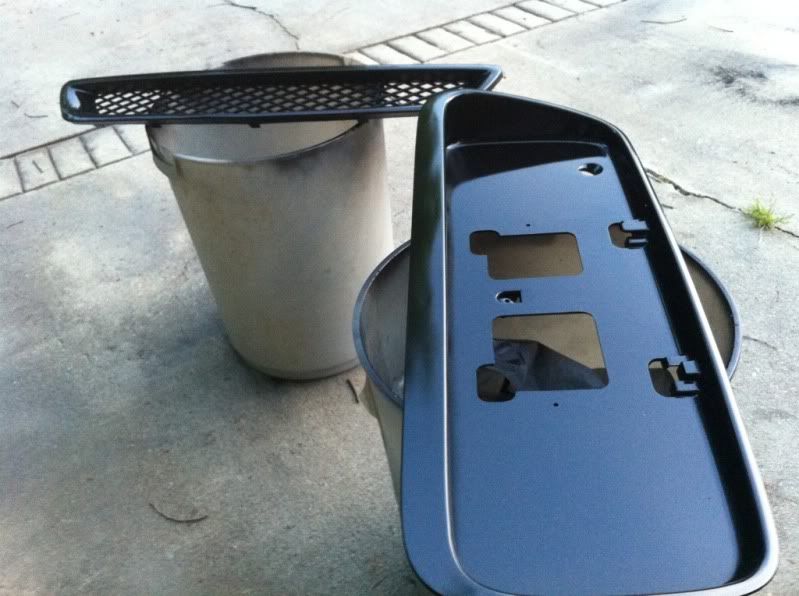
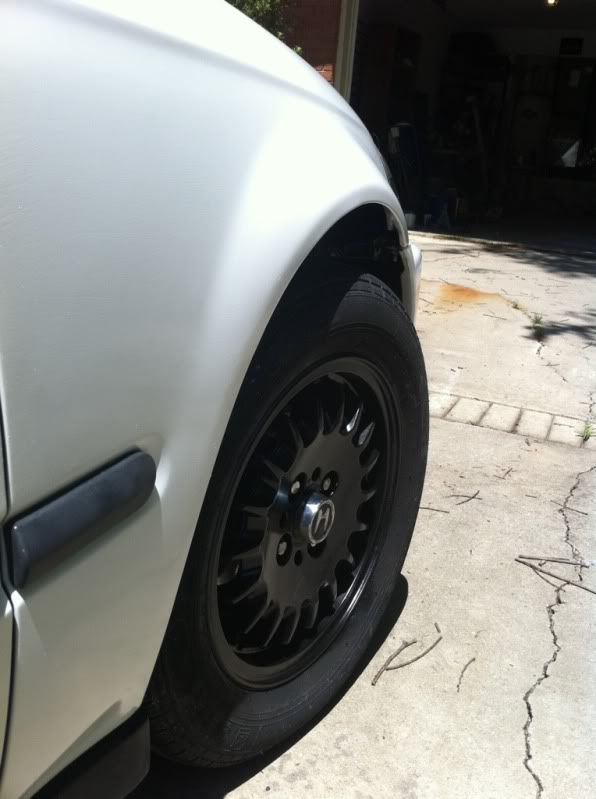
I now took some time to clean and paint the wheels and grills. The front grill is an eBay wanna be Type R grill, but its better than the gaping hole that was there before and the rear "grill" is for the plate. For this I used Rustoleum Automotive touch up paint in a spray can.
(3rd and final coat for the wheels)
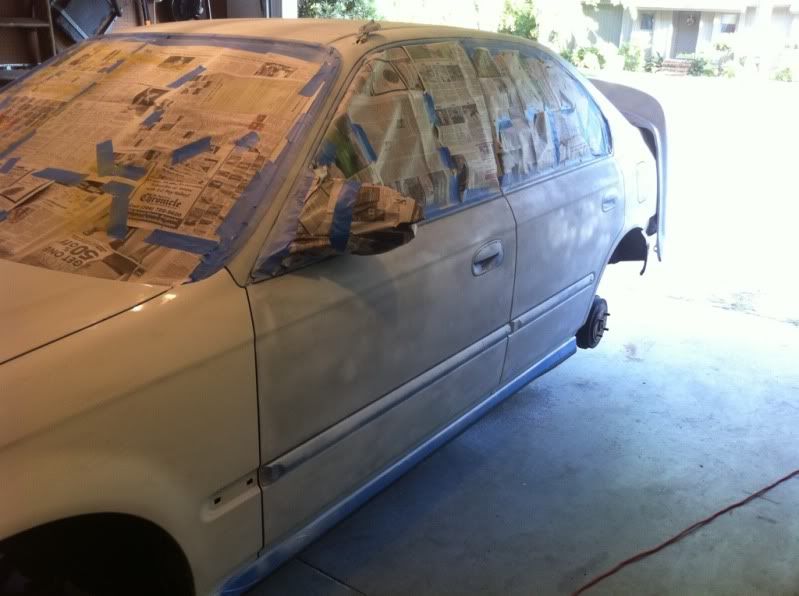
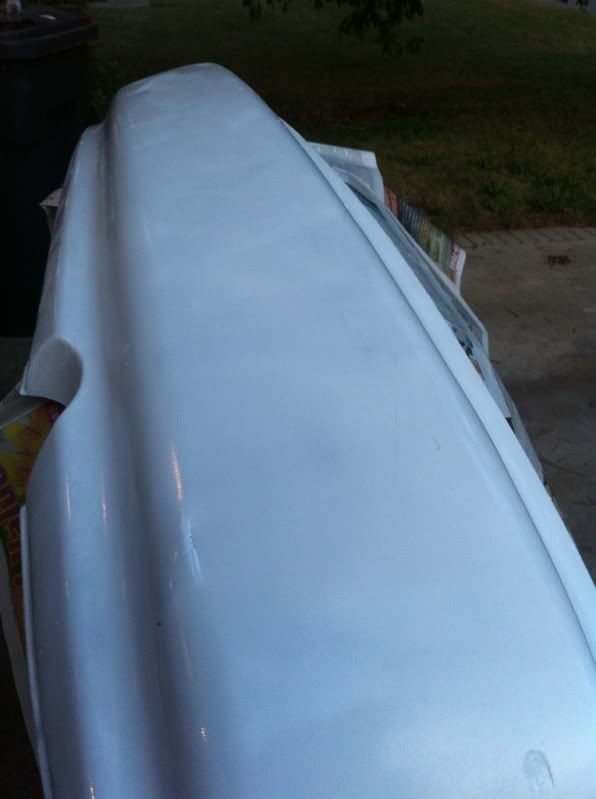
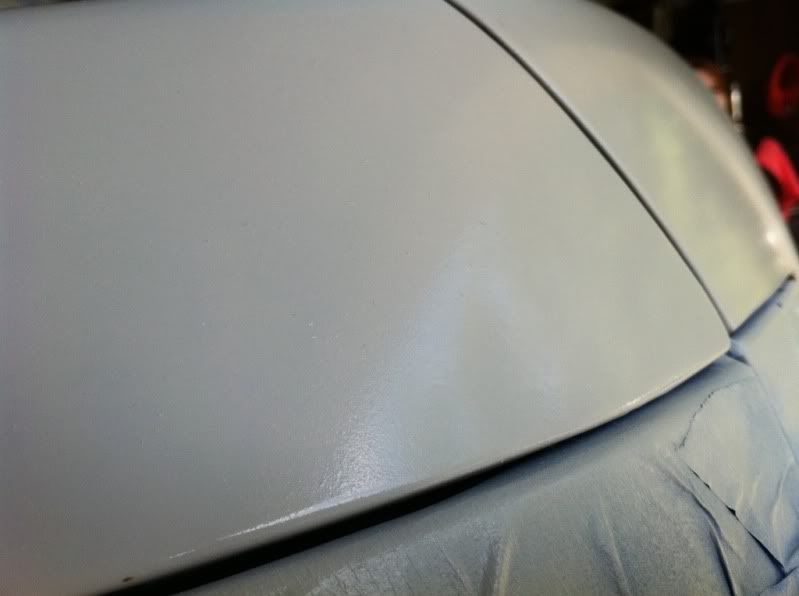
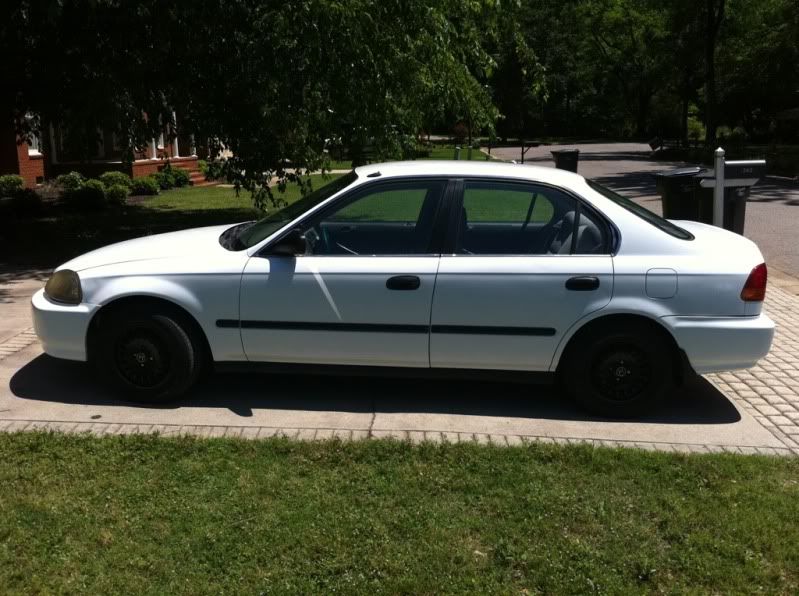
6th and Final Coat
In my research I noticed most ppl go to 7-10 coats before calling it quits. I went to 6! Im sorta on a time budget and my desire to be done with this project was eating away at me. I still have plenty of paint to use if in a few weeks I need to make some touch ups so I decided to end it here.
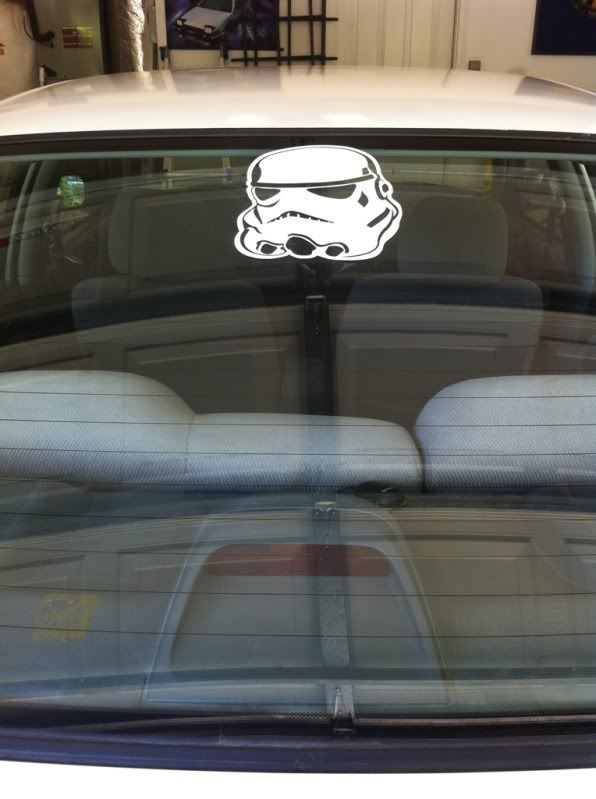
I also gave it another wet sanding after coat 6. Then I put the car back together and added a few fun stickers that I made on my vinyl cutter to complete the Stormtrooper look. After all I did do this for fun and Im not expecting to win any car shows with it!
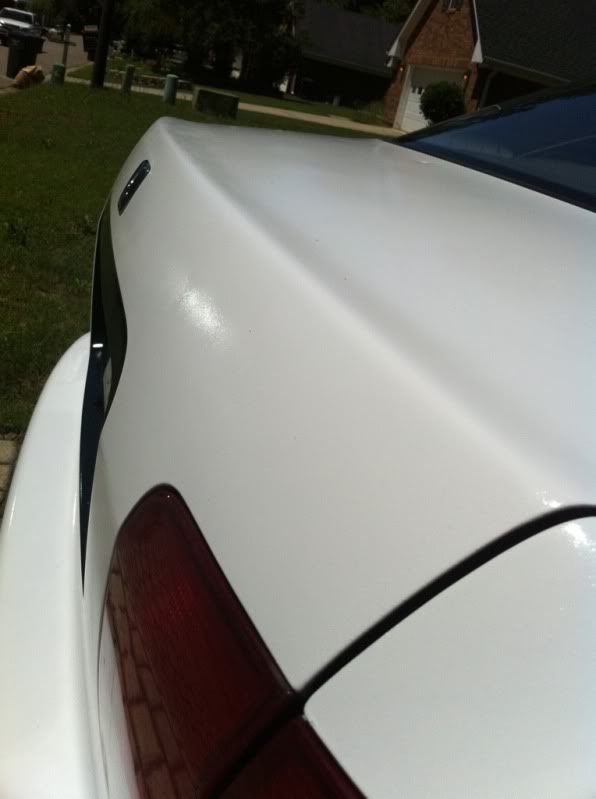
Also I buffed out that driver side headlight with some headlight cleaner from Rain X. (not pictured)
Once all is said and done I like it. Its got some runs and certainly a few bugs (lots actually) gave their life to the paint and all, but honestly for a 100 bucks and some free time I think its great for what it is.
When I got the car it had been through a world of hurt over the years, mainly the paint. There is a long history that I dont feel like going into, but just know that I know the original owner of this car and we had a lot of fun with it over the years.
So I decided to do some research into the "$50 Paint Job" we have all seen plastered on the web in recent years. After looking into it I decided to give it a go. Now there is something to be said about the costs...it no longer can be done for 50 bucks IMO. I spend a total of $100 and had some left over stuff that I plan on returning to recycle into some buffing compound and/or wax to finish off the total project.
What I used was 100 grit sandpaper, 320 grit sanding blocks (more info below), Oil Based High Gloss Rustoleum, Mineral Spirits, High Density Foam Rollers, Tape, Newspaper and A LOT OF ELBOW GREASE! My total hours invested is approx. 25-30hrs. I lost count a long time ago. But I worked on the car every day for 2-8hrs depending what needed done that day for about a week.
I would like to mention that Ive never attempted anything like this before. There are some battle wounds on the passenger side where a big truck ran down the side of the car while it was parked and I didnt care enough to do any of the body work since its just my beater car anyways. So some of that will show up in the pictures.
Now onto to crap ton of pictures I took...
Before:
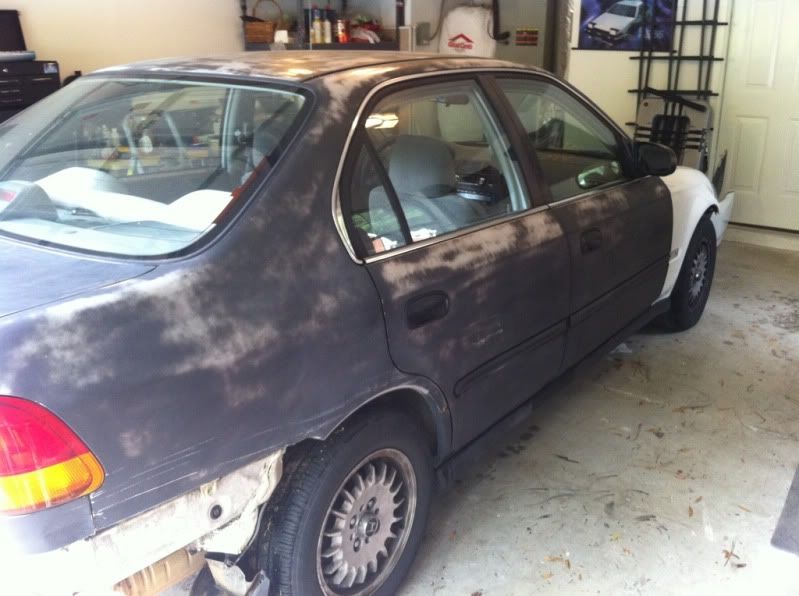
Sanded down

1st Coat
Now with this I did not paint the front end at all. I wanted to try and make it seem like it blends in with the rest of the car. So the entire front end is 1 coat behind the rest of the car. Also the rest of the car was primered with Rustoleum white primer.
(Primer pics)
(1st coat)
3rd Coat
Here I took some time to wet sand the entire car. I used some "very fine" sanding blocks or paper stuck to sponges. The highest grit I could find at the time was 320 but when I compared it to the paperback 1000 there was very little difference. I suppose the sponged backed paper (or the company that makes it) uses a different grading system, either way it worked just fine for my purposes.
Just Wet Sanded
West Sanded and 4th Coat
I now took some time to clean and paint the wheels and grills. The front grill is an eBay wanna be Type R grill, but its better than the gaping hole that was there before and the rear "grill" is for the plate. For this I used Rustoleum Automotive touch up paint in a spray can.
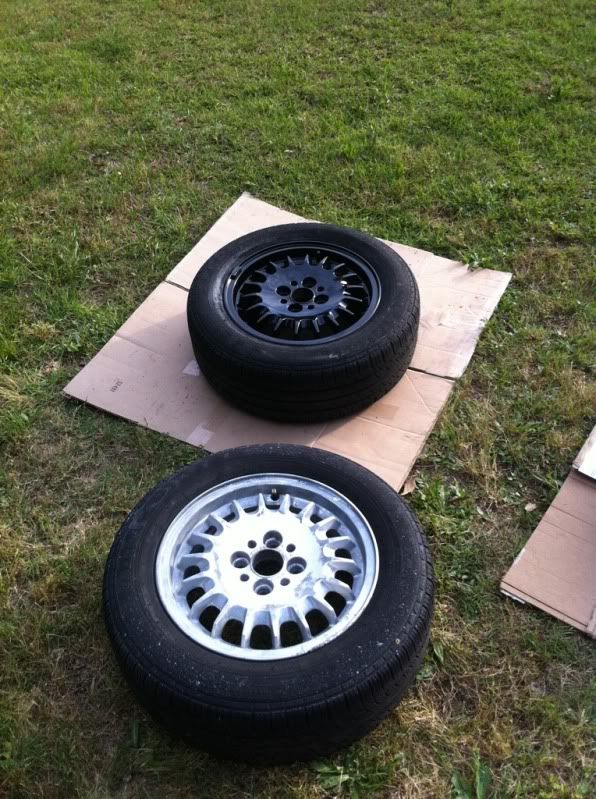
(3rd and final coat for the wheels)

6th and Final Coat
In my research I noticed most ppl go to 7-10 coats before calling it quits. I went to 6! Im sorta on a time budget and my desire to be done with this project was eating away at me. I still have plenty of paint to use if in a few weeks I need to make some touch ups so I decided to end it here.
I also gave it another wet sanding after coat 6. Then I put the car back together and added a few fun stickers that I made on my vinyl cutter to complete the Stormtrooper look. After all I did do this for fun and Im not expecting to win any car shows with it!
Also I buffed out that driver side headlight with some headlight cleaner from Rain X. (not pictured)
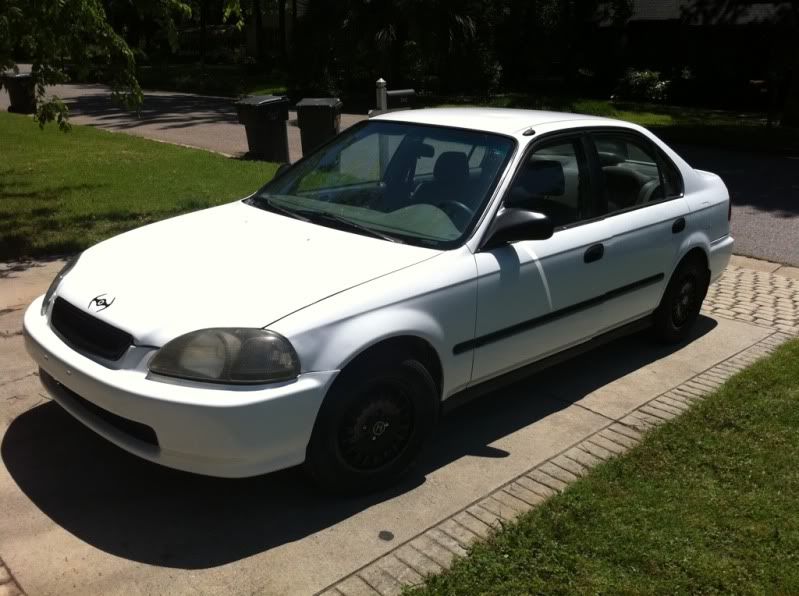

Once all is said and done I like it. Its got some runs and certainly a few bugs (lots actually) gave their life to the paint and all, but honestly for a 100 bucks and some free time I think its great for what it is.