well i started digging into some wiring today on the car.
decided to tinker with the interior wiring, clean it up and tuck/re-wrap and heat shrink it.
nothing crazy, using a flexible loom to keep cost down. (raychem & milspec will be used for visible wiring)
figured since so many people are STILL asking me questions about my navigation i would piss with that harness first (i was able to pick up a complete interior navi harness). after un-taping most of the harness i was able to notice that a few of the harness's are singles going from the tape to the navi, so its actually a few harness's jumbled into one.
there is a couple cut wires on the harness i have that im going to have to piss with and find out what goes where, im hoping that its more or less for the auto climate and dont have much to do with navi operation or audio operation. since my heater core and everything was yanked from my car im not really worried about all the heater wires BUT i will keep them on the harness i was going to pull them but i figured possibly in the future or a future owner might want all that + will help the resell of the navi if i ever decide to sell.
so far so good on the re-wrap but im having a b***h of a time on a few of these pin extractions.
___________
back in for an update.
finally was able to remove the wire harness from my civic to try and compare the usdm oe one to the jdm navigation one.
the 2 harness are pretty much the same, the jdm navigation one has 3 extra plugs. one plugs into the navigation to power it and the other 2 i have no idea. if i was to guess im going to say one goes to the daylight sensor and the other goes to the auto climate sensor. BUT i could be wrong.
also i noticed there is a few wires that are different colors from usdm to jdm. i didnt trace the wires totally to see if they are the same just different colors i just compared the harness plugs.
so now i guess my main goal is to install the jdm harness and mock up how i want to make the cable runs to keep the wires short yet clean & give them enough room to where they could be moved out of the way and enough slack to pull something out to disconnect them.
what a task!
im actually having more fun with this then i expected. i thought i would just give up but its a nice day out, grabbed me a nice glass of glades pike wine and im going to town!
________
in with a few more updates.
still trying to de-pin a few of these plugs and im still having problems.
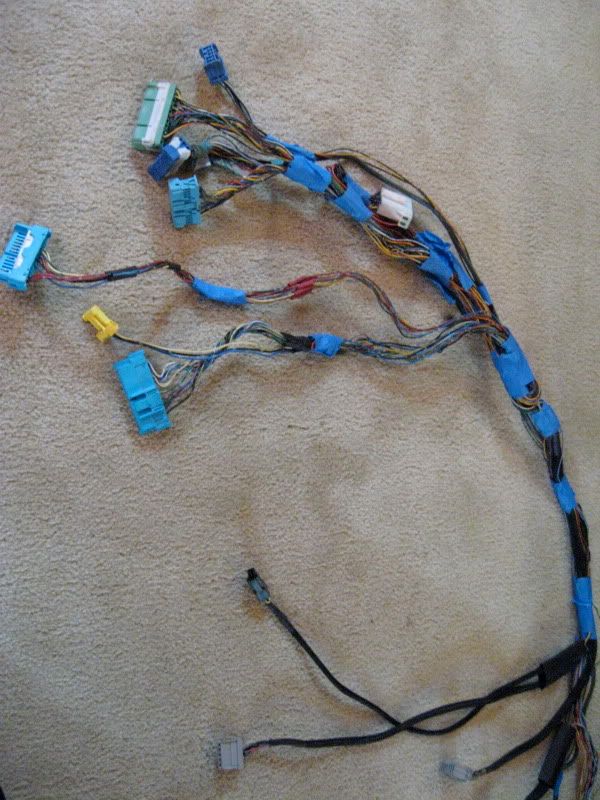
but here are some quick shots of the harness so far.
this was the crappy 'to media box' harness, you can notice the crappy wrap put on from honda:
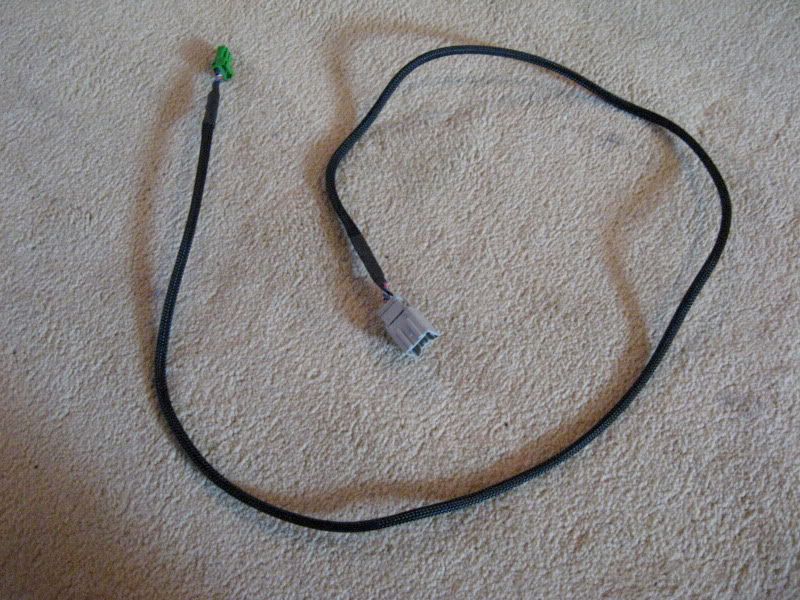
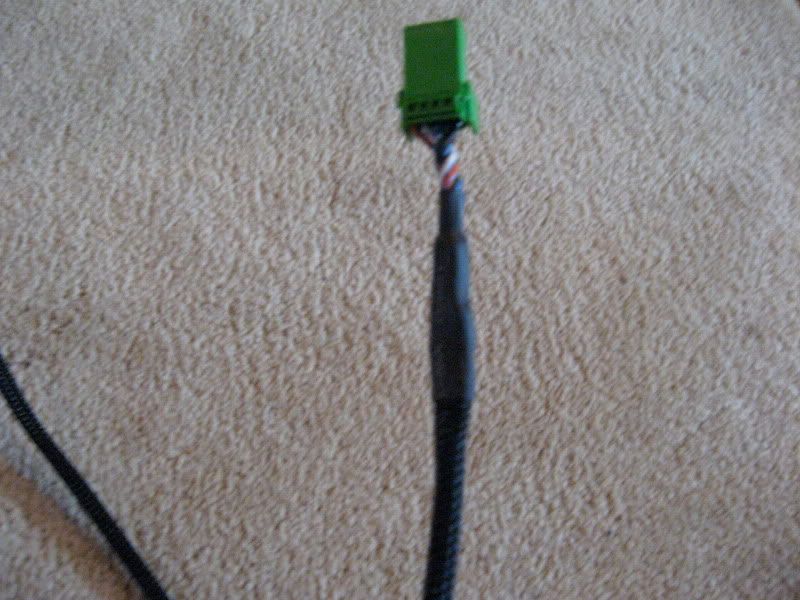
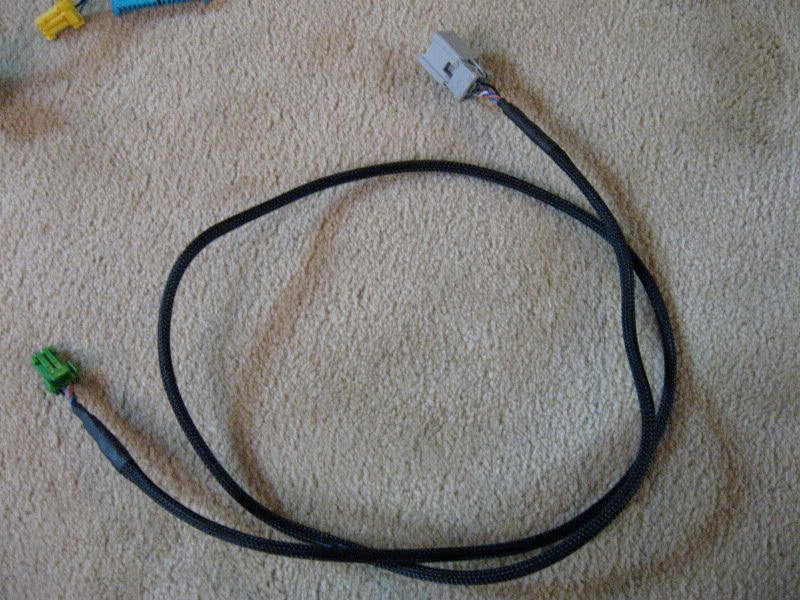
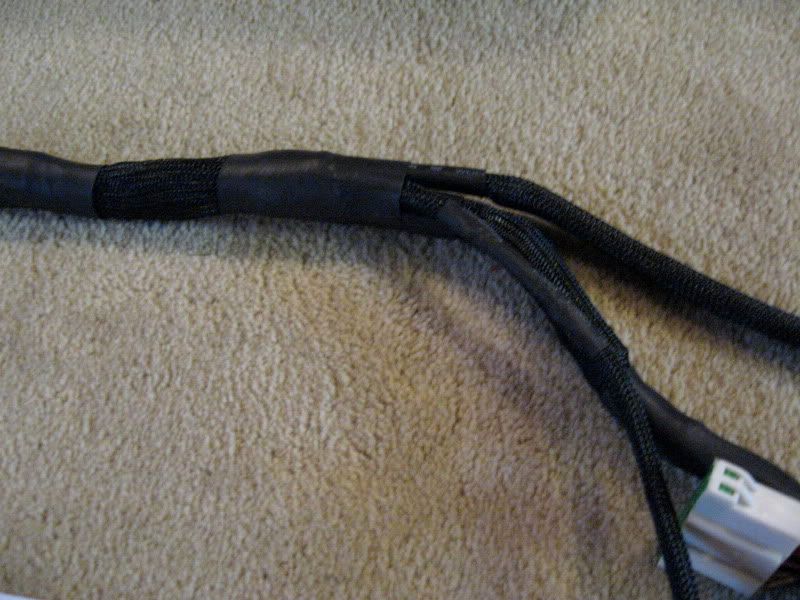
this was the first harness i was able to depin and wrap, so once i got that one done i was stoked to move onto the others, like i said earlier im just using a flexible nylon loom & some heat shrink [this wire runs from the media box, 'to unit' plug to a plug running from the bigger green plug on the back of the navigation]:
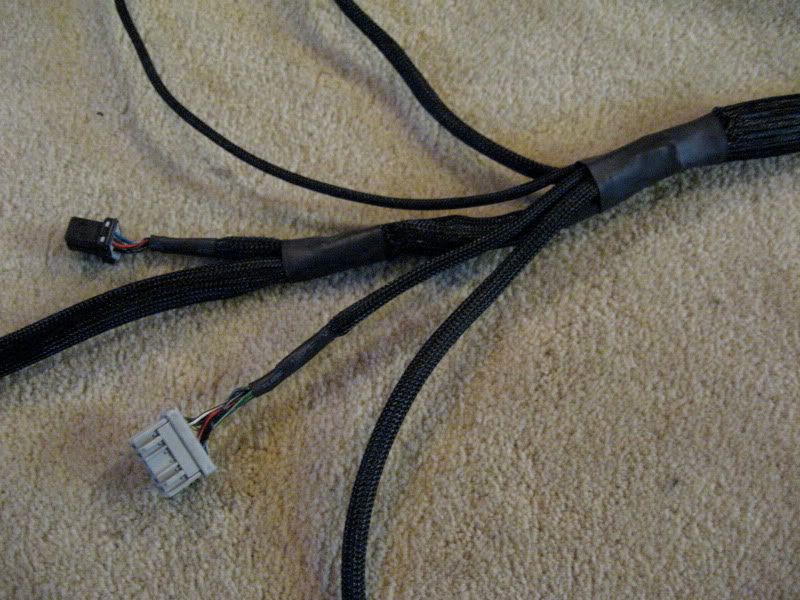
here is the harness from the back of the navigation (the big green plug) to the lower tape deck (smaller green plug. this also is where the above media box extension cable plugs into. there is also an unknown plug on this small extension:
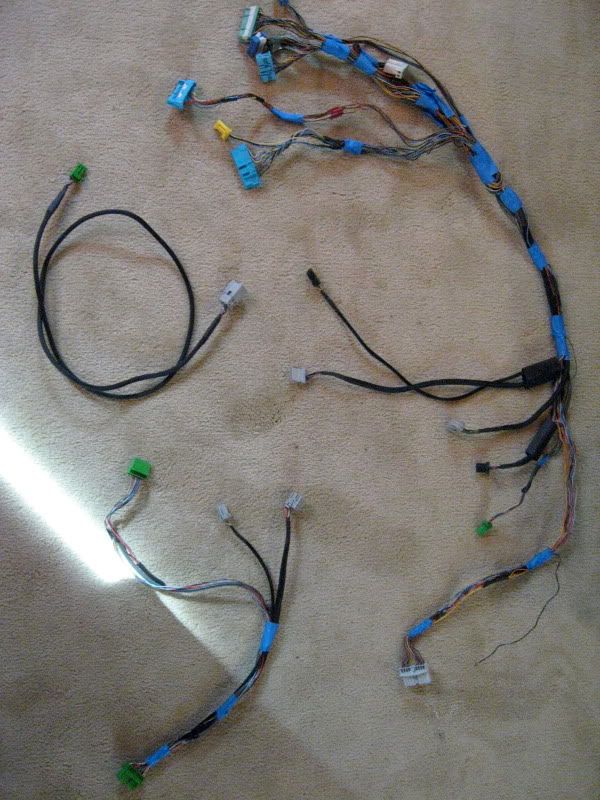
the first picture shows 2 of the 3 runs wrapped, i ended up changing my mind on how i wanted it set up, so in the 2nd picture you will see blue tape where im going to put a break out to clean up the harness a bit.
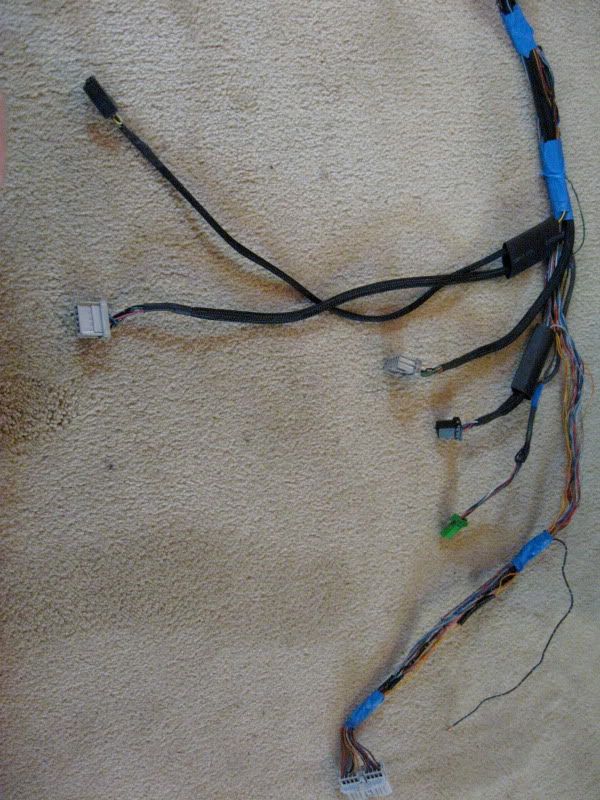
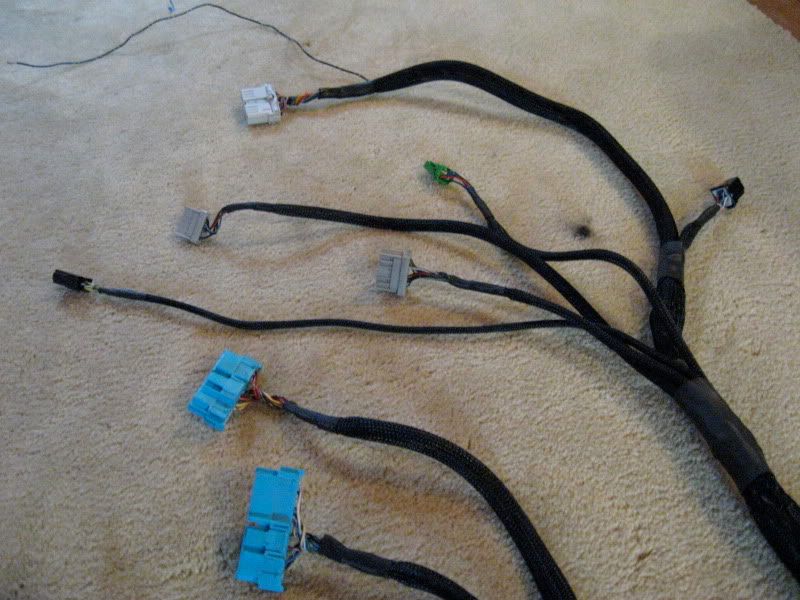
here is the main harness running from the fuse box to cluster then finally making its way over to the radio/navigation:
all the blue tape is just there to keep things together and as a reference where i am going to put all my breakouts.
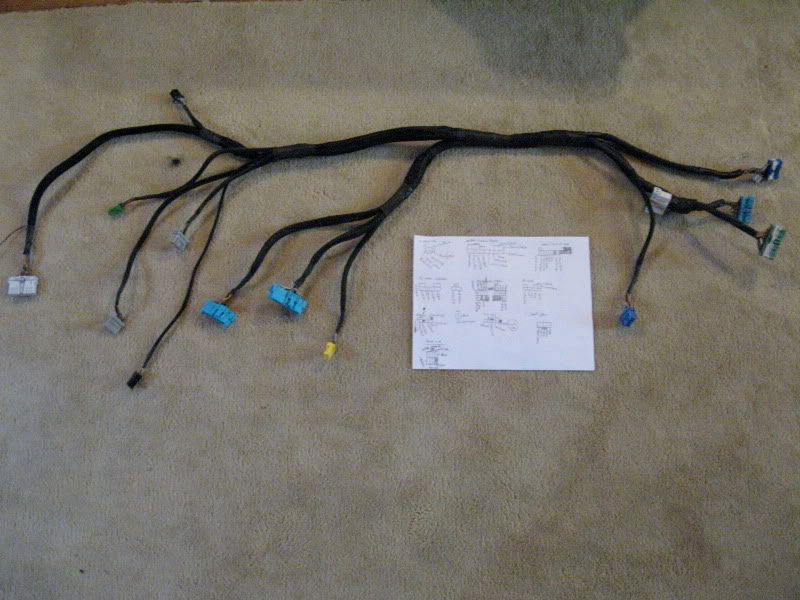
here are the harness's together:
and thats it so far, once i can find out how to get the dang pins from some of these plugs ill be in better shape.
__________
more progress.
im going to be laying out the harness's once they are all completed and label them as best as i can for all the navigation people & start a new thread in the how-to.
till then on with the pics!
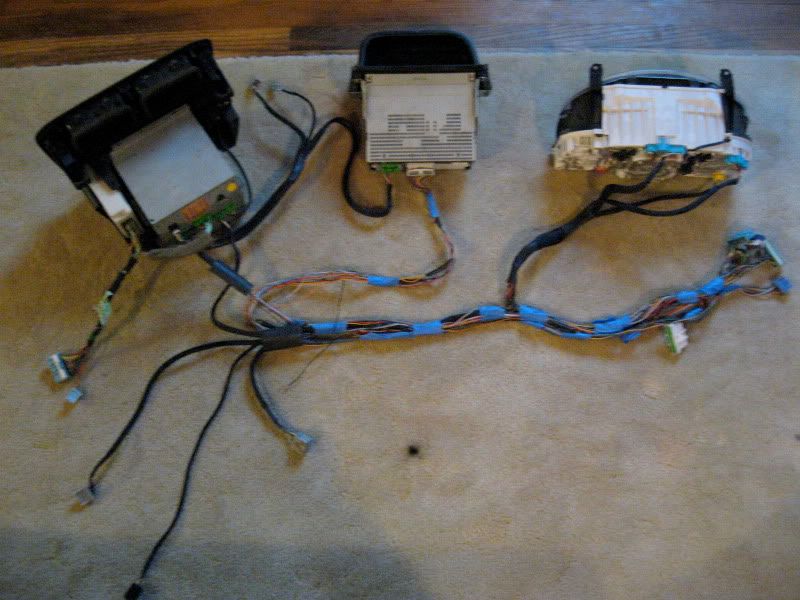
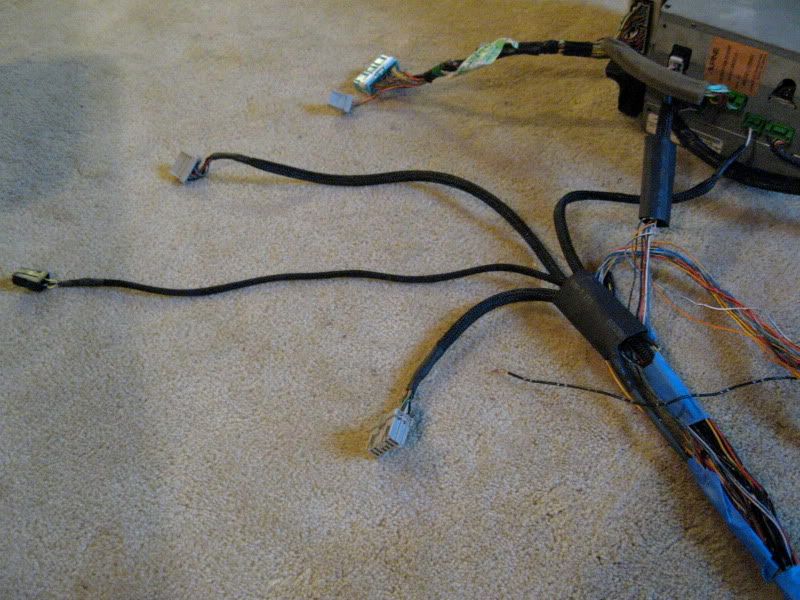
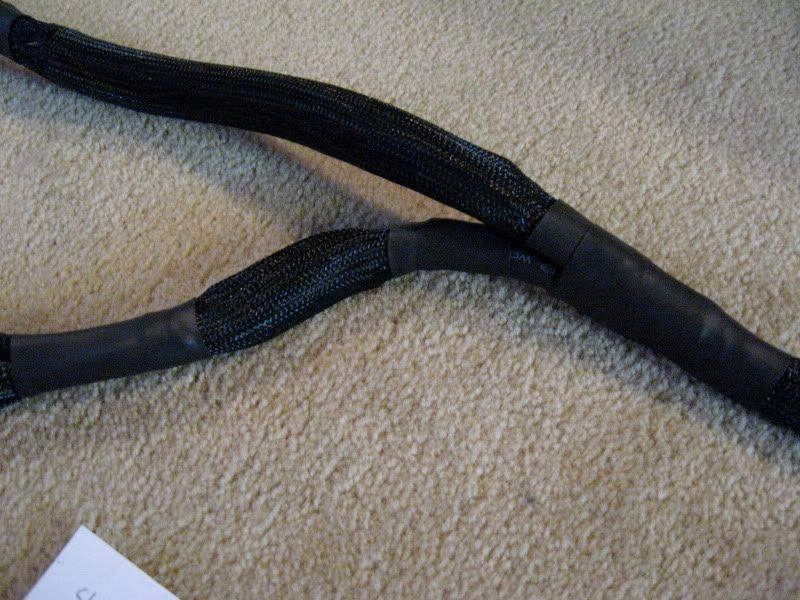
here is the harness wired to to my cluster, navigation & tape deck. the big mess of wires near the cluster is the jumble that goes to the fuse box. i finally found a way to de-pin some of those i was having a problem with. i switched from the small jewelers screwdriver and went with a paperclip and it worked great!
here are the pics of the progress, i need to find a way to de-pin the clip @ the tape deck so i can finish up that run. i wish i would of made the breakout behind the cluster a little different but its going to be hidden so im not going to worry about it.
break outs behind the cluster
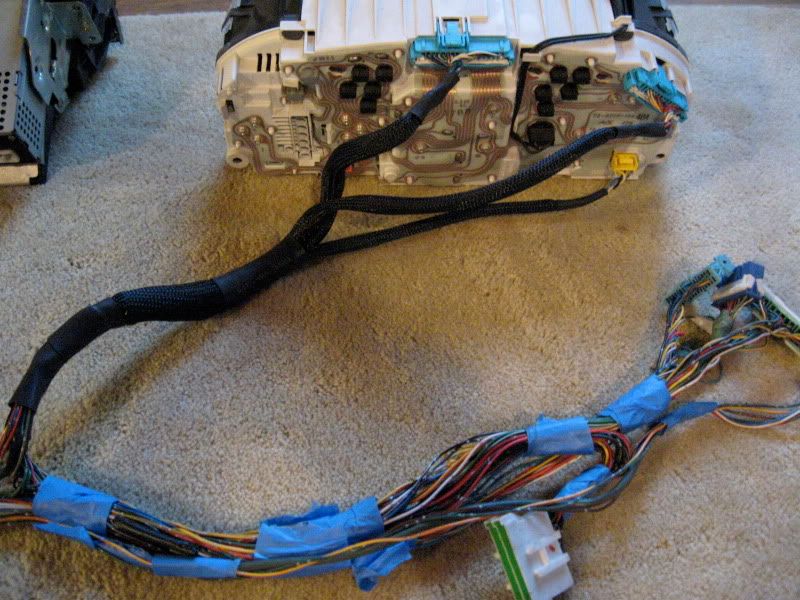
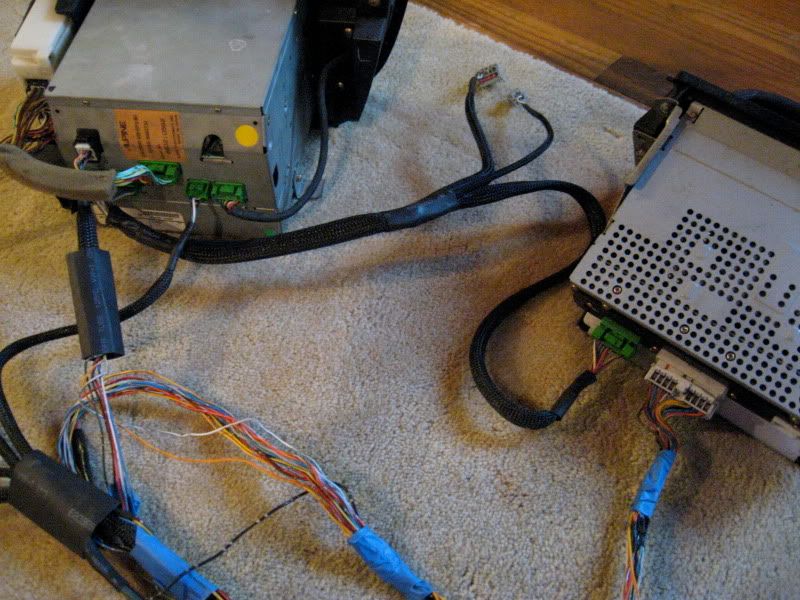
the other break out, cant finish this until i can get the tape deck clip de-pinned
was finally able to get the small harness between the tape deck and navigation finished
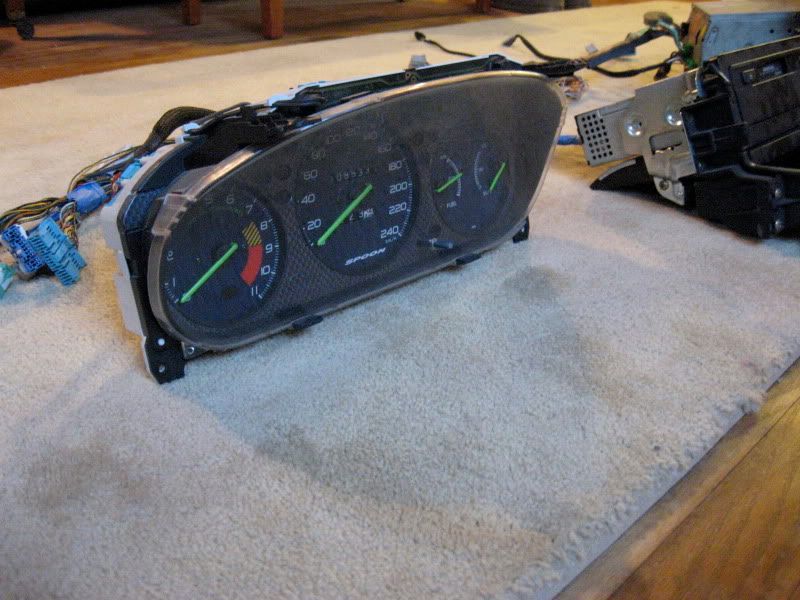
just because it hasnt been in a photograph in about 2 years

GETTING THERE!