
Tree's DC4
- Thread starter treeafodo
- Start date
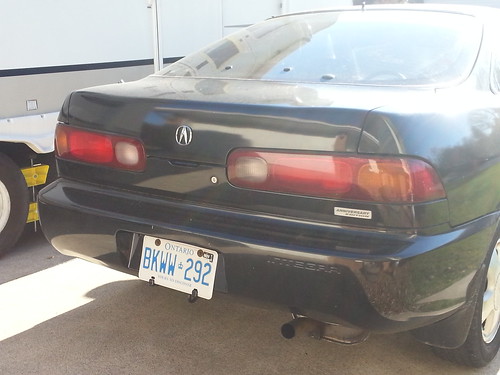
Yes, 100% agree. I just need to find a 98+ bumper now.They are nicer. I don't like the way the 94-97 bumper indents on the bottom.
98+ look so good with that "diffuser" on the bottom and also I like how any exhaust sits with the 98+ compared to the 97-.
Sent from my phone
Today has been a good day so far. My first class of the day, which is a 3 hour lab, got cancelled so I had all morning to work on Mia ")
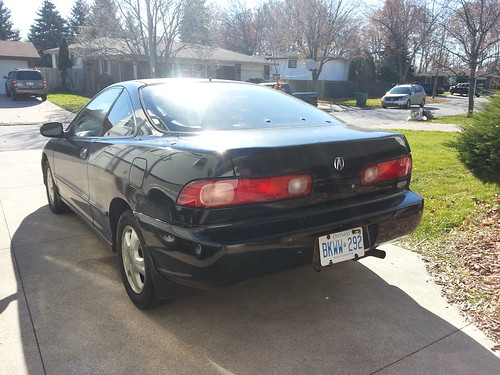
The '94-97 tail lights on their way out.

Old Lights by Austin Rajki, on Flickr
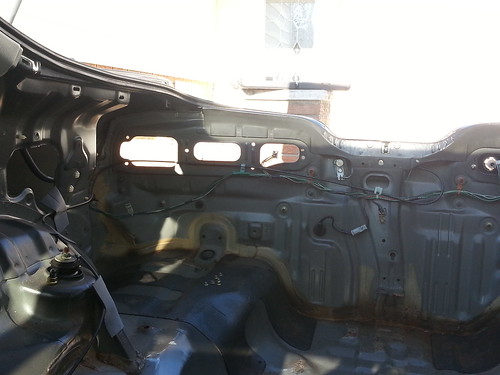
Having a gutted interior made a really easy job simple and super quick.
Easy Removal by Austin Rajki, on Flickr
The area around the lights was pretty dirty so I cleaned that up to get the best possible seal I could get.
Dirty by Austin Rajki, on Flickr
Cleaned Up by Austin Rajki, on Flickr
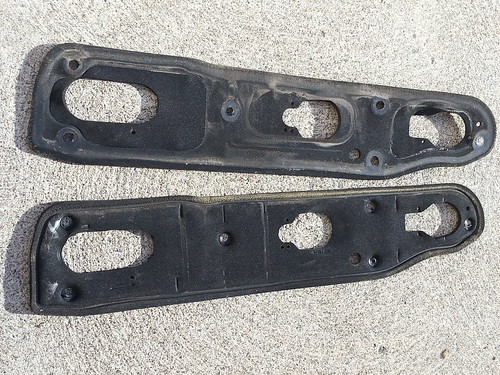
These are the old gaskets that were around the original tail lights, no wonder it was leaking. They are a lot worse than my cell phone shows.
Old Worn Out Gaskets by Austin Rajki, on Flickr
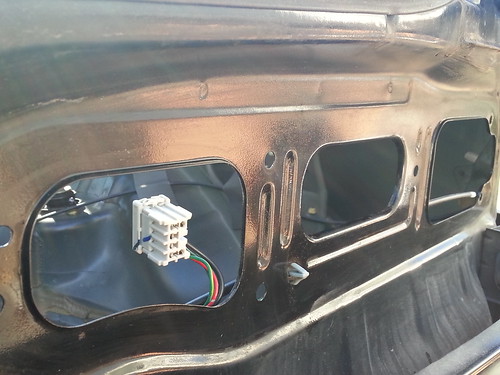
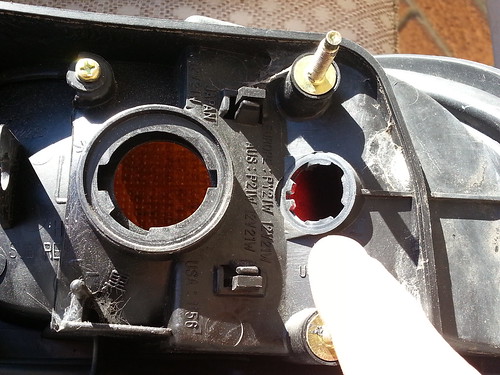
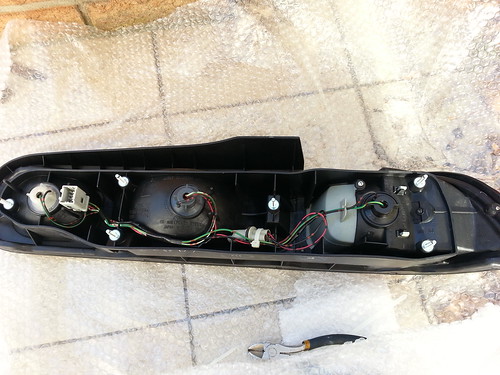
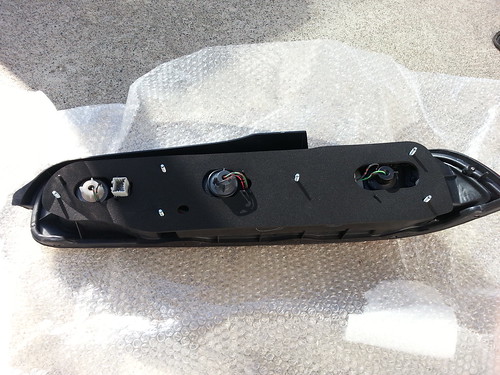
One thing I did notice was that the USDM lights had a socket on the outside edge and the UKDM tails did not have this.
Socket by Austin Rajki, on Flickr
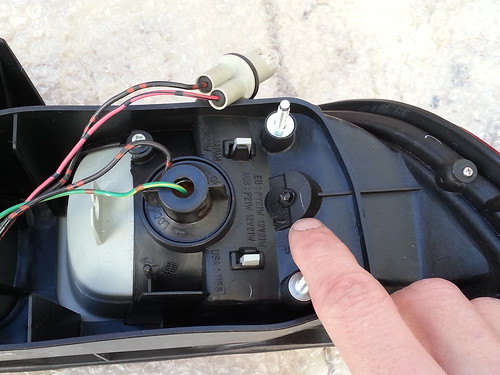
No Socket by Austin Rajki, on Flickr
You can also see a little rectangle cut out inside the USDM light. I'm assuming that this is for the light to illuminate the corner, which I believe is part of the running lights.
Hole by Austin Rajki, on Flickr
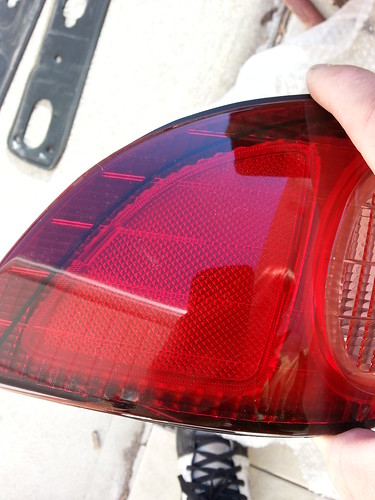
The UKDM taillight didn`t have this cut out inside the light either, so I'm assuming it's just a reflector and the light is not supposed to go in there.
No Hole by Austin Rajki, on Flickr
Being unsure about the light, I didn't want to remove it from the harness, so I just removed the light and tucked the socket in and ziptied it so it doesn't rattle around.
Tucked Out of the Way by Austin Rajki, on Flickr
After getting that socket tied down in place I set the new gaskets on the lights and put them into place.
New Gasket Set by Austin Rajki, on Flickr
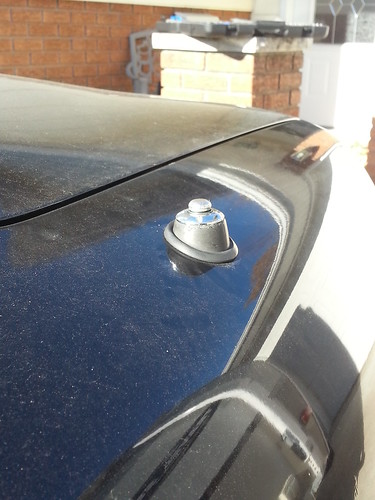
I wanted to do more to the car so I dug the plug I had in the stash of parts and got to work removing this.
Old Antenna by Austin Rajki, on Flickr
Super simple to remove. Just unscrew the silver cap you see in the picture above and one bolt in the hatch, unplug the harness and pull it out.
The antenna is now out and the plug is ready to go in. This saved 2.25 lbs with the antenna and wire.
Part Number by Austin Rajki, on Flickr
Antenna Plug by Austin Rajki, on Flickr
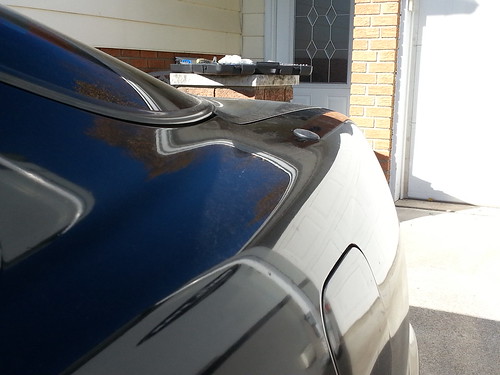
Here is today's work
Beautiful by Austin Rajki, on Flickr
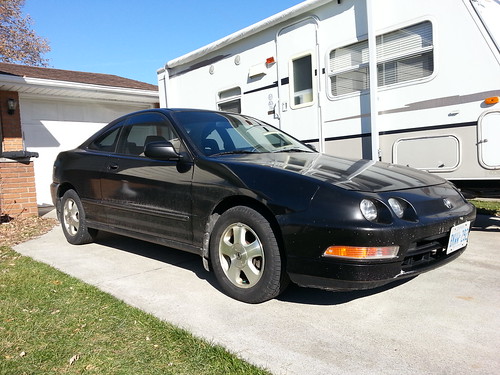
I also decided that she was in desperate need of a bath, despite it being 37 degrees outside I gave her a wash
Dirty Girl by Austin Rajki, on Flickr
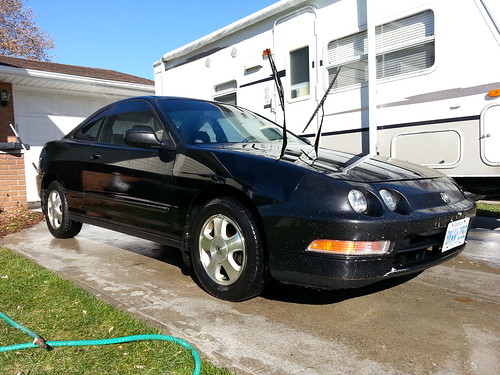
Clean by Austin Rajki, on Flickr
I will get better pictures of the lights as these do them no justice whatsoever .
Also PWJDM called me and said the OEM window visors will be shipping out very shortly.
The '94-97 tail lights on their way out.
Old Lights by Austin Rajki, on Flickr
Having a gutted interior made a really easy job simple and super quick.
Easy Removal by Austin Rajki, on Flickr
The area around the lights was pretty dirty so I cleaned that up to get the best possible seal I could get.

Dirty by Austin Rajki, on Flickr
Cleaned Up by Austin Rajki, on Flickr
These are the old gaskets that were around the original tail lights, no wonder it was leaking. They are a lot worse than my cell phone shows.
Old Worn Out Gaskets by Austin Rajki, on Flickr
One thing I did notice was that the USDM lights had a socket on the outside edge and the UKDM tails did not have this.
Socket by Austin Rajki, on Flickr
No Socket by Austin Rajki, on Flickr
You can also see a little rectangle cut out inside the USDM light. I'm assuming that this is for the light to illuminate the corner, which I believe is part of the running lights.
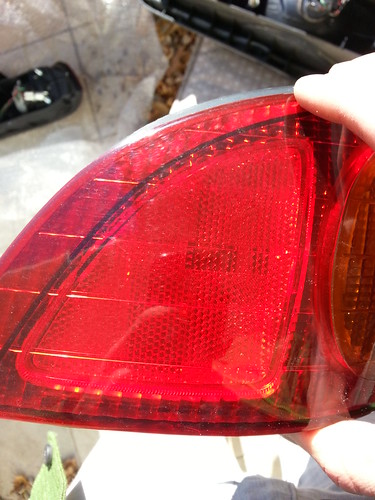
Hole by Austin Rajki, on Flickr
The UKDM taillight didn`t have this cut out inside the light either, so I'm assuming it's just a reflector and the light is not supposed to go in there.
No Hole by Austin Rajki, on Flickr
Being unsure about the light, I didn't want to remove it from the harness, so I just removed the light and tucked the socket in and ziptied it so it doesn't rattle around.
Tucked Out of the Way by Austin Rajki, on Flickr
After getting that socket tied down in place I set the new gaskets on the lights and put them into place.
New Gasket Set by Austin Rajki, on Flickr
I wanted to do more to the car so I dug the plug I had in the stash of parts and got to work removing this.
Old Antenna by Austin Rajki, on Flickr
Super simple to remove. Just unscrew the silver cap you see in the picture above and one bolt in the hatch, unplug the harness and pull it out.
The antenna is now out and the plug is ready to go in. This saved 2.25 lbs with the antenna and wire.

Part Number by Austin Rajki, on Flickr
Antenna Plug by Austin Rajki, on Flickr
Here is today's work
Beautiful by Austin Rajki, on Flickr
I also decided that she was in desperate need of a bath, despite it being 37 degrees outside I gave her a wash
Dirty Girl by Austin Rajki, on Flickr
Clean
I will get better pictures of the lights as these do them no justice whatsoever .
Also PWJDM called me and said the OEM window visors will be shipping out very shortly.
The brake lights are the center ones.Looking good. Love those UK lights. As for the side lights, i think they're the brake lights I believe.
Sent from my ADR6300 using Tapatalk 2
part of DOT requirements at the time, you had to have a red reflector on the side of the car so that you could see where the car ends at night.
*also the reflectors help people behind you tell how wide the vehicle is" but f**k safety, form over function.
*also the reflectors help people behind you tell how wide the vehicle is" but f**k safety, form over function.
I knew about the requirements, I was just thrown off that there is no side running light on the UKDM lights.part of DOT requirements at the time, you had to have a red reflector on the side of the car so that you could see where the car ends at night.
*also the reflectors help people behind you tell how wide the vehicle is" but f**k safety, form over function.
I never even looked at my taillights and honestly never knew what that light was.The brake lights are the center ones.
Sent from my Nexus 7
I was kind of thinking the little knub in the middle was for twisting it off to put that there, but it seems like it's all one piece. I don't want to risk it. Plus the fact you can't see the little cut out through the lense kind of tells me it's (the socket) not meant to be there.making the hole for that extra bulb to fit your new tailights, is that an option?
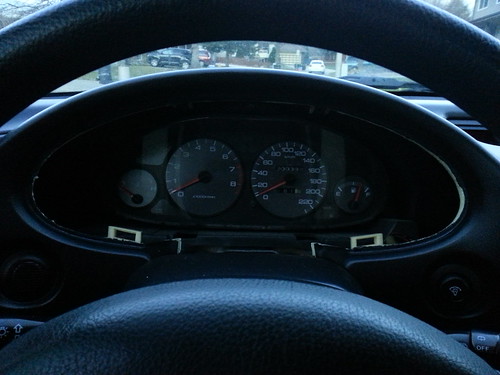
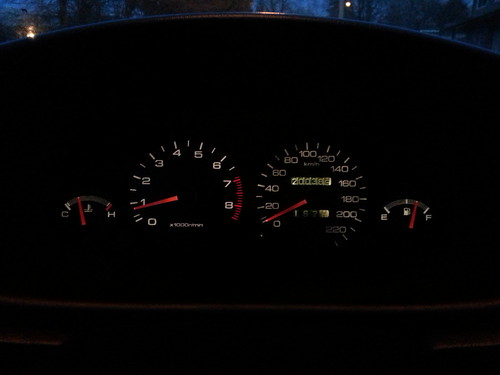
I just got home from school and removed my cluster to unplug the SRS plug to shut off my SRS light.
Problem Solving by Austin Rajki, on Flickr
5 screws and one plug later NO MORE SRS LIGHT
No More SRS Light! by Austin Rajki, on Flickr
Problem Solving by Austin Rajki, on Flickr
5 screws and one plug later NO MORE SRS LIGHT
No More SRS Light! by Austin Rajki, on Flickr
Annoying isn't it?Yeah I need to do that... Its been bothering me since I took my wheel off.
Sent from my Nexus 7
And so the suspension build starts. Just ordered an ASR subframe brace.
I'm also trying to find someone who can order me a couple parts of JHPusa as they only accept bank transfers from international orders and my bank doesn't do that.
It just sits there in the corner like it pays rent glowing bright red at night and makes my purple lights look like crap.
Anyways, loving the progress. Wish I could work that much and be full time in school. I'm hurting for money. I'm trying to get a new job for Christmas and summer break.
Sent from my ADR6300 using Tapatalk 2
Anyways, loving the progress. Wish I could work that much and be full time in school. I'm hurting for money. I'm trying to get a new job for Christmas and summer break.
Sent from my ADR6300 using Tapatalk 2
purple lights dafaq is that?

I just got off the phone with my Grandpa, I will be taking the car out there tomorrow afternoon to take care of the surface rust in the hatch. I'm really hoping he has enough time to help me start with the roll cage since he's a good welder and also has the equipment. It should be getting real soon if things go as planned!

